 by
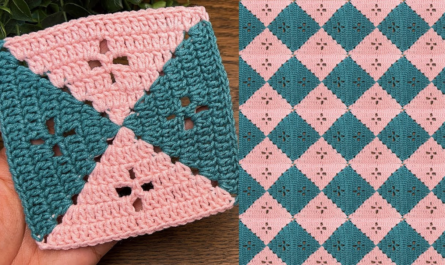
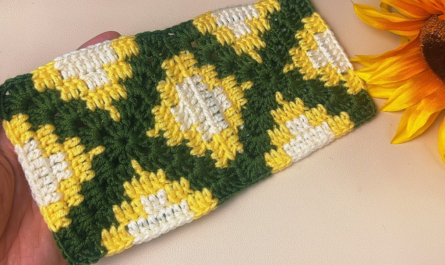
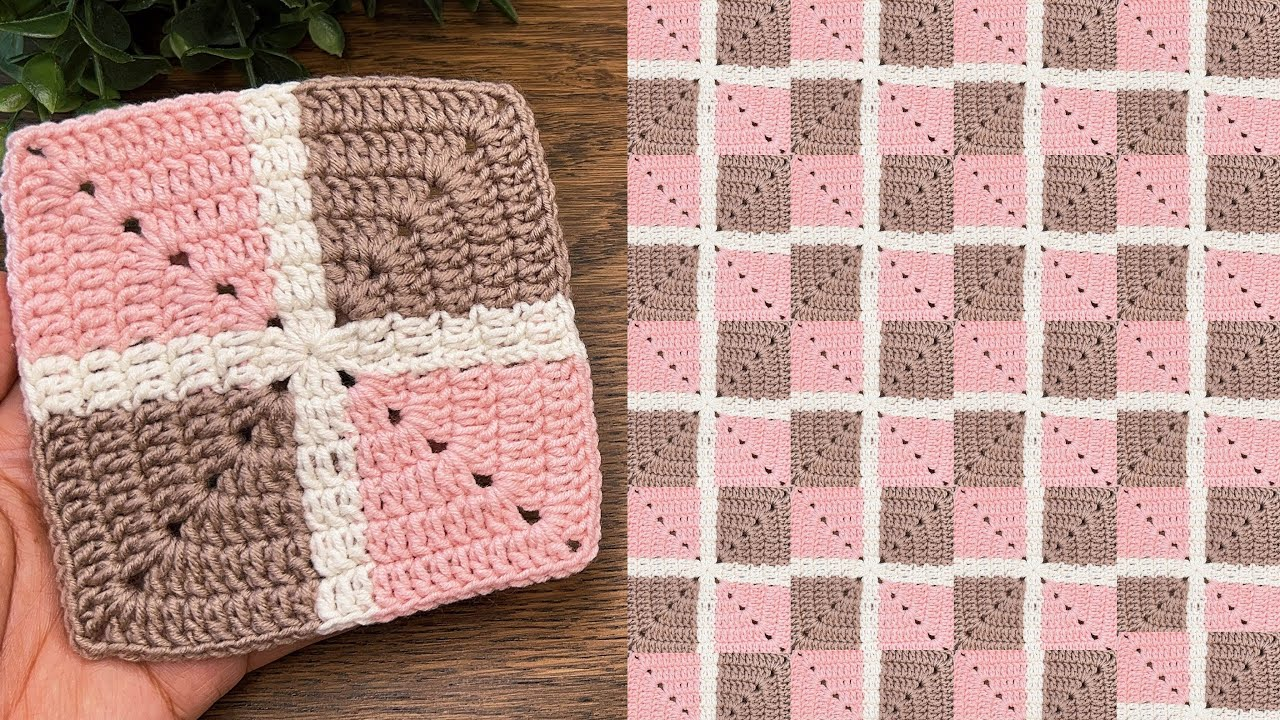
by Crochet square motifs are the “building blocks” of the fiber arts. Because they are modular, you can take a single pattern and turn it into a magnificent table runner, a stylish summer blouse, or a cozy heirloom blanket.
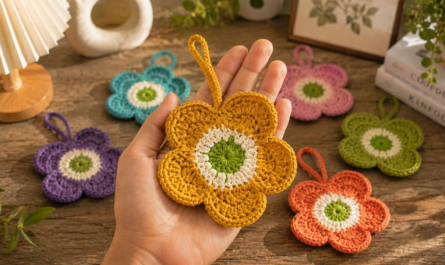
For this detailed guide, we will focus on the “Sunburst Lace Square.” It is a gorgeous motif that starts with a floral center and “squares off” into a lattice frame. It strikes the perfect balance between a solid center (for coverage) and a lacy border (for drape).

🧶 Choosing Your Materials
The beauty of this motif is that it changes personality depending on the yarn you use:
- For a Table Runner: Use Size 10 Mercerized Cotton with a 1.75mm hook. This creates a crisp, antique-lace look.
- For a Blouse or Shawl: Use a Bamboo or Linen blend with a 3.5mm hook. These yarns “flow” and hang beautifully on the body.
- For a Blanket: Use a Soft Acrylic or Wool with a 5.0mm hook for warmth and squishiness.
🛠 Stitch Key (US Terms)
| Abbreviation | Name | Description |
| ch | Chain | The foundation loop. |
| sl st | Slip Stitch | Used to join rounds or move across stitches. |
| sc | Single Crochet | A short, sturdy stitch. |
| dc | Double Crochet | A tall, classic stitch. |
| tr | Treble Crochet | A very tall stitch used to create sharp corners. |
| sp | Space | The “hole” created by a chain. |
🟩 Step-by-Step Tutorial: The Sunburst Lace Square
Round 1: The Floral Core
- Start: Make a Magic Ring (or ch 4 and sl st to the first ch to form a ring).
- Stitches: ch 3 (counts as dc). Work 15 dc into the ring.
- Join: sl st to the top of the ch 3.

Result: A solid circle of 16 stitches.
Round 2: The Sunburst Petals
- ch 4 (counts as 1 dc + ch 1).
- Repeat: [dc in the next stitch, ch 1] in every stitch around.
- Join: sl st to the 3rd chain of the starting ch 4.
Result: 16 “spokes” with small windows between them.
Round 3: Squaring the Design
This is the “Magic Round” where we use different stitch heights to turn the circle into a square.
- Move Hook: sl st into the first ch-1 space.
- First Corner: ch 4 (counts as tr). In the same space, work (2 tr, ch 3, 3 tr).
- The Side: * ch 1, skip 1 space.
- Work 3 dc in the next space.
- ch 1, skip 1 space.
- Work 3 dc in the next space.
- ch 1, skip 1 space.
- Second Corner: In the next space, work (3 tr, ch 3, 3 tr).
- Repeat: Follow the Corner and Side pattern around.
- Join: sl st to the top of the ch 4.

Round 4: The Final Lace Frame
- sl st across to the ch-3 corner space.
- Corner: ch 3, work (2 dc, ch 2, 3 dc) in the corner.
- Sides: Work 3 dc in every ch-1 space along the sides, with a ch 1 between each cluster.
- Join: sl st to the top of the ch 3 and fasten off.
💎 3 Secrets to Professional-Looking Motifs
- The “Hidden” Stitch: After you finish a corner, the very next dc stitch is often hidden by the bulky corner you just made. Pull the corner stitches back to find that first stitch, or your sides will be uneven.
- Blocking is Essential: Lace motifs often look “crunchy” or curled right off the hook. Pin them to a foam board in a perfect square shape, spray with water, and let dry. This opens up the lace and makes it look high-end.
- Seamless Joining: If you are making a garment, join your squares using a slip stitch through the back loops only. This keeps the seam flat and invisible.
📐 Suggested Layouts
- The Runner: Join 12 squares in a 2 x 6 row. Add a simple tassel to the four outer corners.
- The Shawl: Join squares in a large triangle (Start with 1 square, then a row of 2, then 3, etc.).
- The Blouse: Join two panels of 4 x 4 squares. Leave the center two squares at the top unjoined for a boat-neck opening.
Would you like me to explain how to change yarn colors mid-pattern to create a “Sunburst” effect with a bright center and a neutral border?
Video tutorial: