That’s an excellent request! Starting with a simple motif is the best way to master the fundamentals of crochet. The Solid Granny Square is the perfect choice for beginners because it uses basic stitches and a clear, repetitive structure to define the corners.
Here is a detailed, step-by-step tutorial for a Super Easy Solid Crochet Square Motif.
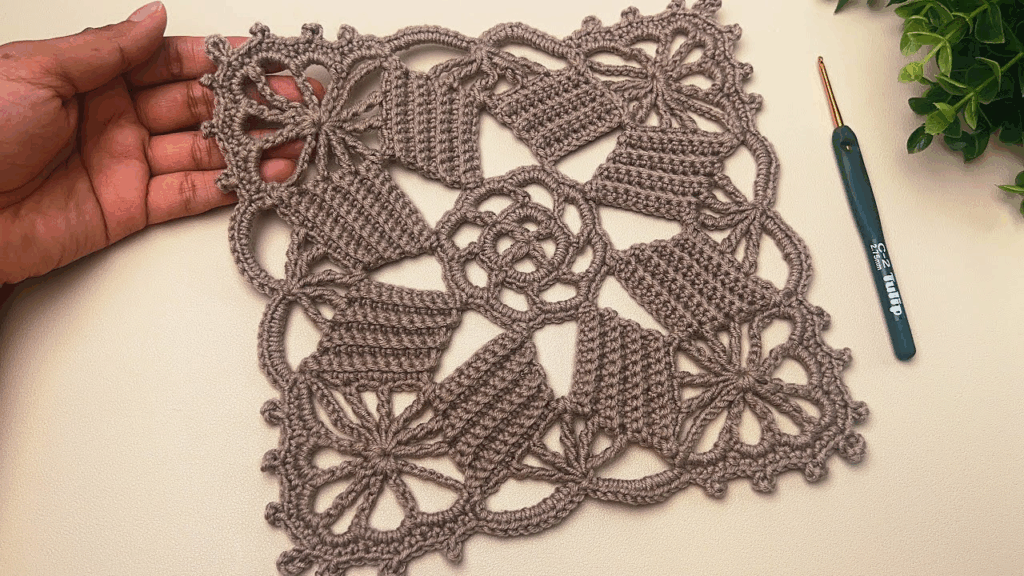
🟥 Super Easy Solid Square Motif Tutorial
This pattern is a variation of the classic granny square but uses fewer gaps and spaces, making the center stronger and the final fabric denser.
Materials You’ll Need
- Yarn: Medium-weight yarn (worsted/size 4) is easiest to handle.
- Crochet Hook: The size appropriate for your yarn (check the yarn label, typically 5.0 mm or H/8).
- Scissors
- Tapestry Needle (for weaving in ends).
Key Crochet Terms
| Abbreviation | Stitch Name |
| ch | Chain |
| sl st | Slip Stitch |
| dc | Double Crochet |
| st(s) | Stitch(es) |
| Corner | (dc, ch 2, dc) |
Step-by-Step Instructions
Round 1: Creating the Center
We establish the center disk and the first corner spaces.
- Start the Ring: Make a Magic Ring (or ch 4, sl st to join).
- First Side: ch 3 (counts as first dc). Work 2 dc into the center ring.
- First Corner: ch 2.
- Repeat: Work [3 dc into the ring, ch 2] 3 more times. (You will have 4 groups of 3 dc and 4 corner spaces).
- Finish: Pull the yarn tail tight to close the center hole. Join with a sl st to the top of the beginning ch 3.
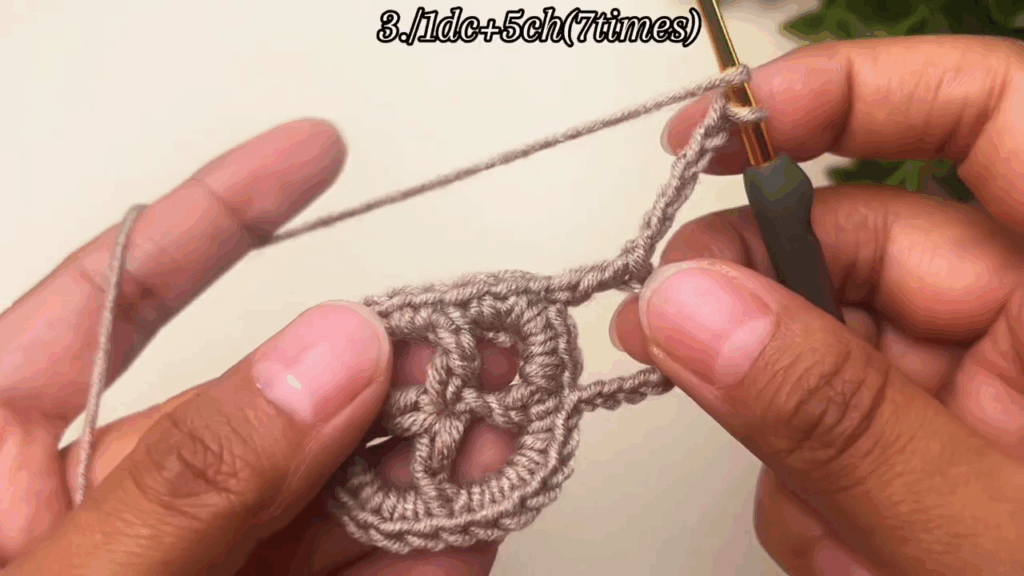
Round 2: Expanding the Square
Now we work a solid double crochet into every stitch from the previous round, only chaining in the corners.
- ch 3 (counts as dc). Work dc in the next 2 stitches. (You are working 1 dc into each dc from R1).
- Corner: Work (dc, ch 2, dc) into the ch-2 corner space.
- Repeat: Work [dc in the next 3 stitches, Corner (dc, ch 2, dc) in the next ch-2 space] 3 more times.
- Finish: Join with a sl st to the top of the beginning ch 3.
Round 3: Defining the Shape
The square continues to expand outward. The number of stitches between the corners increases in every round.
- ch 3 (counts as dc). Work dc in the next 3 stitches.
- Corner: Work (dc, ch 2, dc) into the ch-2 corner space.
- Side: Work dc in every stitch along the side until you reach the next corner space. (The count will increase with every round).
- Repeat: Continue the sequence [dc in every stitch across the side, Corner (dc, ch 2, dc)] around the square.
- Finish: Join with a sl st to the top of the beginning ch 3.

Continuing to Grow
To make the square larger, simply repeat Round 3.
- Corners: Always work (dc, ch 2, dc) into the ch-2 corner space.
- Sides: Always work 1 dc into every single stitch between the corners.
Finishing the Motif
- Fasten Off: Cut the yarn, leaving a 6-inch tail, and pull the loop through the last stitch to knot it.
- Weave in Ends: Thread the tails onto a tapestry needle and weave them securely into the back of the corresponding stitches to hide them.
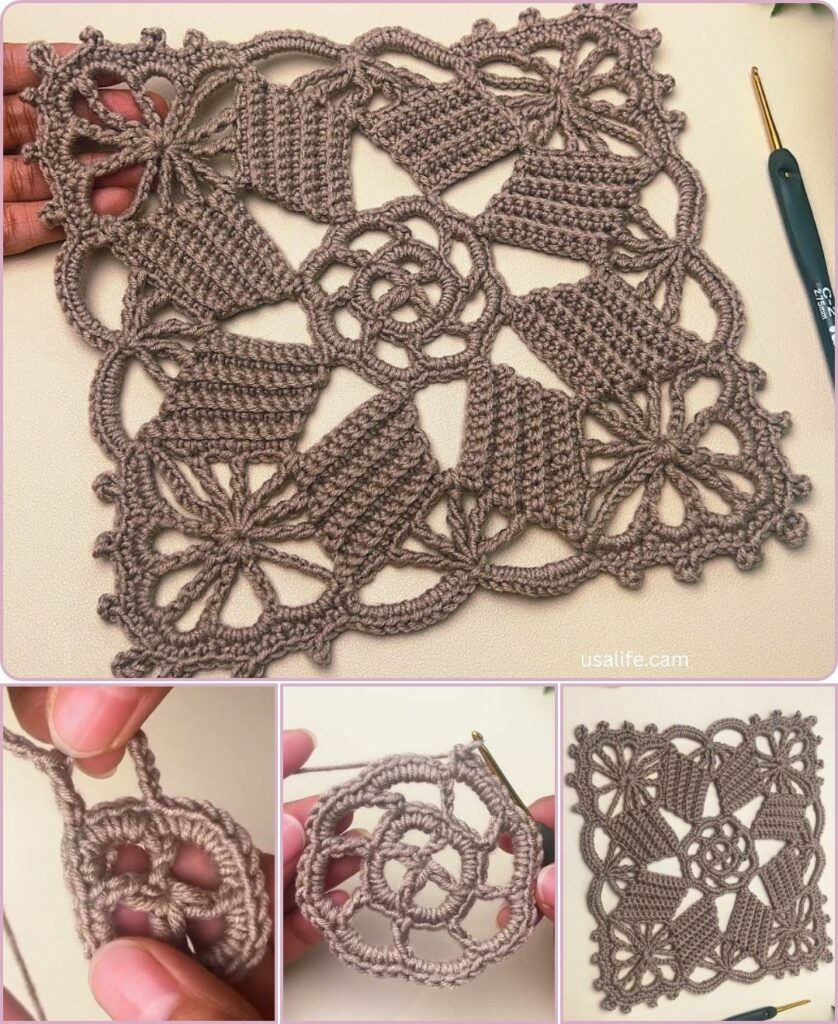
This motif creates a sturdy, warm, and easily joinable square, perfect for beginners! Would you like a suggestion for what you could make with these motifs?
Video tutorial:

