 by
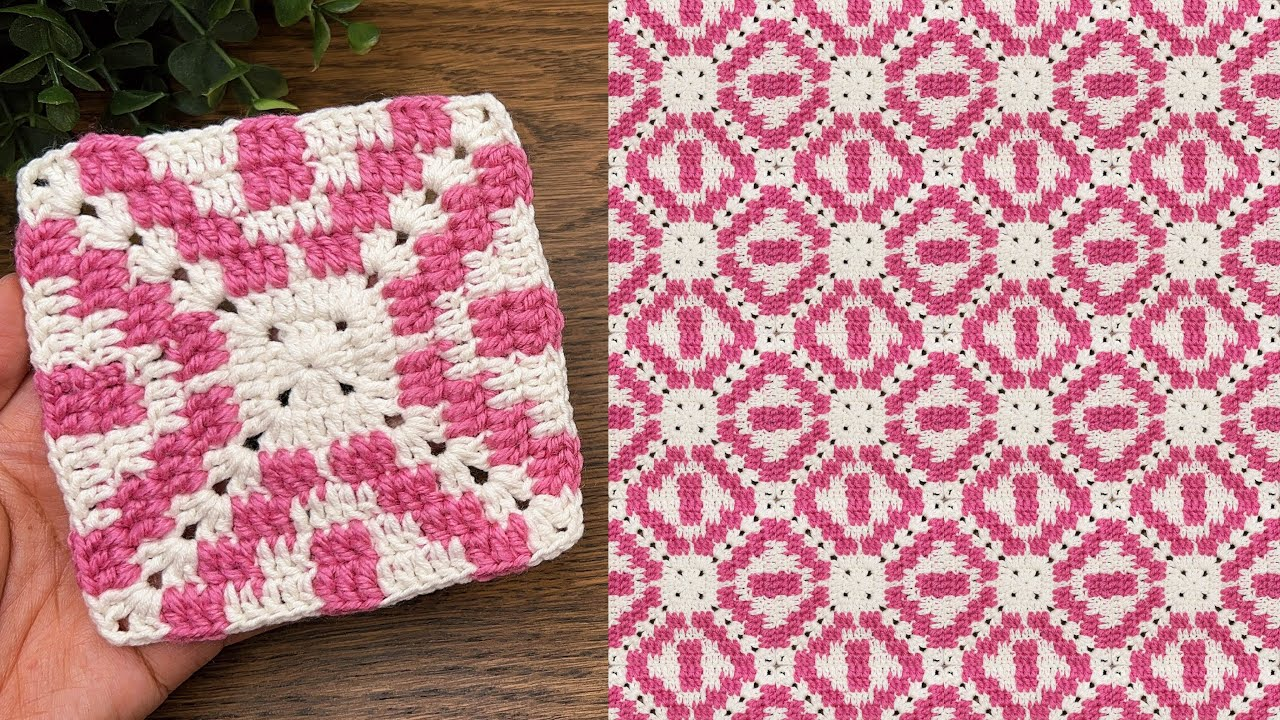
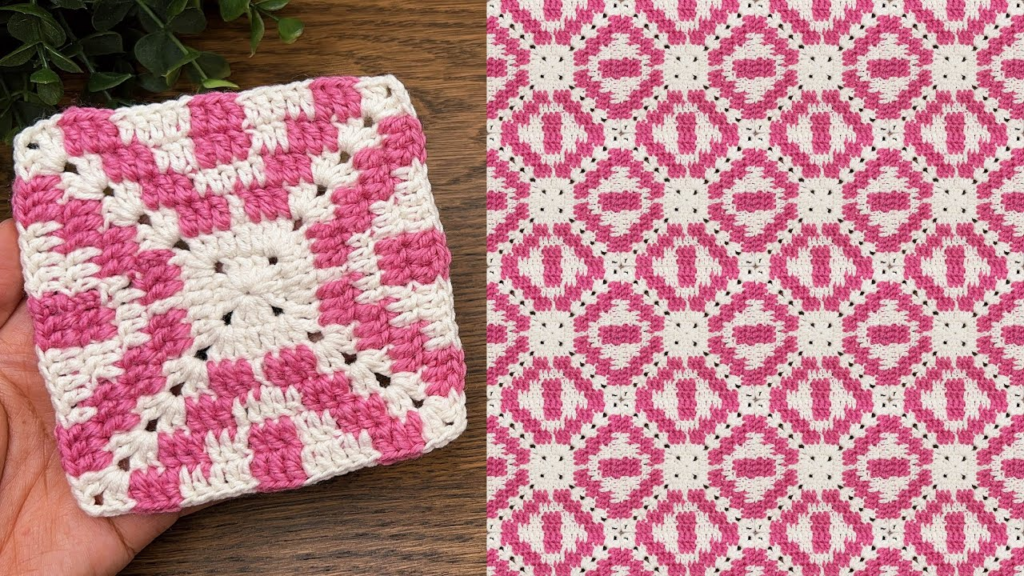
by Crocheting a square is one of the most rewarding milestones for a beginner. While the traditional “Granny Square” is famous for its holes and vintage look, many beginners prefer a Solid Square Design. It’s easier to count, creates a sturdier fabric (great for bags or warm blankets), and looks very modern.
Here is a detailed guide to creating the Solid Beginner Square.
🧶 The Beginner’s Essentials
Before you start, let’s make sure your “workspace” is set up for success.
| Tool | Recommended for Beginners | Why? |
| Yarn | Light-colored, Medium (Weight 4) Acrylic | It’s easier to see exactly where your hook needs to go. |
| Hook | 5.0 mm (H-8) | This is the “goldilocks” size—not too small, not too big. |
| Tapestry Needle | Large eye, blunt tip | To hide those pesky yarn tails at the end. |
Common Abbreviations (US Terms)
- ch: Chain
- sl st: Slip Stitch
- dc: Double Crochet
- Corner: (2 dc, ch 2, 2 dc) all worked into the same space.
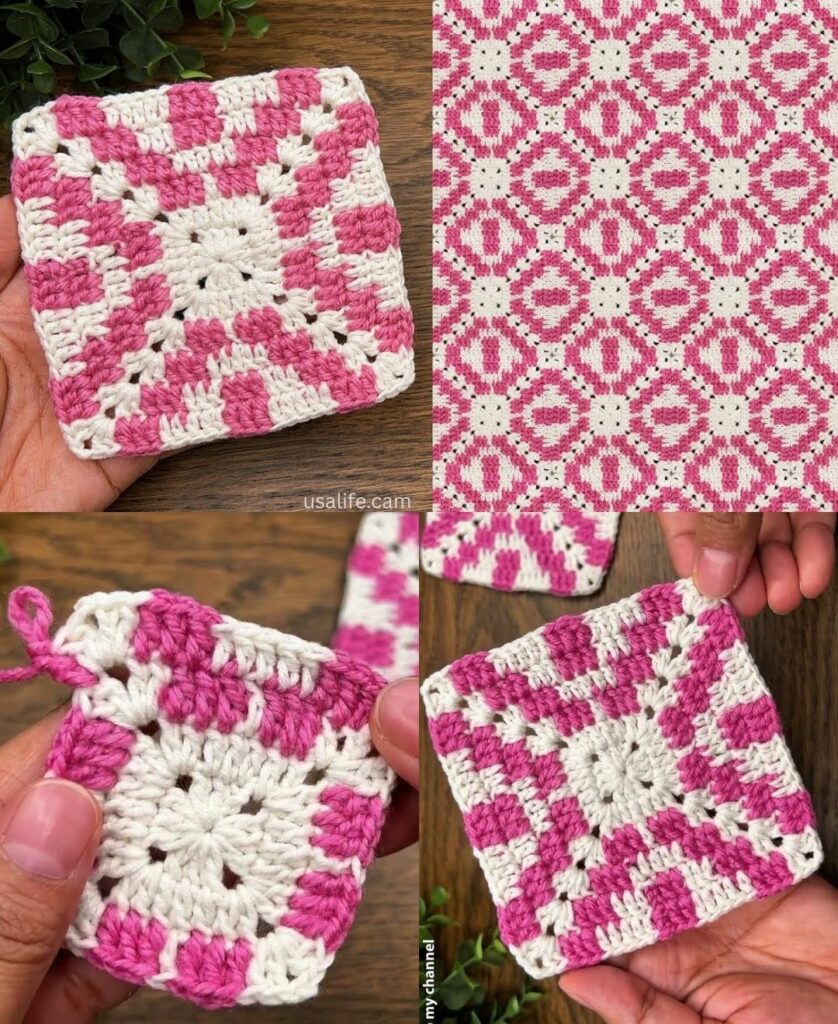
🛠 Step-by-Step Instructions
Round 1: The Foundation
- Start: Make a Magic Ring (or ch 4 and sl st to the first chain to form a ring).
- The Height: ch 3. (This counts as your first double crochet).
- The Circle: Work 11 dc into the ring.
- Close: Pull the yarn tail to tighten the circle. Join with a sl st to the top of your beginning ch 3.Check: You should have a small circle with 12 stitches total.

Round 2: Turning the Circle into a Square
In this round, we create 4 corners to give the square its shape.
- Start: ch 3 (counts as dc).
- First Corner: In the very next stitch, work (2 dc, ch 2, 2 dc).
- The Side: Work 1 dc in each of the next 2 stitches.
- Second Corner: In the next stitch, work (2 dc, ch 2, 2 dc).
- Repeat: Work 2 dc on the side, then a Corner in the next stitch. Repeat one last time until you reach the end.
- Close: Join with a sl st to the top of the beginning ch 3.Note: Your work might look a bit “ruffled” right now—that’s okay! It will flatten out in the next round.
Round 3: Growing the Square
- Start: ch 3. Work 1 dc in every stitch until you reach the corner “hole” (the ch-2 space).
- The Corner: When you reach the hole, work (2 dc, ch 2, 2 dc) directly into that space.
- The Sides: Work 1 dc in every dc stitch along the side.
- Repeat: Follow this pattern (dc in every stitch, Corner in the hole) all the way around.
- Join: sl st to the top of the ch 3.

💡 3 Secrets to a Perfect Square
- Don’t miss the “Hidden Stitch”: After you finish a corner, the first stitch on the next side often gets covered up by the corner you just made. Pull your corner stitches back slightly to make sure you don’t skip that first stitch, or your square will turn into a triangle!
- Counting is Caring: In Round 3 and beyond, every side should have the same number of stitches. If one side has 10 and the other has 11, your square will be lopsided.
- The “Relaxed” Grip: If your square is curling into a bowl, your tension is likely too tight. Try to hold the yarn like you’re holding a small bird—firm enough so it doesn’t fly away, but gentle enough so you don’t squish it.
🏁 Finishing Off
Once your square is as big as you like:
- Cut the yarn, leaving a 6-inch tail.
- Pull the loop on your hook all the way through to “lock” the stitch.
- Use your tapestry needle to weave the tail back and forth through the tops of your stitches on the back of the square.
Would you like me to explain how to join several of these squares together to make a simple tote bag or a pillow cover?
Video tutorial: