 by
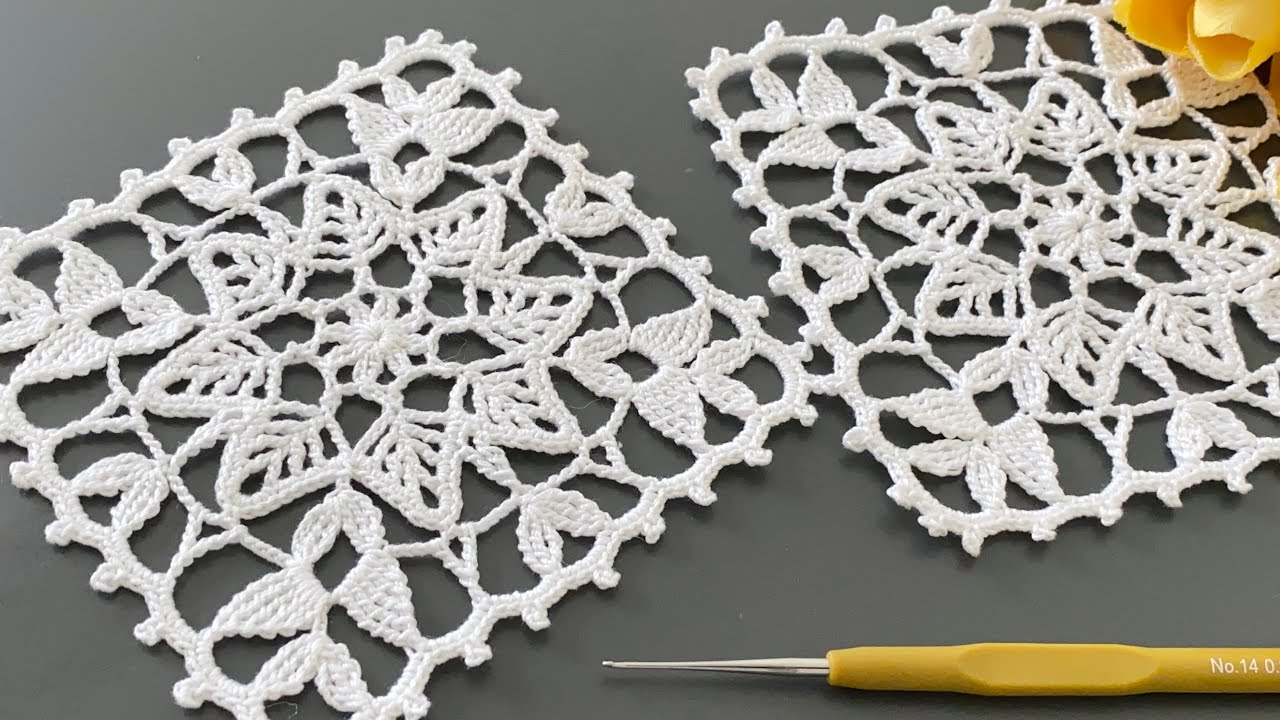
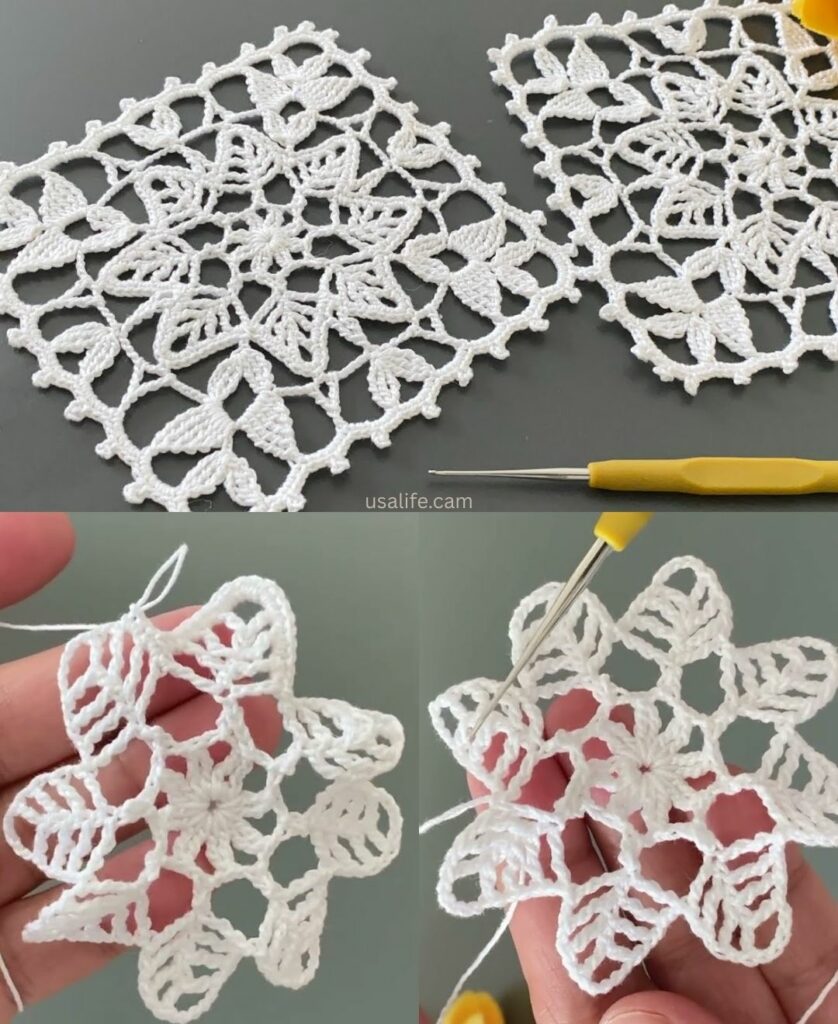
by This “Square Snowflake” is a stylish departure from the traditional granny square. It features a delicate, 8-pointed star/snowflake in the center that is “squared off” using varying stitch heights. This creates a beautiful lace effect that looks stunning in blankets, coasters, or holiday bunting.

Stylish Square Snowflake Motif Pattern
I. Materials Needed
- Yarn: For a crisp snowflake look, use Size 10 Cotton Thread (for ornaments) or DK Weight/Light Worsted Yarn (for blankets). White, Cream, or Ice Blue are classic choices.
- Hook: 2.5mm for thread or 4.0mm (G) for DK yarn.
- Tools: Tapestry needle for weaving ends and scissors.
II. Stitch Key (US Terms)
- MR: Magic Ring
- ch: chain
- sl st: slip stitch
- sc: single crochet
- hdc: half double crochet
- dc: double crochet
- tr: treble crochet
- Picot: Ch 3, sl st into the first ch made. (This creates the “icy” point).
III. Step-by-Step Instructions
Round 1: The Core
- Start with a MR.
- Ch 3 (counts as first dc).
- Work 15 dc into the ring.
- Sl st to the top of the ch-3 to join.
- Total: 16 dc.

Round 2: Setting the Snowflake Points
- Ch 1 (does not count as st).
- In the same stitch as join, work (1 sc, ch 3, 1 sc).
- Sk 1 dc.
- In the next st, work (1 sc, ch 3, 1 sc).
- Repeat around: [Sk 1, (1 sc, ch 3, 1 sc) in next st] 6 more times.
- Sl st to the first sc to join.
- Total: 8 small ch-3 loops.
Round 3: The Detailed Snowflake Lace
In this round, we work inside the ch-3 loops to create the snowflake points.
- Sl st into the first ch-3 loop.
- Ch 3 (counts as dc).
- In the same loop, work: 1 dc, 1 Picot, 2 dc. (This is your first snowflake point).
- Ch 2.
- In the next ch-3 loop, work: (2 dc, 1 Picot, 2 dc).
- Ch 2.
- Repeat around for every loop.
- Sl st to the top of the starting ch-3 to join.
- Total: 8 points with picots.

Round 4: The “Squaring Off” (The Stylish Part)
We will now transform the 8-pointed star into a 4-cornered square. We use tall stitches for corners and short stitches for the flat sides.
- Sl st until you reach the Ch-2 space between two points.
- Corner 1: Ch 4 (counts as tr). In the same ch-2 space, work: (2 tr, ch 3, 3 tr).
- Side: Ch 3. Skip the snowflake point. In the next ch-2 space, work 3 hdc.
- Side: Ch 3. Skip the next snowflake point.
- Corner 2: In the next ch-2 space, work: (3 tr, ch 3, 3 tr).
- Repeat the sequence (Corner, Side, Corner, Side) around.
- Sl st to the top of the ch-4 to join.
- You now have a square shape!
Round 5: The Finishing Border
This round stabilizes the motif.
- Ch 3 (counts as dc).
- Work 1 dc in every stitch across the side.
- Work 3 dc into every Ch-3 side space.
- In the Corners: Work (2 dc, ch 2, 2 dc) in the corner space.
- Sl st to join. Fasten off and weave in ends.

IV. Styling Tips for a “Different” Look
1. The Two-Tone Effect
To make the snowflake “pop,” use White for Rounds 1-3. Then, switch to a Navy Blue or Silver for Rounds 4-5. This makes the snowflake look like it is floating inside a frame.
2. The “Icy” Texture
When working Round 3, use a metallic or glitter thread held together with your yarn. It will catch the light like real snow.
3. Blocking is Mandatory
Snowflake motifs are lace-heavy. To make the points sharp and the square perfectly straight:
- Wet the finished square.
- Pin it to a foam board, pulling the Picots out with pins so they look like ice crystals.
- Let it dry completely.
V. Project Ideas for this Motif
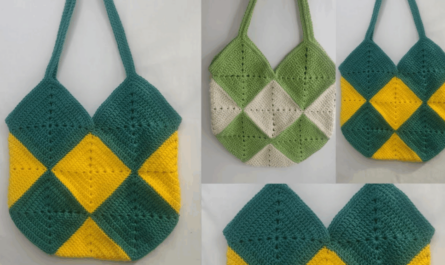
- A “Frozen” Blanket: Join 20 of these squares using a white Join-As-You-Go method for a winter-themed throw.
- Stylish Coasters: Make them in cotton thread and starch them so they are stiff. They make perfect holiday gifts.
- Window Medallion: Crochet just one, block it firmly, and hang it in a window using a transparent fishing line.
Would you like me to explain how to do the “Join-As-You-Go” method specifically for this snowflake square?
Video tutorial: