by
by Crochet square designs are the “building blocks” of the fiber arts.1 Mastering a Square Design allows you to create everything from a small coaster to a magnificent floor-length duster or a delicate table runner.
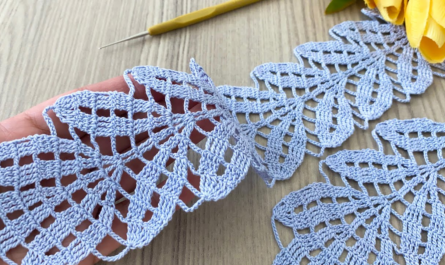
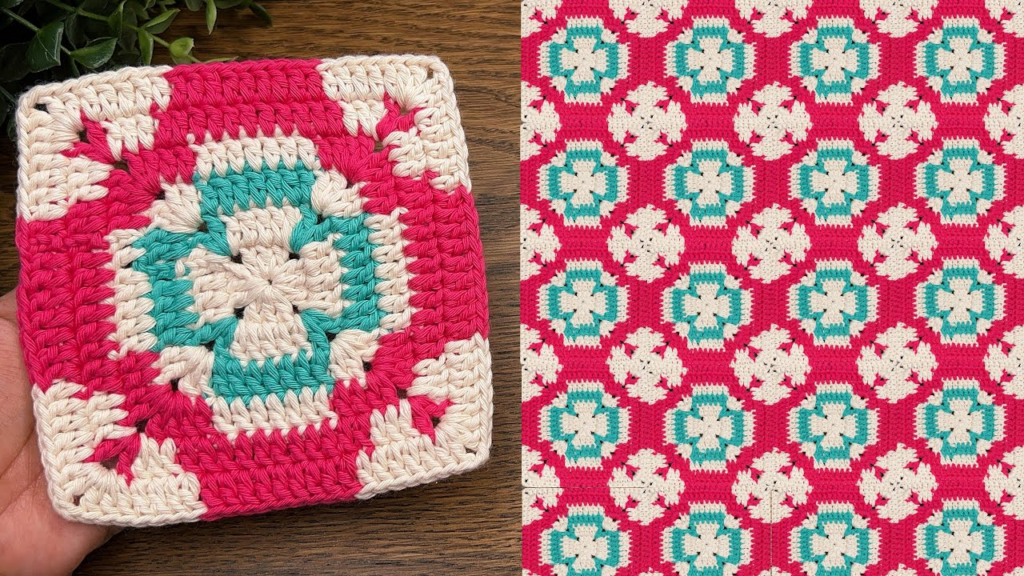
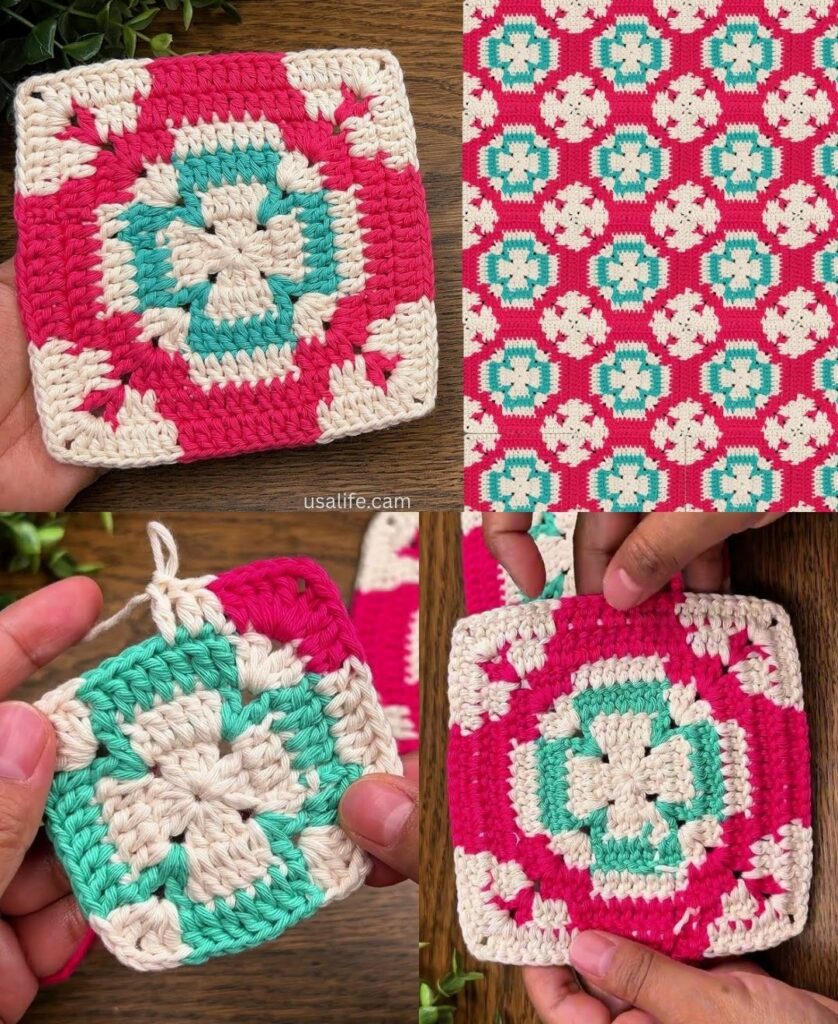
The design below is the “Lace-Frame Diamond Square.” It features a solid, stable center (ideal for garments like blouses and sweaters) and a decorative lattice edge (perfect for lacy runners and shawls).
🧶 Material Selection Based on Design Goal
The “look” of your design changes entirely based on the yarn and hook you choose:
| Design Goal | Recommended Material | Hook Size |
| Lace / Table Runners | Size 10 Mercerized Cotton Thread | 1.5 mm – 2.0 mm |
| Blouses / Summer Wear | Bamboo or Linen blend (DK Weight) | 3.5 mm – 4.0 mm |
| Sweaters / Blankets | Soft Wool or Acrylic (Worsted) | 5.0 mm – 5.5 mm |
🛠 Step-by-Step Tutorial: The Lace-Frame Diamond Square
This motif is worked in 5 rounds. It starts as a circle and uses “stitch height manipulation” to become a perfect square.
Key Abbreviations (US Terms)
- ch: Chain2
- sc: Single Crochet3
- dc: Double Crochet
- tr: Treble Crochet (Yarn over twice)4
- sl st: Slip Stitch
Round 1: The Foundation Disk
- Start: Make a Magic Ring (or ch 4 and sl st to the first ch to form a ring).
- Stitches: ch 3 (counts as your first dc). Work 11 dc into the ring.
- Join: sl st to the top of the ch 3.

Result: A solid circle of 12 dc.
Round 2: Creating the Diamond “Windows”
- ch 4 (counts as 1 dc + ch 1). Work dc in the same stitch. (First V-stitch).
- ch 1.
- Repeat: [In the next stitch, work (dc, ch 1, dc). ch 1.] in every stitch around.
- Join: sl st to the 3rd chain of the starting ch 4.
Result: 12 small V-shapes. This creates the “breathable” texture for blouses.
Round 3: Squaring the Circle
This is the most critical step. We use Treble Crochets to create the corners.
- Move Hook: sl st into the first ch-1 space.
- First Corner: ch 4 (counts as tr). Work (2 tr, ch 3, 3 tr) in that same space.
- The Side:
- ch 1, skip 2 spaces.
- Work 3 dc in the next space.
- ch 1, skip 2 spaces.
- Repeat: [Corner (3 tr, ch 3, 3 tr) in the next space, Side (ch 1, 3 dc, ch 1) in the middle] 3 more times.
- Join: sl st to the top of the ch 4.

Round 4: The Lattice Frame
- sl st across to the ch-3 corner space.
- Corner: ch 3, work (2 dc, ch 2, 3 dc) in the corner.
- The Side: Work 3 dc into every ch-1 space along the sides, with a ch 1 separating each cluster.
- Join: sl st to the top of the ch 3.
Round 5: The Finishing Edge
- sc in every stitch around.
- In Corners: Work (sc, ch 2, sc).
- Finish: Fasten off and weave in ends with a tapestry needle.
📐 Design Strategy for Models
1. The Table Runner Model
- Assembly: Join squares in a $1 \times 10$ row for a long, thin runner.
- Styling: Use a high-contrast thread (like white thread on a mahogany table) to make the Round 2 “windows” pop.
- Border: Add a tassel to the four outer corners of the final runner for a magnificent finish.

2. The Blouse/Sweater Model
- Assembly: Join squares into two large panels (Front and Back).
- Texture: Because the center (Round 1) is solid, it provides coverage. Because Round 4 is lacy, the garment will drape and move with your body rather than being stiff.
- Fit: If the blouse is too small, simply add one more round of the Round 4 pattern to every square.
3. The Shawl Model
- Assembly: Join squares in a Triangle formation (1 square at the bottom, 2 in the next row, 3 in the next, etc.).
- Styling: Use a large hook ($5.0\text{ mm}$ or $6.0\text{ mm}$) with thin yarn. This makes the square very “floppy” and soft, which is perfect for a wrap.
💡 Professional Tip: Symmetry and Tension
When designing squares, the most common mistake is having a “tight center” and “loose edges,” which causes the square to bowl or ripple.
The Fix: If your square isn’t laying flat, check Round 3. Ensure your Treble Crochets are tall enough. If they are too short, the corners will pull inward and the square will look like a circle.
Would you like me to help you calculate how many of these squares you would need to make a standard-size medium blouse?
Video tutorial: