 by
by Crocheting a square blanket—often called a Motif Blanket or a Granny Square Blanket—is a deeply rewarding project.1 The beauty of this method is its portability: you can crochet small squares while traveling or relaxing, and then join them later to create a magnificent, heirloom-quality piece.
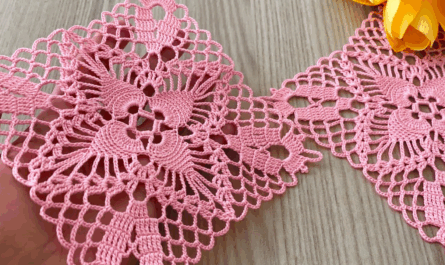
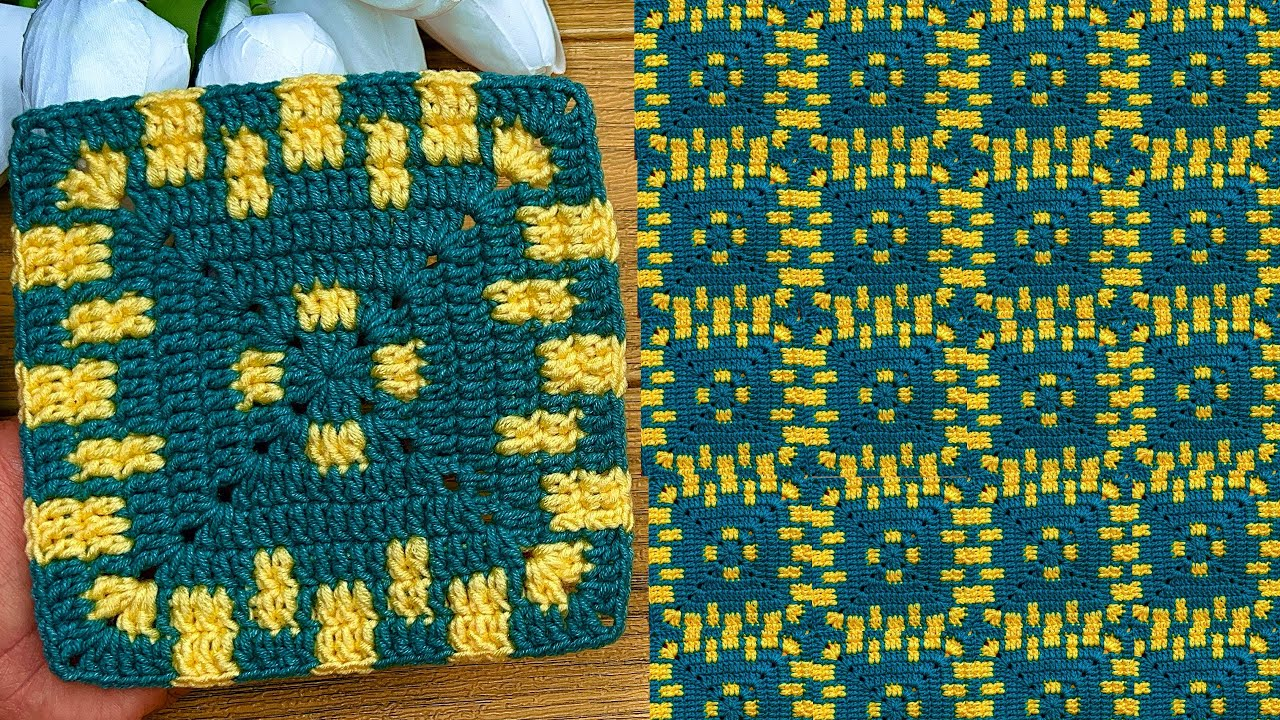
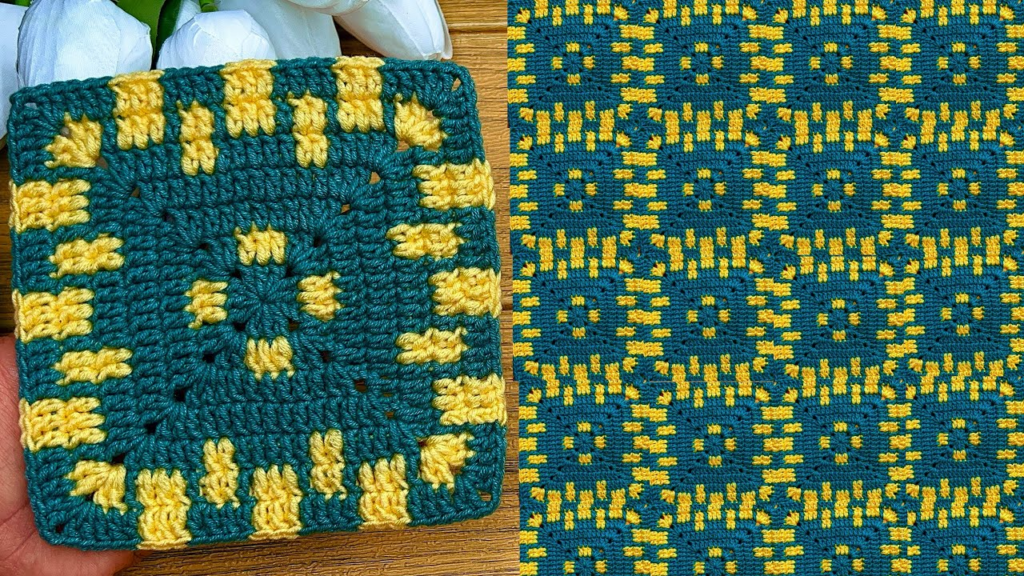
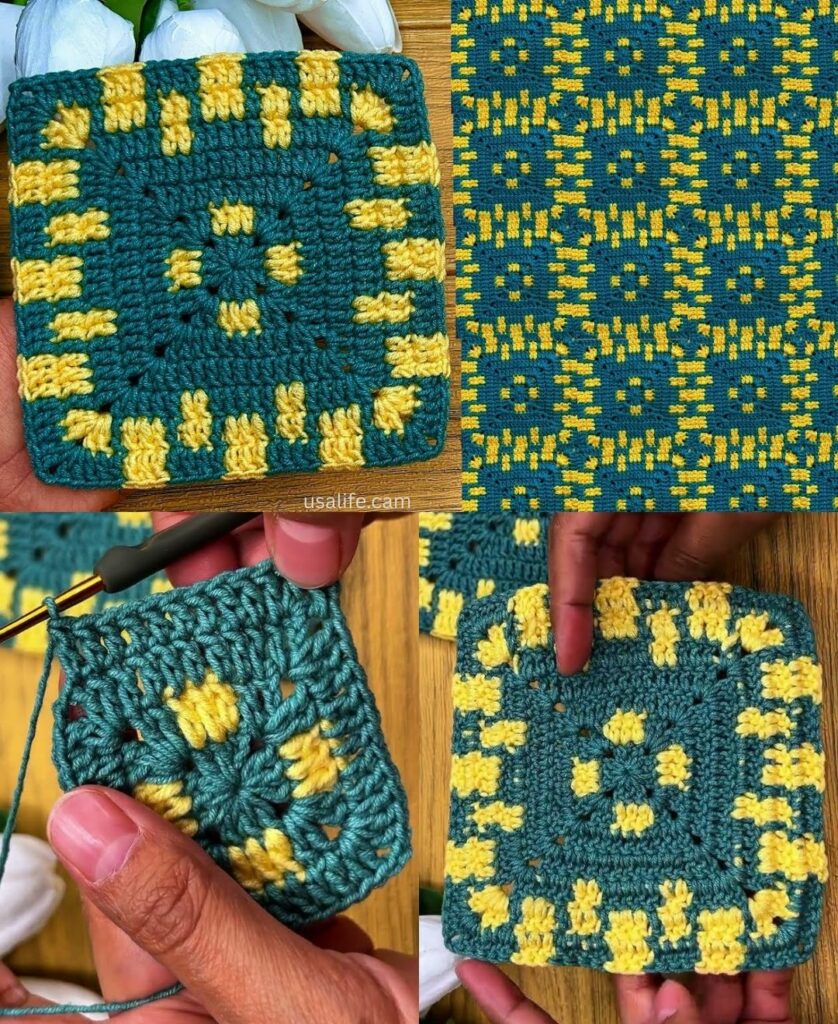
For this tutorial, we will focus on the “Cozy Lattice Square,” which features a solid center for warmth and a decorative edge that makes joining easy.
🧶 Preparation: Blanket Math & Materials
Before starting, you need to decide on the size of your blanket. This determines how many squares you need to crochet.
Blanket Sizing Guide
| Blanket Type | Approx. Size | Squares Needed (6″ / 15 cm sq) |
| Baby Blanket | 30″ x 36″ | 30 (5 x 6 grid) |
| Lapghan / Throw | 50″ x 60″ | 80 (8 x 10 grid) |
| Twin Bed | 65″ x 90″ | 150 (10 x 15 grid) |
Materials
- Yarn: Medium-weight Worsted (Size 4) yarn. Acrylic or a Cotton blend is best for blankets because they are machine-washable.
- Hook: 5.0 mm (H/8) or 5.5 mm (I/9).
- Notions: A tapestry needle for weaving in ends and joining.2

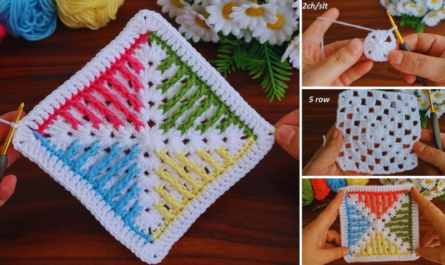
🛠 Step 1: The “Cozy Lattice” Square Pattern
Stitch Key (US Terms)
- ch: Chain
- sl st: Slip Stitch
- sc: Single Crochet
- dc: Double Crochet
- Corner Cluster: (2 dc, ch 2, 2 dc) in the same space.
Instructions
Round 1: The Foundation
- Make a Magic Ring (or ch 4 and sl st to first ch).
- ch 3 (counts as dc). Work 11 dc into the ring.
- sl st to the top of the ch 3. (12 dc total).
Round 2: Doubling Up
- ch 3. Work 1 dc in the same stitch.
- Work 2 dc in every stitch around.
- sl st to top of ch 3. (24 dc total).

Round 3: Squaring Off
- ch 4 (counts as 1 dc + ch 1). In the same stitch, work (2 dc, ch 2, 2 dc). This is your first corner.
- Side: ch 1, skip 2 stitches, 3 dc in next stitch, ch 1, skip 2 stitches.
- Corner: In the next stitch, work (2 dc, ch 2, 2 dc).
- Repeat: Continue the Side and Corner pattern around.
- Finish: sl st to the 3rd chain of the starting ch 4.
Round 4: The Lattice Expansion
- sl st into the corner ch-2 space.
- ch 3, work (1 dc, ch 2, 2 dc) in the corner.
- Side: Work 3 dc into every ch-1 space along the sides, with a ch 1 between them.
- Join with a sl st and fasten off.
🧩 Step 2: Joining the Squares
Once you have crocheted all your squares, it is time to assemble them. For blankets, the Mattress Stitch is the most professional-looking method because it creates a flat, invisible seam.3
- Lay out your squares in your desired color pattern on a flat surface.
- Thread your needle with a long piece of yarn (usually the same color as the outer round of your squares).
- Sewing: Align two squares. Insert the needle into the inner loops (the loops closest to each other) of the stitches.
- Zigzag: Move back and forth between the two squares like lacing a shoe. Do not pull too tight until you have finished a whole row; then, gently tug the yarn to make the seam disappear.

🎨 Step 3: The Magnificent Blanket Border
A border “frames” your work and hides any slight irregularities at the edges of your joined squares.
- Round 1: Join yarn at any corner. Work sc into every stitch around the entire blanket. Work (sc, ch 2, sc) in the four main blanket corners.
- Round 2: ch 3. Work dc in every stitch around. This adds weight and “swing” to the blanket.
- Round 3 (Decorative): Work a Shell Stitch (5 dc in one stitch, skip 2, sc in next, skip 2) around the edge for a soft, scalloped look.
💡 Pro-Tips for Blanket Success
- Tension Consistency: Try to crochet all your squares in the same “mood.” If you crochet some while stressed and others while relaxed, the sizes may differ slightly!
- Weave as You Go: Do not wait until the end to weave in your yarn tails. Weave them in after every 5 squares to avoid “finishing fatigue.”
- Blocking: For a truly magnificent finish, pin your squares to a foam board and steam them lightly before joining. This ensures every square is a perfect 90-degree angle.
Would you like me to create a color-mapping guide to help you decide how to arrange your squares for a beautiful ombré or checkerboard effect?
Video tutorial: