 by
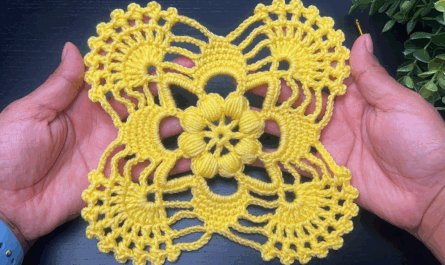
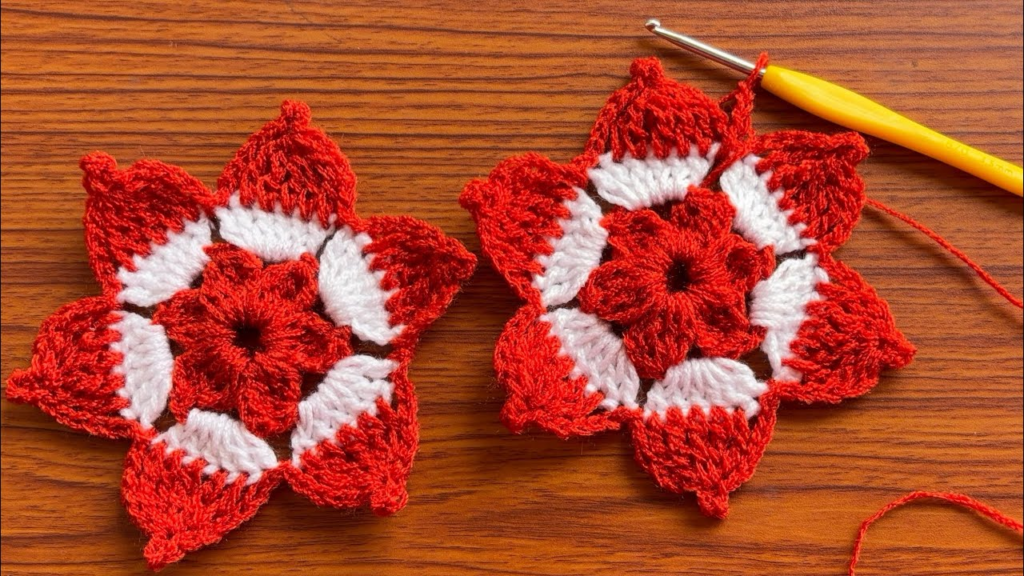
by Crochet flowers are the “instant gratification” of the craft world. They are small, take about ten minutes to finish, and act as a perfect gateway to learning how to work in the round.
For a beginner, the Classic 5-Petal Bloom is the best starting point. It teaches you the three most important skills: creating a center ring, managing stitch heights to create curves, and finishing a project securely.
🧶 The Beginner’s Floral Kit
Before you grab your hook, choose a yarn that doesn’t “fight” you. Avoid dark colors (black or navy) because you won’t be able to see the holes where your hook needs to go.
| Item | Recommendation | Why? |
| Yarn | Medium-weight (Worsted/Size 4) Cotton or Acrylic | Sturdy, doesn’t split easily, and shows stitch definition. |
| Hook | 5.0 mm (H/8) | Large enough to hold comfortably without hand cramps. |
| Color | Bright Yellow, Pink, or Mint | Makes the “anatomy” of the stitch easy to see. |
Essential Stitch Key (US Terms)
- ch (Chain): The basic building block.
- sl st (Slip Stitch): Used to join or “anchor” a petal.
- sc (Single Crochet): A short, tight stitch for the flower center.
- dc (Double Crochet): A tall stitch that provides the “body” of the petal.
🛠 Step-by-Step Instructions
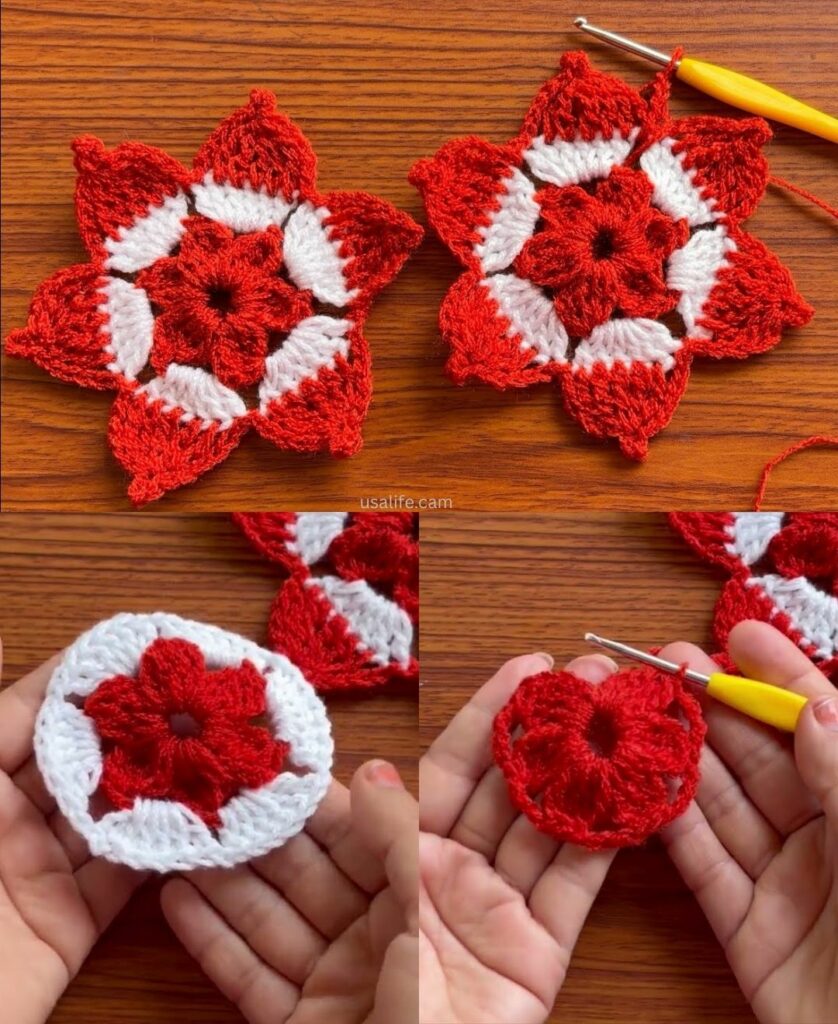
Step 1: The Foundation (The Center)
- Make a Slip Knot and put it on your hook.
- ch 4. 3. Insert your hook into the very first chain you made and work a sl st.
- You now have a tiny circle. This is the “eye” of your flower.
Step 2: Round 1 (The Petal Bases)
We are going to crochet into the big hole in the center of the circle, not into the individual chains.
- ch 1 (this just gets your hook to the right height).
- Work 10 sc into the center of the ring.
- sl st into the first sc you made to close the circle.

Check your work: You should have a little “doughnut” with 10 visible stitches around the edge.
Step 3: Round 2 (Growing the Petals)
Each petal is worked over 2 stitches from the previous round.
- Start Petal 1: ch 2. In the same stitch you just joined into, work 2 dc.
- Finish Petal 1: In the next stitch, work 2 dc, then ch 2, and sl st into that same stitch. (First petal done!)
- Repeat: * sl st into the next “empty” stitch.
- ch 2, 2 dc in that same stitch.
- 2 dc, ch 2, sl st in the next stitch.
- Keep going until you have 5 petals.

💡 Troubleshooting Like a Peer
- “My flower is curling into a cup!” You are likely pulling your yarn too tight. Crochet should feel relaxed. If you feel like you’re in a tug-of-war with the yarn, loosen your grip or move up to a 5.5 mm hook.
- “I can’t find the hole!” After you finish a petal, it often “crowds” the next stitch. Use your fingers to physically push the petal to the left to reveal the next empty stitch in the center ring.
- The “Yarn Chicken” Warning: Don’t cut your yarn too short! Always leave a 6-inch tail at the end. If you cut it too close to the knot, the flower will eventually commit suicide and unravel.
✨ What to do with your flower?
- The “Pocket Hug”: Make one and slip it into a friend’s coat pocket or an envelope.
- The Beanie Upgrade: Sew it onto a plain store-bought hat to make it look like a boutique piece.
- The Garland: Crochet 10 of these in different colors and string them together with a long chain for a nursery decoration.
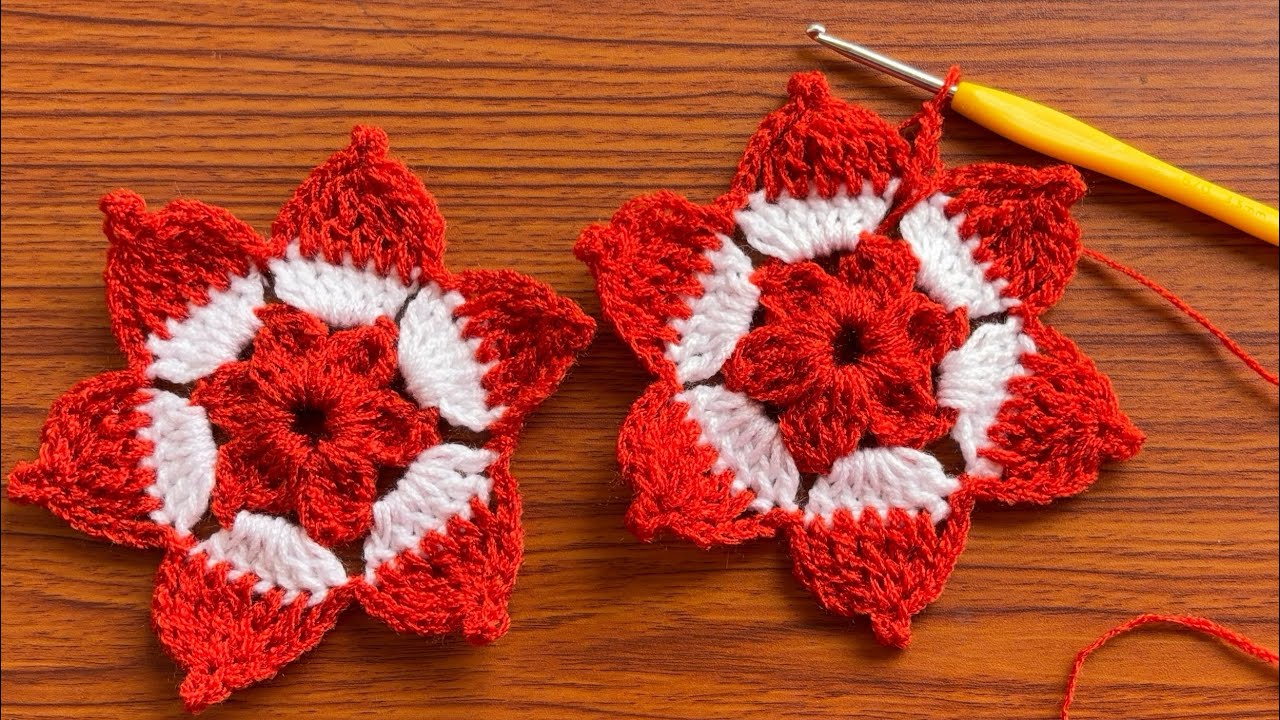
Would you like me to show you how to change colors so you can make a flower with a yellow center and white petals (a classic daisy)?