by
by Creating a “unique design” isn’t about following one specific pattern; it’s about learning the formula to adapt any pattern into something original. Whether you are making a baby blanket, a blouse, or a table runner, you can use these “Design Pillars” to ensure no one else has a piece quite like yours.
Think of this as your master blueprint for crochet innovation.
Pillar 1: The “Stitch Mashup” (Texture)
Most beginners stick to one stitch for a whole project. To make it unique, combine textures.
- The 70/30 Rule: Use a “calm” stitch (like Moss Stitch or Half Double Crochet) for 70% of the project, then insert a “loud” textured row (like Bobbles or the Snowflake Motif) for the remaining 30%.
- Vertical vs. Horizontal: Crochet a panel horizontally, then rotate it 90 degrees and crochet the next section vertically. This creates a “woven” look that is rarely seen in standard patterns.
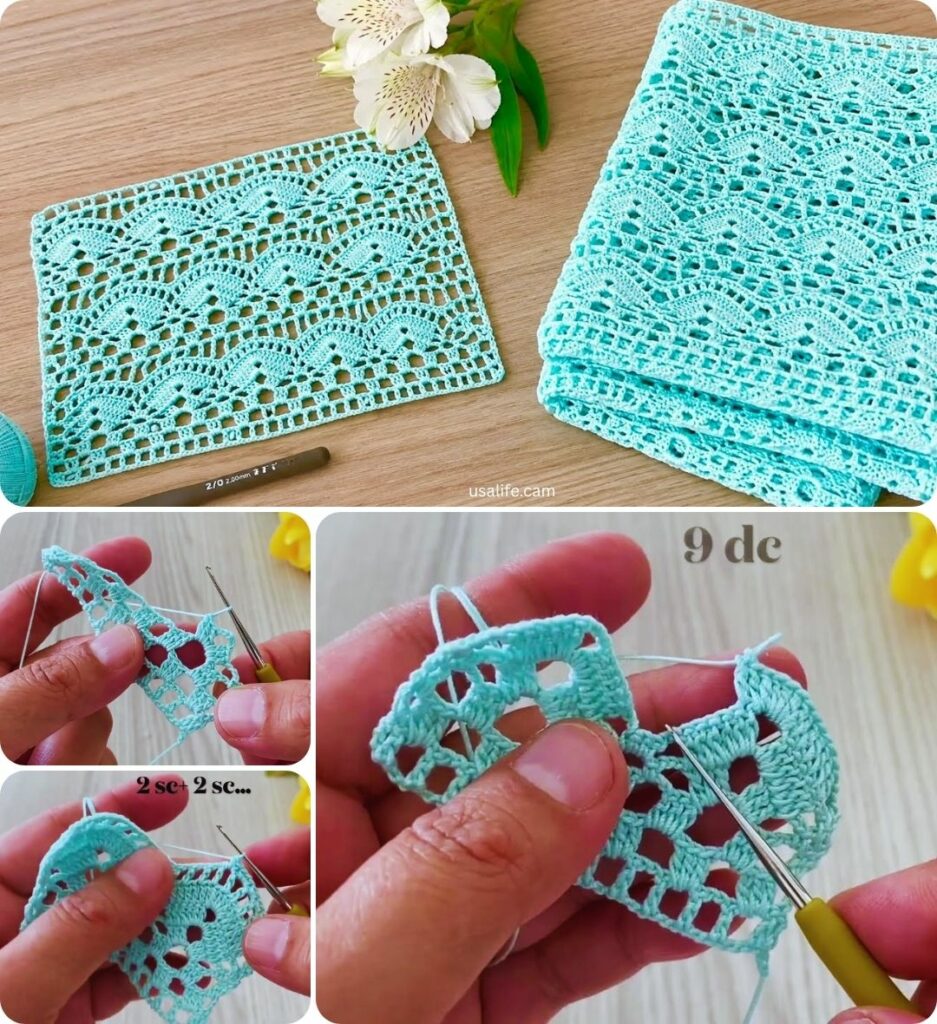
- The “Window” Technique: Create a solid block of Double Crochet, but every 5th row, work a row of V-stitches or Lace. It creates a “peek-a-boo” effect.
Pillar 2: Strategic Color Theory
Color is the first thing people notice. To move beyond “standard,” try these professional color strategies:
| Strategy | How to Do It | Effect |
| The “Pop” Neutral | Use 90% a neutral color (Cream, Grey, Tan) and 10% a neon or bright jewel tone for only the borders or centers. | Sophisticated & Modern |
| Planned Pooling | Use variegated (multi-color) yarn and specific stitch counts to make the colors form a plaid or argyle pattern. | High-end/Complex |
| Gradient Fade | Use three shades of the same color. Work 1/3 of the project in Dark, 1/3 in Medium, and 1/3 in Light. | Elegant & Soothing |
| The “Scrap” Stripe | Use a consistent “anchor” color (like Black) every other row, and use random scraps for the alternating rows. | Eclectic & Fun |
Pillar 3: Structural Innovation (Shape)
Unique designs often break the “rectangle” mold.
- Asymmetry: Instead of a rectangular shawl, make one side longer than the other.
- Negative Space: Intentionally leave “holes” in your design (like a large lace section in the middle of a solid sweater) to create a high-fashion look.
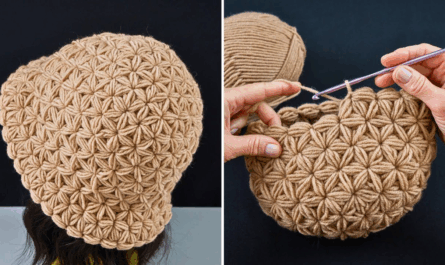
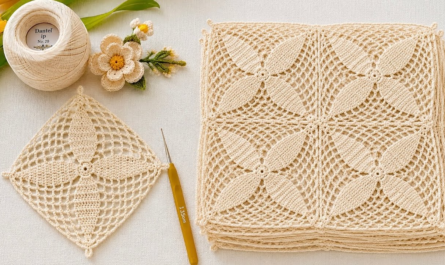
- The Motif Inset: Take a “Snowflake Motif” or “Granny Square” and crochet it into the back of a plain blouse or the corner of a blanket. This makes the motif look like an expensive applique.

Pillar 4: The “Signature” Finishing
A project is often defined by how it ends. This is where you add your “Designer Mark.”
- Exaggerated Borders: Instead of a tiny 1-inch border, give a baby blanket a massive, 5-inch intricate lace border. It changes the entire “vibe” of the piece.
- Mixed Media: Add wooden buttons, leather tags, or velvet ribbons. Threading a ribbon through a row of DC stitches (the “ribbon run”) adds an instant vintage luxury feel.
- Fringe & Tassels: Don’t just add them to the ends. Add small tassels to the corners of every motif or along the spine of a shawl.

The “Unique Project” Checklist
Before you start your next project, ask yourself these three questions to ensure it’s a unique design:
- Can I change the fiber? (e.g., Making a “winter” pattern out of “summer” silk/bamboo yarn).
- Can I change the scale? (e.g., Using jumbo yarn for a pattern meant for thin thread to make a “giant” version).
- Can I “frame” it? (e.g., Taking a simple stitch and surrounding it with a very complex, stylish border).
A Final Pro-Tip:
Document your “Hook-Print.” Every crocheter has a slightly different tension. Embrace yours! If your stitches are naturally loose, choose lacy patterns that celebrate that “flow.” If you crochet tight, lean into structural items like bags or 3D roses that hold their shape perfectly.
Which of these projects are you currently dreaming up—is it a wearable garment like a blouse, or something for the home like a blanket?