 by
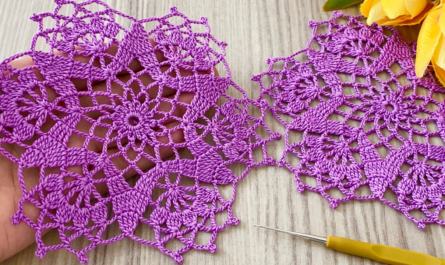
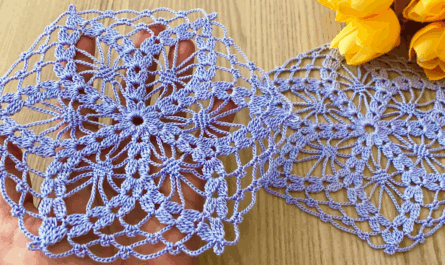
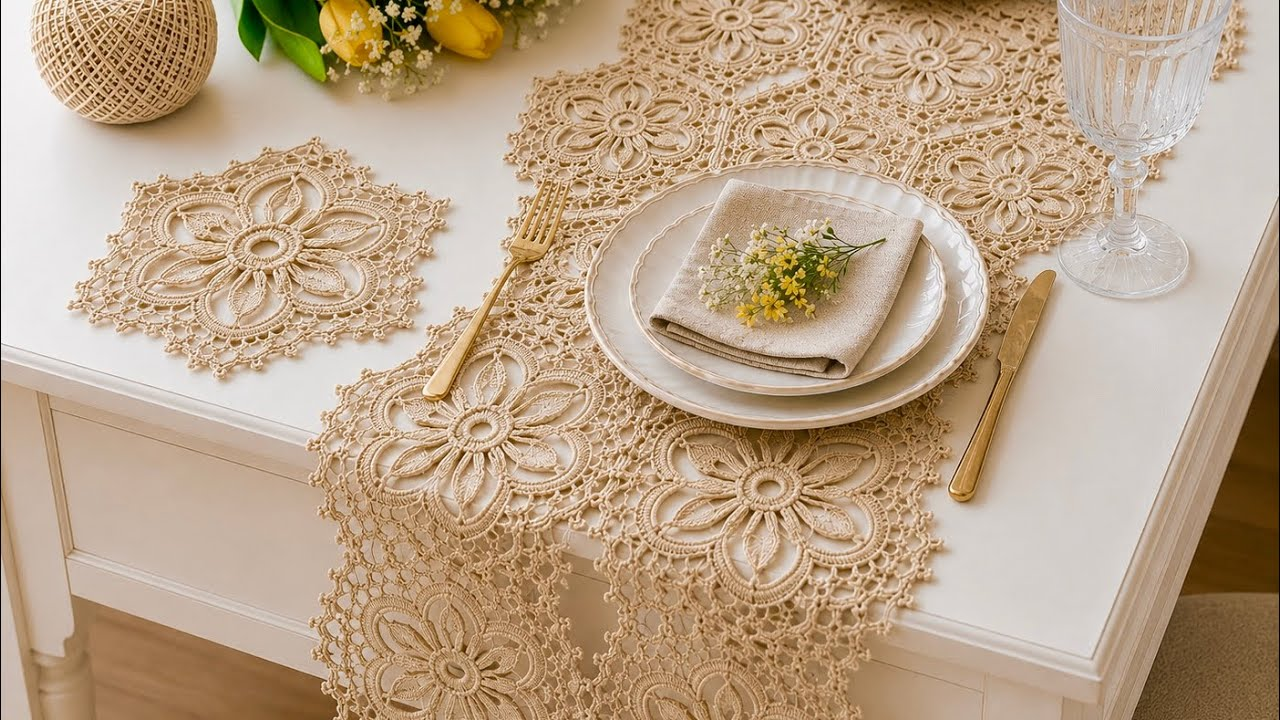
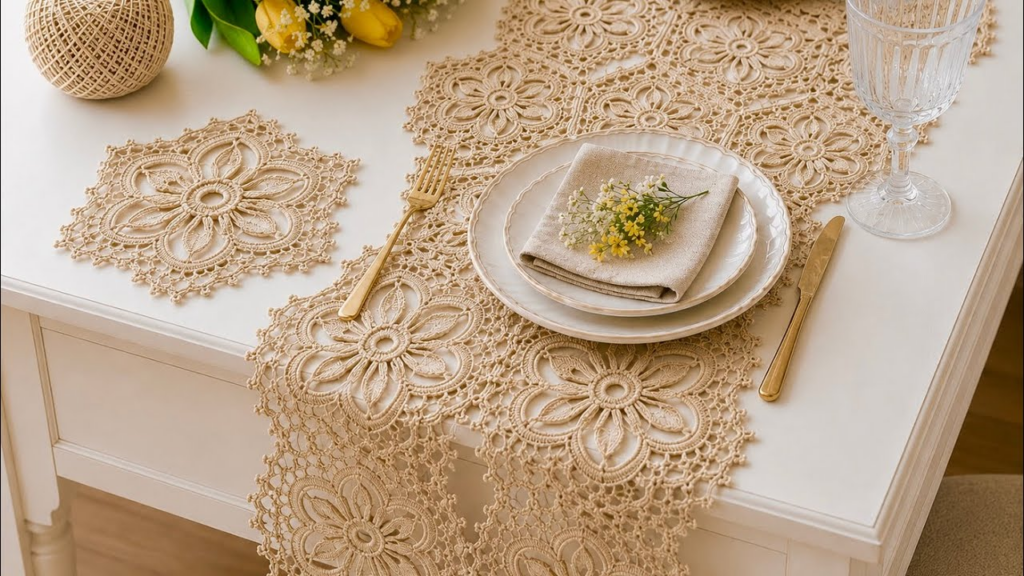
by The 6-Pointed Motif (often called a “Hexagon Motif”) is the most versatile shape in crochet. Unlike a 4-sided square, which is rigid and blocky, a 6-pointed motif nests together like a honeycomb. This allows for fluid, organic draping that is perfect for garments, yet mathematically precise for blankets and table runners.
🧶 The Motif Builder’s Toolkit
To make a 6-pointed star or hexagon, you need to master ratios of 6. Everything in this pattern will be built on increments of 6 to ensure it lays perfectly flat.
| Item | Recommendation | Why? |
| Yarn | Mercerized Cotton (Sport/DK) | Best for crisp, clear star points. |
| Hook | 3.5 mm (E/4) | Keeps the “gaps” in the lace tight and architectural. |
| Stitch Markers | 6 markers | Absolutely essential to mark your 6 “points” during Round 2 and 3. |
Stitch Key (US Terms)
- ch / sl st: Chain / Slip Stitch.
- sc / dc / tr: Single / Double / Treble Crochet.
- Corner: (dc, ch 2, dc) worked into the same space.
🛠 Step-by-Step: The “Architectural” 6-Pointed Motif
Round 1: The Foundation
- Start: Make a Magic Ring.
- Stitches: ch 3 (counts as dc). Work 11 dc into the ring (12 dc total).
- Join: sl st to the top of the ch 3.

Round 2: Setting the 6 Points
- Pattern: [1 dc in next stitch, ch 2, 1 dc in same stitch]—this creates a “V” shape.
- Repeat: Skip 1 stitch and repeat the “V” pattern 6 times around.
- Join: sl st to the start. You now have 6 distinct “corners” (the ch-2 spaces).
Round 3: Building the Geometry
- Move: sl st into the first ch-2 space.
- Corner: ch 3 (counts as dc), 1 dc, ch 2, 2 dc (all in same space).
- The Side: * ch 1, skip 2 stitches, work 3 dc in the next stitch. ch 1.
- Repeat: Work the Corner (2 dc, ch 2, 2 dc) into every ch-2 space.
- Join: sl st to the top of the ch 3.
Round 4: Filling the Hexagon
- Corner: In every corner space, work (2 dc, ch 2, 2 dc).
- Side: In every side ch-1 space, work 3 dc.
- Result: You now have a solid, flat hexagon with 6 sharp points.

📐 The “Honeycomb” Math
Because 6-pointed motifs tessellate (fit together) without leaving gaps, they are incredible for custom-fit clothing.
- For a Blouse: You can join them in a horizontal strip around the torso. Because the edges are angled, they mimic the natural curves of the body much better than a straight-edged square.
- The Tessellation Formula: The area ($A$) of a regular hexagon with side length $s$ is:$$A = \frac{3\sqrt{3}}{2}s^2 \approx 2.598s^2$$Knowing this helps you estimate how many motifs you need to cover a specific surface area for a table runner or afghan.
💡 Gemini’s Pro-Level Tips
- The “Turning” Rule: To keep your 6-pointed motif from looking “tilted” or spiraled, turn your work after every round. This keeps the stitches perfectly vertical and the points of your hexagon razor-sharp.
- Blocking is Non-Negotiable: A 6-pointed motif will almost always look like a lumpy circle until it is blocked. Pin the 6 corners to a foam board using rust-proof pins, mist with water, and let it dry completely. This “sets” the geometry.
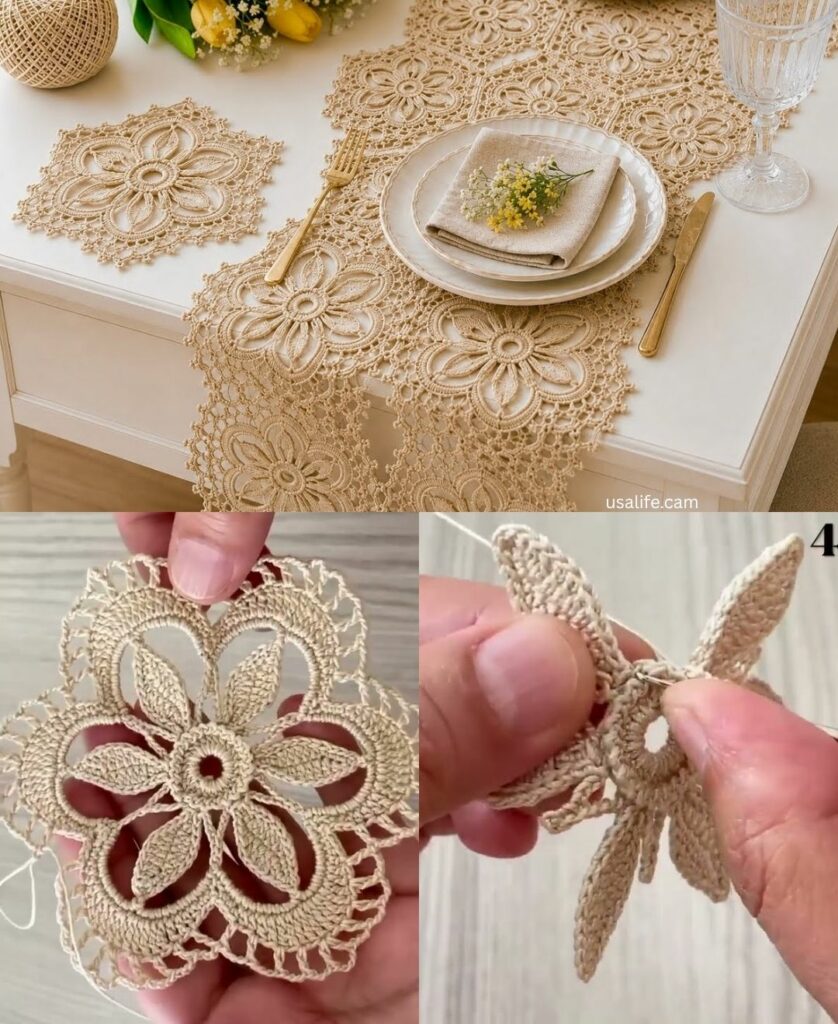
- The Invisible Join (JAYG): When joining these into a runner or garment, use a Join-As-You-Go method. On the final round of a new motif, replace your “ch 2” corner with a “ch 1, sl st into the existing motif’s corner, ch 1.” This creates a seamless, factory-finish look.
✨ Style Note: The “Gradient” Effect
To make this motif look like a high-end designer piece, try a color gradient. Use a dark tone for the center (Round 1), a medium tone for the middle (Rounds 2-3), and a light tone for the final framing round (Round 4). This creates a “glow” effect in the center of every hexagon.
Would you like me to create a “joining map” for how to arrange these 6-pointed motifs to form a standard vest or cardigan?