by
by To crochet a stunning garment or wrap—whether a Trendy Blouse, a Flowing Tunic, or an Elegant Shawl—you don’t need to follow separate, overly complicated patterns. Instead, fashion designers use a flexible modular system called the “Two-Panel Grid Framework.”
By crafting two identical rectangular panels using a single, beautiful stitch pattern and adjusting the final length and seaming layout, you can easily create three completely distinct silhouettes.
I. The Technical Blueprint: Material & Sizing Math
1. The Fiber Selection
- The Best Choice: A Bamboo, Linen, or Silk blend (Sport weight/Category 2 or Fingering weight/Category 1).
- Why: Plant-based and silk fibers possess a heavy, liquid-like drape. Unlike wool or thick acrylic, which can look bulky, these yarns allow the lace windows to open wide, keeping the garment lightweight, breathable, and highly elegant.
2. The Master Sizing Formulas
Grab a tape measure and take your Bust Measurement around the fullest part of your chest.
$$\text{Panel Width} = \frac{\text{Bust Measurement}}{2} + \text{2 inches (for a relaxed, flattering fit)}$$
- For a Blouse Length: Measure from the highest point of your shoulder down to your hip bone (approx. 18 to 22 inches).
- For a Tunic Length: Measure from your shoulder down past your hips to mid-thigh (approx. 28 to 34 inches).
- For a Rectangular Shawl: Ignore your bust size. Simply make each panel 12 to 14 inches wide and crochet until it is 60 to 65 inches long.

II. The Master Stitch: The “Stacked Lace Arcade” (US Terms)
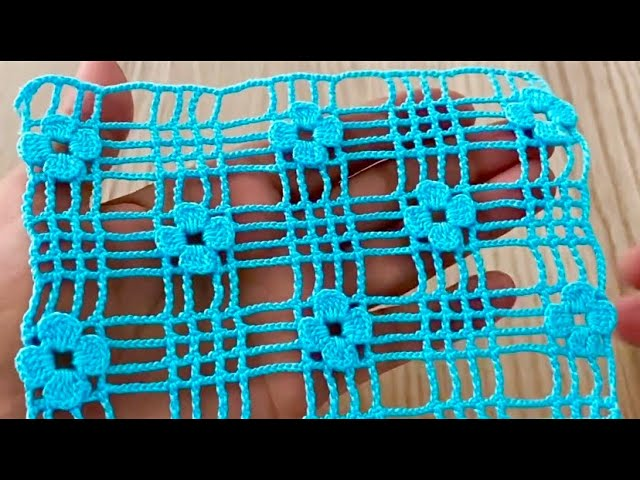
This stitch pattern utilizes a combination of double crochet clusters and airy open windows. It provides excellent horizontal stretch (allowing the garment to move with you comfortably when sitting) but resists vertical sagging.
- The Foundation Chain: Chain a multiple of $6 + 2$ until your starting chain matches your calculated Panel Width.
  STITCH ARCHITECTURE VISUALIZATION:
  Row 3: [dc][dc][dc] --- ch 3 --- [dc][dc][dc] --- ch 3 --- [dc] (The Cluster Windows)
  Row 2: [sc] ----- ch 5 ----- [sc] ----- ch 5 ----- [sc] ----- [sc] (The Lace Arcade)
  Row 1: [dc] into every chain across                              (The Solid Base Hem)
Step-by-Step Panel Construction (Make 2)
Row 1 (The Foundation Base):
- Chain your required multiple (e.g., chain 74 for a 19-inch wide panel).
- Work 1 dc in the 4th chain from the hook (the skipped chains count as your first dc).
- Work 1 dc into every single chain across the row. Turn.
Row 2 (The Open Arcade):
- Ch 1 (does not count as a stitch). Work 1 sc into the very first stitch.
- Ch 5, skip 5 stitches, work 1 sc into the next stitch.
- Repeat from * across the row until you reach the end, placing your final sc into the top of the turning chain. Turn.
Row 3 (The Cluster Windows):
- Ch 3 (counts as your first dc).
- Work 3 dc directly inside the first ch-5 arcade loop space. Ch 3, skip the sc stitch.
- Repeat from * across the row, working 3 dc into every single loop space.
- Work 1 dc into the final sc stitch of the row. Turn.
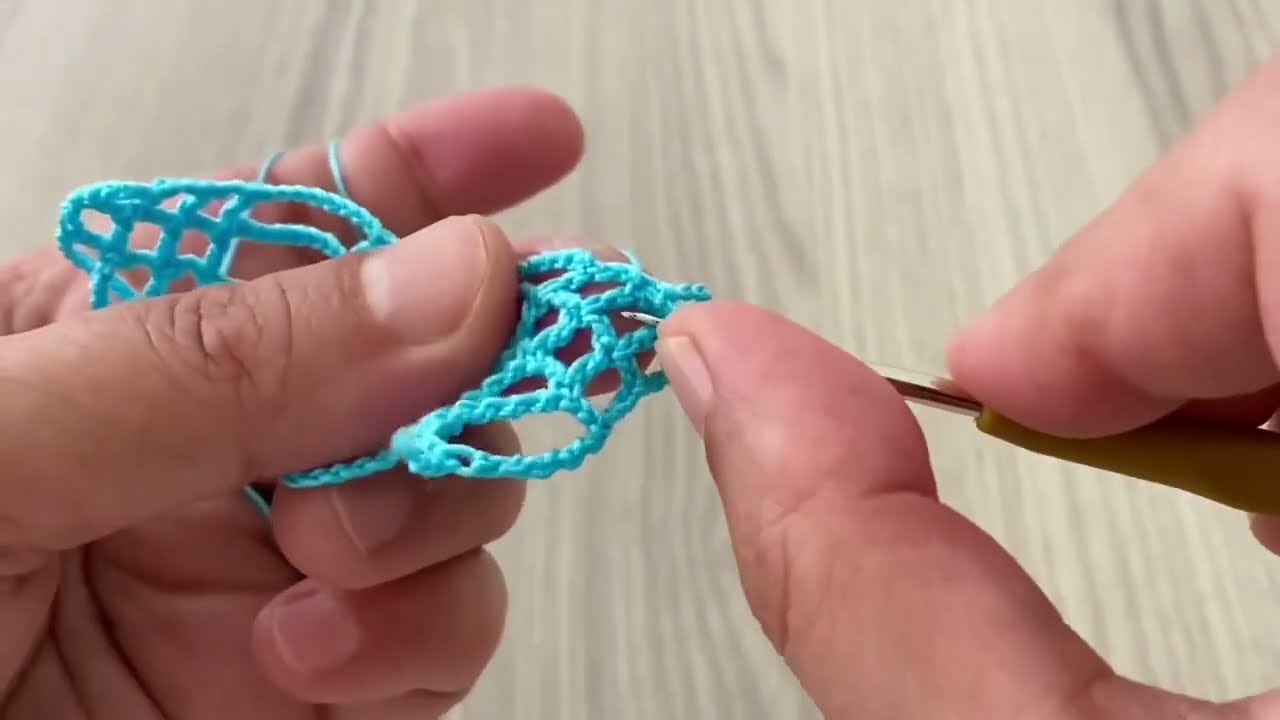
Row 4 and Beyond:
- Repeat Row 2 and Row 3 in sequence.
III. “Detail and Detail” Project Mapping & Assembly
Once your two identical panels are finished, lay them out flat. Your assembly layout is what determines which piece of fashion you create:
         BLOUSE ASSEMBLY STYLE                      TUNIC ASSEMBLY STYLE                 ELEGANT WRAP SHAWL
          ==Shoulder==   ==Shoulder==               ==Shoulder==   ==Shoulder==          ___________________
         |   ______         ______   |             |   ______         ______   |        |                   |
         |  |      |       |      |  |             |  |      |       |      |  |        |      Panel 1      |
         |  |      | Boat  |      |  |             |  |      | V-Neck|      |  |        |___________________|
         |  |      \_______/      |  |             |  |       \_____/       |  |         ___________________
         |  |                     |  |             |  |                     |  |        |                   |
         |  |                     |  |             |  |                     |  |        |      Panel 2      |
         |==|                     |==|             |==|                     |==|        |___________________|
         |  |                     |  |             |  |                     |  |
         |  |                     |  |             |  |                     |  |         (Join short ends
         |  |                     |  |             |  |                     |  |          together for a
         |__|_____________________|__|             |__|____________ _____ __|__|          dramatic long wrap)
                                                                   ^     ^
                                                                (Side Slits)
1. The Trendy Boxy Blouse
- The Setup: Stop crocheting your panels when they reach your hip bone.
- The Assembly: Lay the panels on top of each other, right sides facing. Sew from the outer shoulders inward for 4 to 5 inches, leaving the center open for an elegant boatneck look. Measure down 8 inches from the shoulder for the armhole, and sew the side seams straight down to the bottom hem using a Mattress Stitch.
2. The Flowing Beach Tunic
- The Setup: Continue repeating the stitch pattern until the panels drop down past your hips to mid-thigh.
- The Custom Accent (The Side Slits): Assemble the shoulders and sides exactly like the blouse, but stop sewing the side seams 6 inches before you reach the bottom. Leave these lower side sections completely unsewn. This creates decorative side slits that prevent the garment from pulling or restricting your movement when you walk or sit.
3. The Oversized Luxury Shawl
- The Setup: Make each panel narrower (approx. 12 inches wide) and crochet until they are very long (approx. 60 inches).
- The Assembly: Instead of putting them front-to-back, lay them short end to short end. Sew the two short ends together across the back.
- The Look: This creates a stunning, extra-wide wrap-around shawl with a seamless center line that sits beautifully across your shoulder blades.
IV. The Professional Finishing Touch: The Scallop Trim
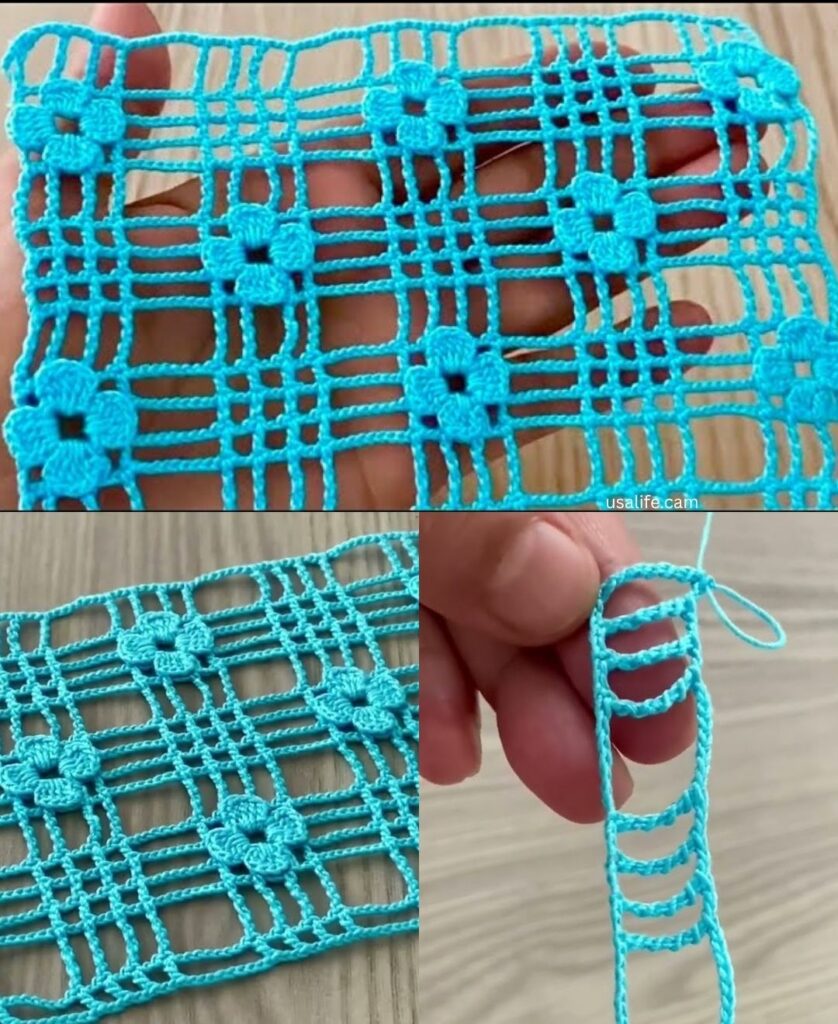
To prevent the sleeve openings or hems from rolling and to add a high-end designer finish, attach your yarn to the edge of any finished opening and apply this Blooming Fan Shell Edge:
- Round 1: Work a clean round of sc evenly across the entire edge perimeter. Sl st to join.
- Round 2: Skip 2 stitches, work 5 dc into the next stitch (creating a rounded fan), skip 2 stitches, sl st into the next stitch to secure the shell.
- Repeat from * completely around the hem or armholes.
V. Designer Sizing & Care Summary
| Design Element | The Blouse Blueprint | The Tunic Blueprint | The Shawl Blueprint |
| Length Target | 18 – 22 inches | 28 – 34 inches | 60 – 65 inches |
| Ease Profile | +2 inches for comfort | +4 inches for a breezy drape | N/A (One size fits all) |
| Seam Focus | Closed completely to hem | Left open 6 inches at base | Joined only at short center ends |
| Blocking Polish | Steam-block lightly | Steam-block heavily to stretch length | Pin aggressively with T-pins to open up lace arches |
Are you planning to make this project using a single elegant color to focus on the stitch texture, or do you want to use self-striping yarn to create automatic color changes?