 by
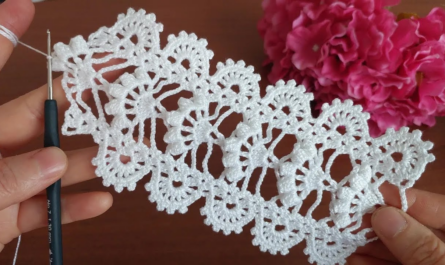
by Crocheting square motifs is often compared to playing with “fiber Legos.” Once you master a single square, you can connect them to create anything from a delicate Table Runner to a structured Blouse or a cozy Sweater.
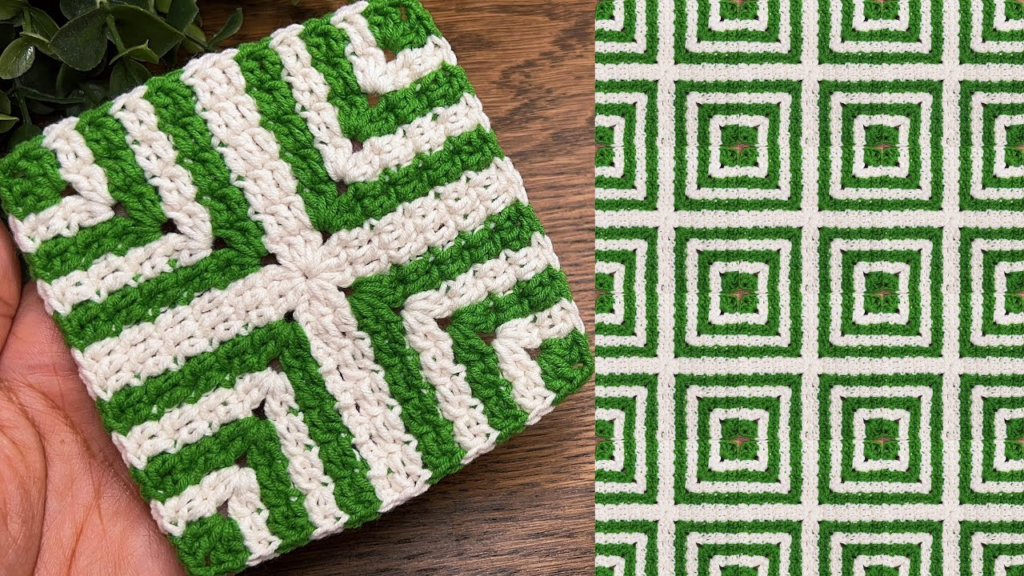
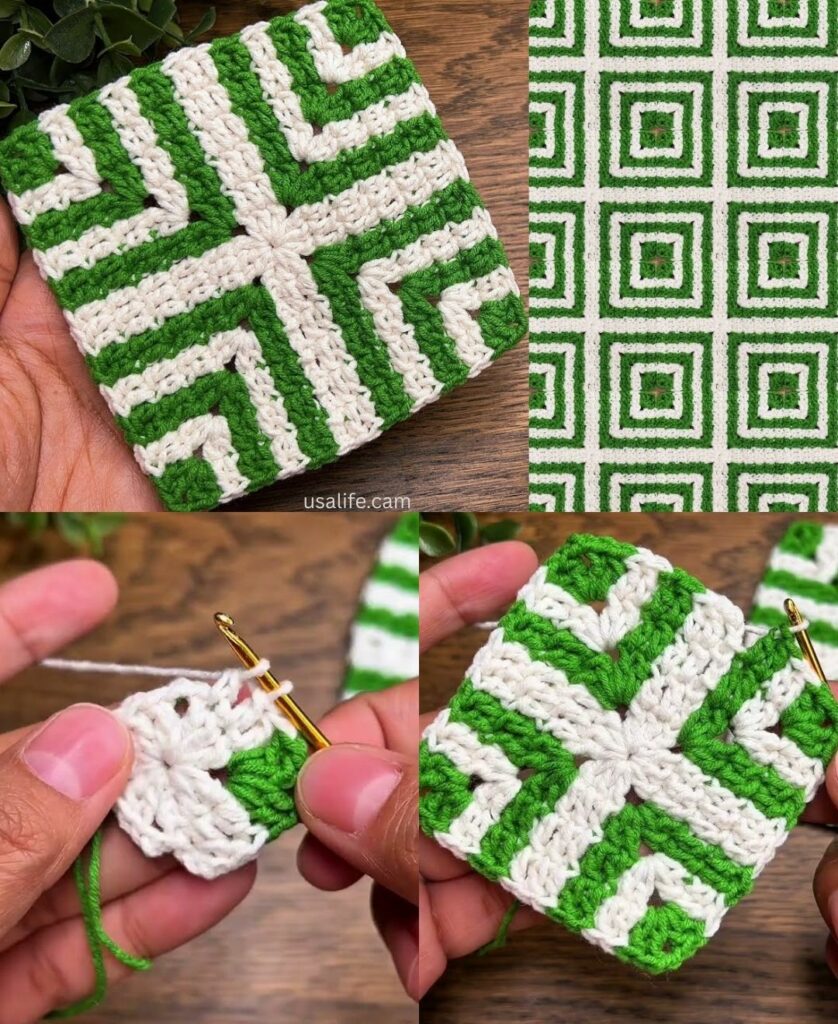
To give you something truly versatile, I will guide you through the “Victorian Window Square.” This motif is sophisticated because it features a solid center (good for warmth in garments) and a lacy border (perfect for elegance in home decor).
🛠 Preparation & Materials
For a square that works for multiple purposes, your choice of yarn is key:
- For a Blouse/Runner: Use a Mercerized Cotton or Bamboo blend (Size 3/DK).
- For a Blanket/Sweater: Use a Soft Acrylic or Wool blend (Size 4/Worsted).
Stitch Key (US Terms)
| Abbreviation | Name | Description |
| ch | Chain | The foundation of all crochet. |
| sl st | Slip Stitch | Used to join rounds or move across stitches. |
| dc | Double Crochet | A standard tall stitch. |
| tr | Treble Crochet | Extra tall stitch used for corners. |
| sp | Space | The “hole” created by a chain. |
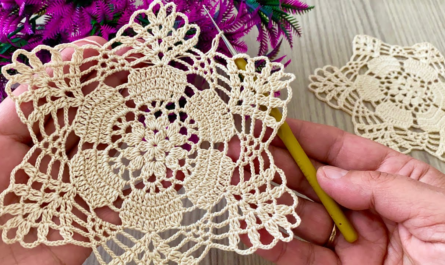
🧶 Step-by-Step: The Victorian Window Square
Round 1: The Foundation Circle
- Start: Make a Magic Ring (or ch 4 and sl st to the first ch to form a ring).
- Stitches: ch 3 (counts as your first dc). Work 11 dc into the ring.
- Join: sl st to the top of the ch 3.

Result: You now have a solid circle of 12 dc.
Round 2: Expanding the Circle
- ch 3 (counts as dc). Work 1 dc in the same stitch.
- Increase: Work 2 dc in every stitch around.
- Join: sl st to the top of the ch 3.
Result: A larger solid circle of 24 dc.
Round 3: Setting the “Windows” (The Lace)
- ch 4 (counts as 1 dc + ch 1).
- Repeat: [dc in the next stitch, ch 1] in every stitch around.
- Join: sl st to the 3rd chain of the starting ch 4.
Result: You should have 24 dc “posts” separated by 24 tiny windows (ch-1 spaces).
Round 4: Squaring the Motif
This is the most important round where the circle becomes a square.
- Move Hook: sl st into the first ch-1 space.
- First Corner: ch 4 (counts as tr). Work (2 tr, ch 3, 3 tr) all in the same space.
- First Side:
- ch 1, skip 1 space.
- Work 3 dc in the next space.
- ch 1, skip 1 space.
- Work 3 dc in the next space.
- ch 1, skip 1 space.
- Repeat: [Corner (3 tr, ch 3, 3 tr) in the next space, then repeat the “First Side” steps] 3 more times.
- Join: sl st to the top of the ch 4.
Result: A clear square with sharp treble crochet (tr) corners.
Round 5: The Finishing Frame
- sc in every stitch around.
- In the Corners: Work (2 sc, ch 2, 2 sc) in each ch-3 corner space.
- Finish: Fasten off and weave in your ends with a tapestry needle.

📐 How to Use These Squares
1. For a Magnificent Table Runner
Join the squares in a single or double row (e.g., $1 \times 10$ or $2 \times 8$). Use a fine cotton thread to make the “windows” from Round 3 stand out against a dark wood table.
2. For a Stylish Blouse
Because Round 1 and 2 are solid, they provide great coverage over the chest area. Use a soft bamboo yarn for drape. Join the squares using the “Back Loop Only” slip stitch method to keep the seams flat and comfortable against the skin.
3. For a Geometric Sweater
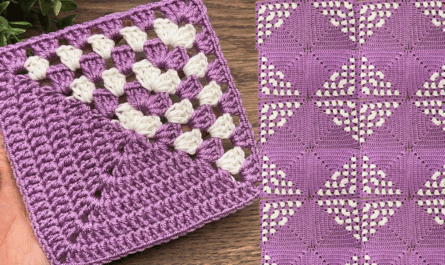
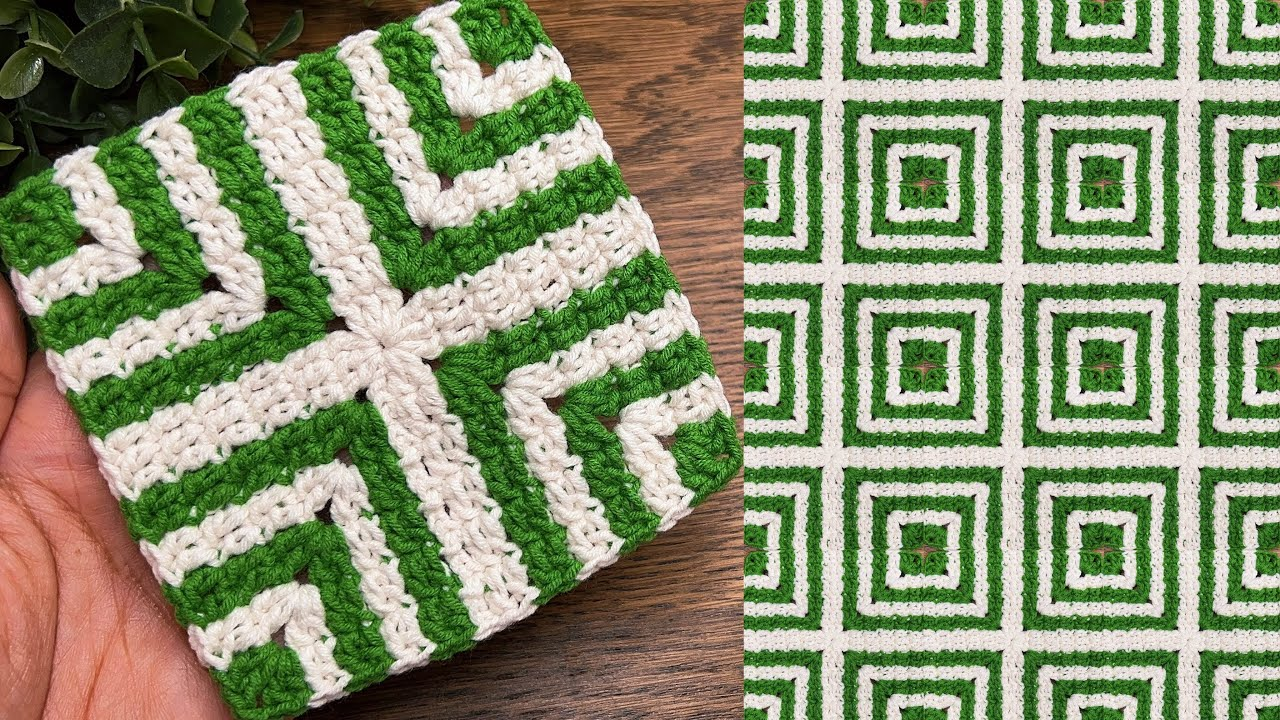
Combine squares of different colors. Use a Wool yarn and add a solid ribbed cuff to the sleeves and bottom hem to turn these motifs into a high-fashion patchwork sweater.

💡 Pro-Tip: The “Blocking” Secret
Motif squares often look a little “wavy” when they are first finished. To make them look professional:
- Pin the square to a foam board, pulling the corners tight to create a perfect $90^\circ$ angle.
- Lightly mist with water.
- Let dry completely before unpinning.
Would you like me to explain the best way to join these squares together so the seams are completely invisible?
Video tutorial: