 by
by ✨Choice A
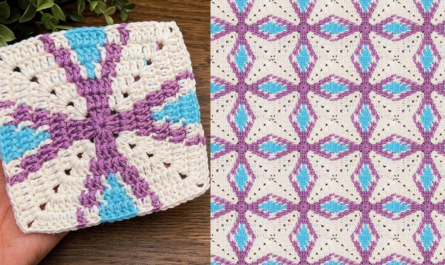
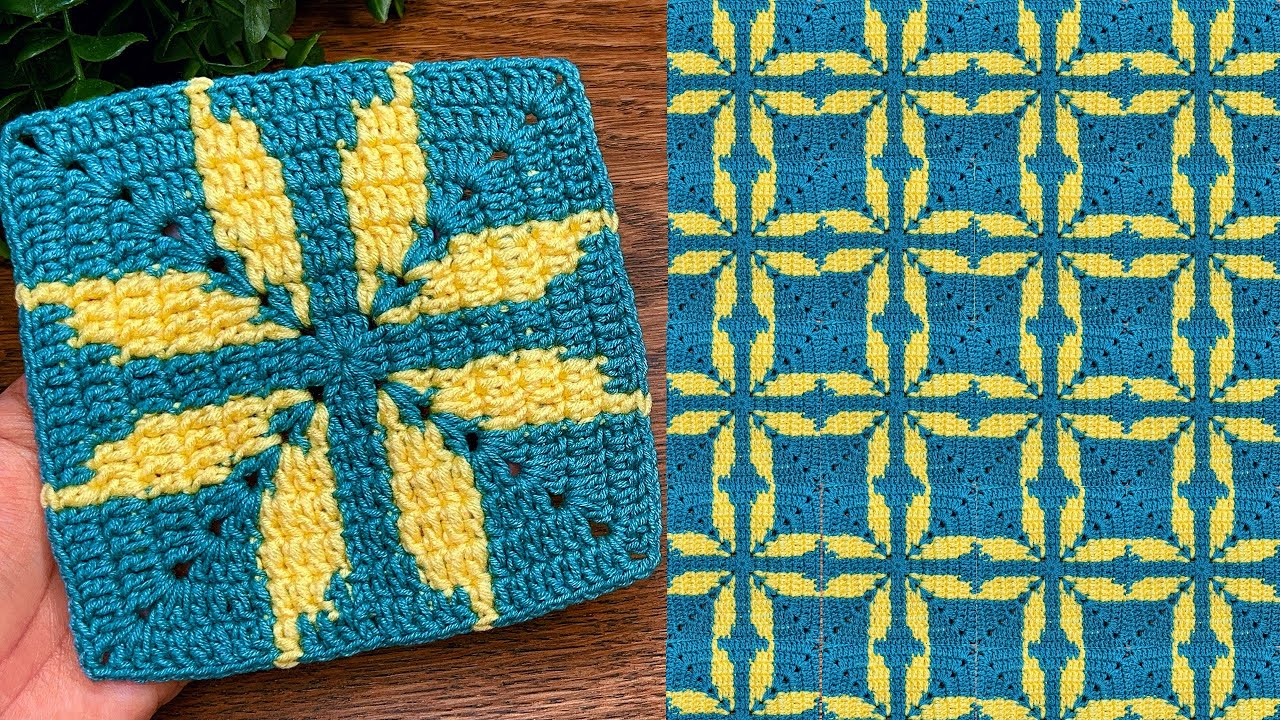
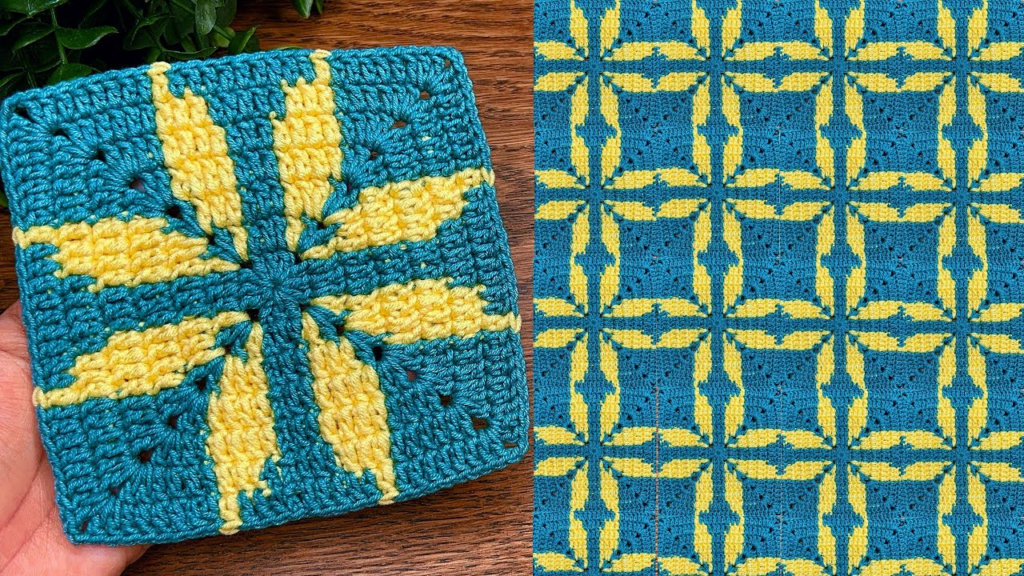
To brighten any blanket, you don’t just need any square; you need a “Sunburst” or “Radiant” Granny Square. These motifs use color to mimic the movement of light, drawing the eye toward the center and radiating it outward.
Here is the secret to creating a “brightening” square: The High-Contrast Color Pop.
🧶 The “Brightness” Toolkit
- The Golden Rule of Color: Use a “Light-Dark-Light” sequence.
- Center: A bright, saturated color (like Sunshine Yellow or Coral).
- Middle: A deep, contrasting shade (like Navy, Charcoal, or Forest Green).
- Border: A clean, crisp neutral (like White, Cream, or Light Grey).
- Hook: 4.5 mm or 5.0 mm.
- Stitch Key (US Terms):
ch(chain),dc(double crochet),sl st(slip stitch),cluster(3 dc together).
🛠 The Step-by-Step Construction
Round 1: The “Sun” Center
- Start: With your Brightest Color,
ch 4, join withsl stto form a ring. - The Base:
ch 3(counts as dc), work 11 dc into the ring (12 total stitches). - Join:
sl stto the top ofch 3. Fasten off. This tight, circular center acts as the “source” of the light.
Round 2: The “Ray” Round
- Attach: Join your same Bright Color in any stitch.
- The Rays:
ch 3, work 1 dc in the same stitch. Work 2 dc in every stitch around. (You now have 24 stitches). - Join:
sl st. Fasten off.

Round 3: The Contrast (Defining the Square)
- Attach: Join your Deep/Dark Color in any stitch.
- The Pattern: You are now turning the circle into a square.
- Work 1
tr(treble) in the next 2 stitches. - Work
(2 tr, ch 2, 2 tr)in the next stitch to form a corner.
- Work 1
- Repeat: Repeat this pattern 3 more times to form your 4 corners.
- Join:
sl st. Fasten off. The dark color acts as a frame, making the bright center “pop” significantly more.
Round 4: The Neutral “Halo”
- Attach: Join your Neutral Color in any corner.
- The Final Frame: Work one final round of
(3 dc, ch 2, 3 dc)in the corners and3 dcin every side gap. - Finish:
sl stto join.
✨ Why This Design Brightens Everything
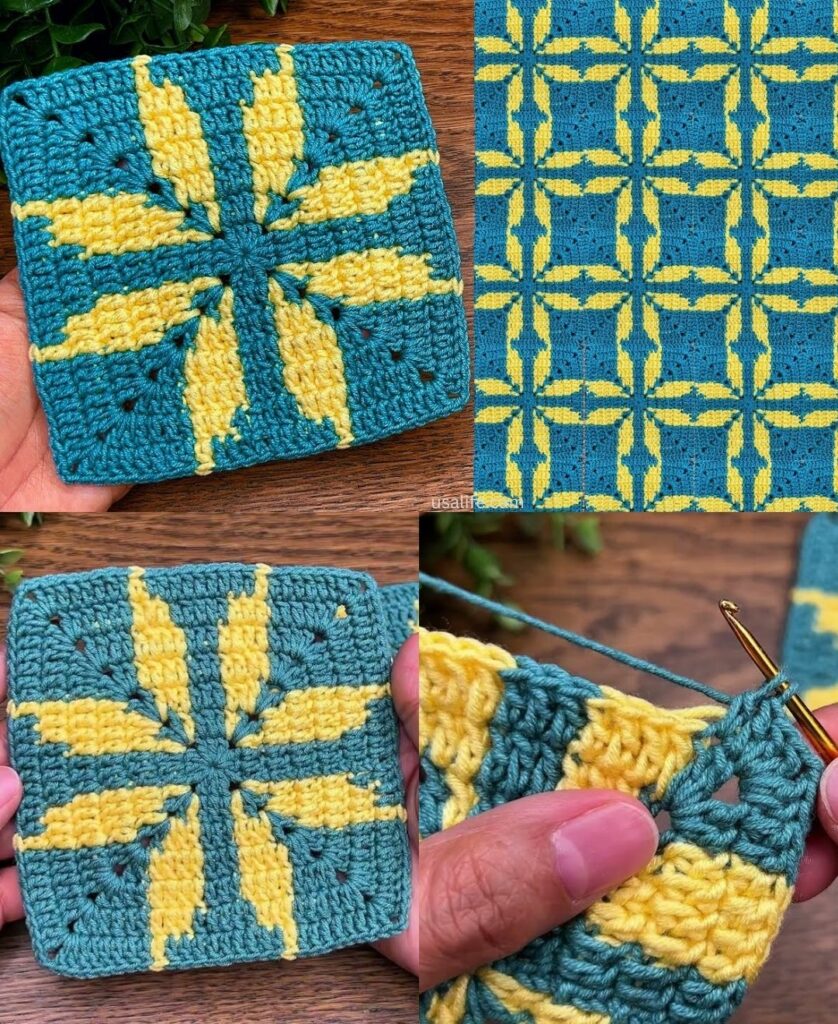
- The “Pop” Factor: By using a dark color in Round 3, you create a “shadow” effect. This makes the yellow/bright center look like it is physically glowing against the neutral white border.
- Texture Contrast: The center is dense, the middle is tall (using
trstitches), and the edge is open and airy. This variety of stitch heights creates a 3D effect that captures light differently across the surface of the blanket.
💡 Pro-Tips for Maximum Impact
- The “Mix-and-Match” Strategy: If you want a truly bright blanket, make all your center “suns” different colors (Yellow, Orange, Pink, Turquoise) but keep the Round 3 (Dark) and Round 4 (Neutral) the same for every single square. This acts as a common thread, keeping the blanket organized and sophisticated while allowing the colors to explode.
- The “Linen” Border: If you have 50 of these squares, join them using the “Join-As-You-Go” method with a Linen/Cream yarn. This “linen” grid will make the entire blanket look like a piece of high-end, gallery-quality art rather than just a collection of squares.
- Don’t skip the Steam: Because you are using
tr(treble) stitches in Round 3, the square will want to curve. You must block these squares to force them into a flat, crisp shape. Once blocked, the “sunburst” effect will be perfectly symmetrical.
Would you like me to suggest a specific color palette that works best for a “boho-chic” look, or would you like to know how to add a final scalloped border to the entire blanket to finish it off?
✨Choice B
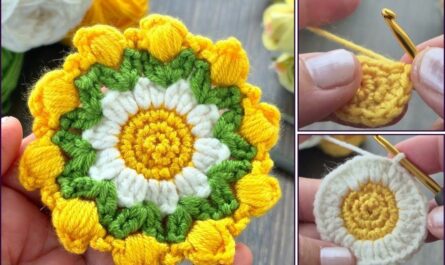
To brighten any blanket, you need a square that balances vibrant color, interesting texture, and high contrast. The “Sunburst Granny Square” is the gold standard for this; it mimics a blooming flower and radiates light from the center outward.
Here is the step-by-step guide to creating a square that will instantly revitalize any project.

🧶 The “Sunshine” Toolkit
- Yarn: DK or Worsted weight. To make it “brighten” a blanket, use a Core Color (Yellow or Bright Orange) for the center, and a High-Contrast Frame (White or Cream) for the outer rounds.
- Hook: 4.0 mm – 5.0 mm.
- Stitch Key (US Terms):
- ch: Chain
- puff: Yarn over, insert hook, pull up a loop, repeat 3 times (7 loops on hook), yarn over, pull through all loops,
ch 1to close. - dc: Double Crochet
- sl st: Slip Stitch
🛠 The Step-by-Step Construction
Round 1: The Burst (Core Color)
- Start:
ch 4, join with asl stto form a ring. - The Puffs:
ch 3(counts as first dc), work 1 puff stitch in the ring,ch 1. - The Pattern: Work 1 puff stitch into the ring,
ch 1. Repeat 15 more times (16 puffs total). - Join:
sl stto the first puff stitch. Fasten off.
Round 2: The Petals (Contrast Color)
- Attach: Join your petal color in any
ch-1space. - The Clusters:
ch 2(counts as first hdc), work 2 dc in the same space,ch 1. - The Pattern: Work 3 dc in the next
ch-1space,ch 1. Repeat this all the way around. - Join:
sl stto the top of yourch 2. Fasten off.
Round 3: The Square Frame (Neutral Color)
This is the round that turns your round “sunburst” into a perfect square.

- Attach: Join a Neutral White or Cream yarn in any
ch-1space. - The Corner:
ch 3,2 dc,ch 2,3 dc(all in the same space). This is your first corner. - The Side:
ch 1. Work 3 dc in the next two spaces. - The Pattern: Work
(3 dc, ch 2, 3 dc)in the next space (corner),ch 1, 3 dc in next two spaces. Repeat around. - Join:
sl stto the top of the initialch 3.
✨ Why This Square “Brightens” Everything
- The Center Focus: By using a very bright center (Yellow/Orange), you create a “focal point.” Even if the rest of your blanket uses muted or dark colors, this square acts like a light source.
- The Negative Space: The White/Cream frame acts as a “buffer.” In color theory, placing a bright color next to a neutral one makes the bright color appear more vibrant. This is why this square “pops” compared to a solid-colored square.
- Textured Dimension: Because of the Puff Stitches, this square catches shadows and highlights. It isn’t just flat color; it has physical depth, which makes the blanket feel more luxurious and high-end.
💡 Pro-Tips for Maximum Impact
- The “Random” Placement: Don’t put these squares in a rigid, perfect grid. Scatter them randomly throughout a blanket of solid, darker squares. This creates a “sparkle” effect, as if sunlight is hitting the blanket.
- The “Border” Sync: If you are adding a border to the entire blanket, use the same Neutral Color you used for the square frames. This ties the entire project together and prevents it from looking “busy.”
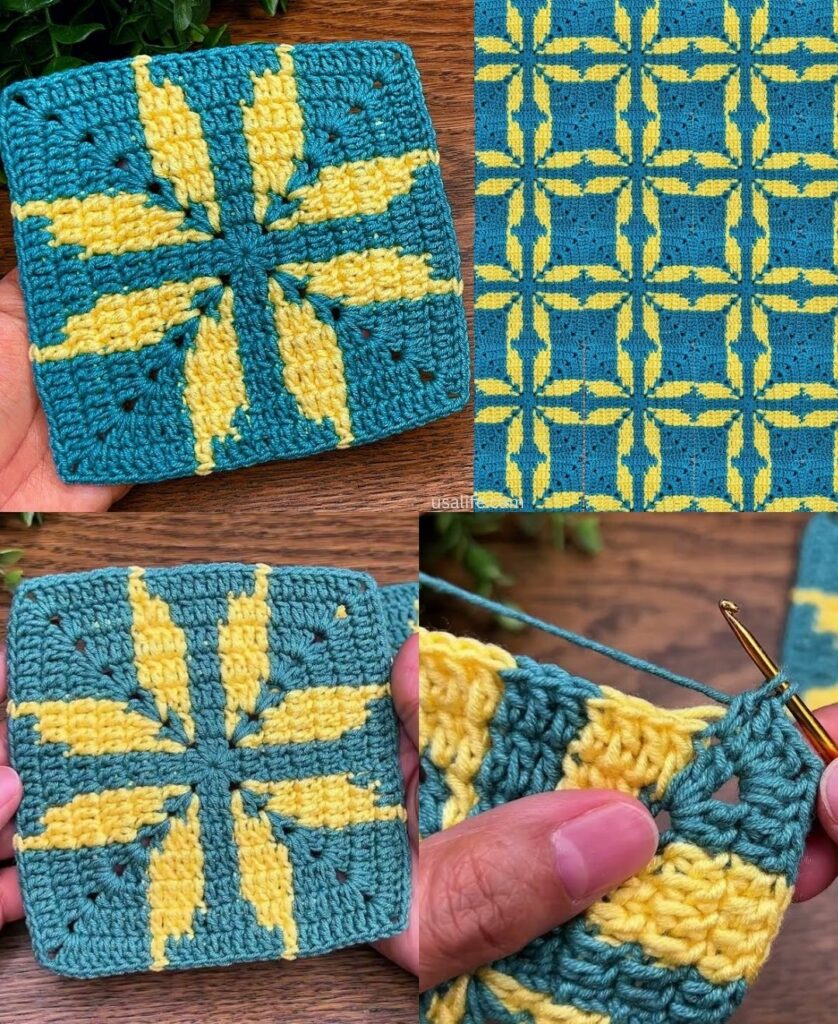
- Steam Blocking is Non-Negotiable: Because the “puff” stitches are dense, the square can naturally pull inward. You must pin this square to a flat surface and steam it. This will open up the stitches, allow the “burst” to expand, and ensure it fits perfectly with your other squares.
Would you like me to suggest a color palette for a blanket that uses these squares, or would you like to know how to join them using a decorative “X-stitch” join?