 by
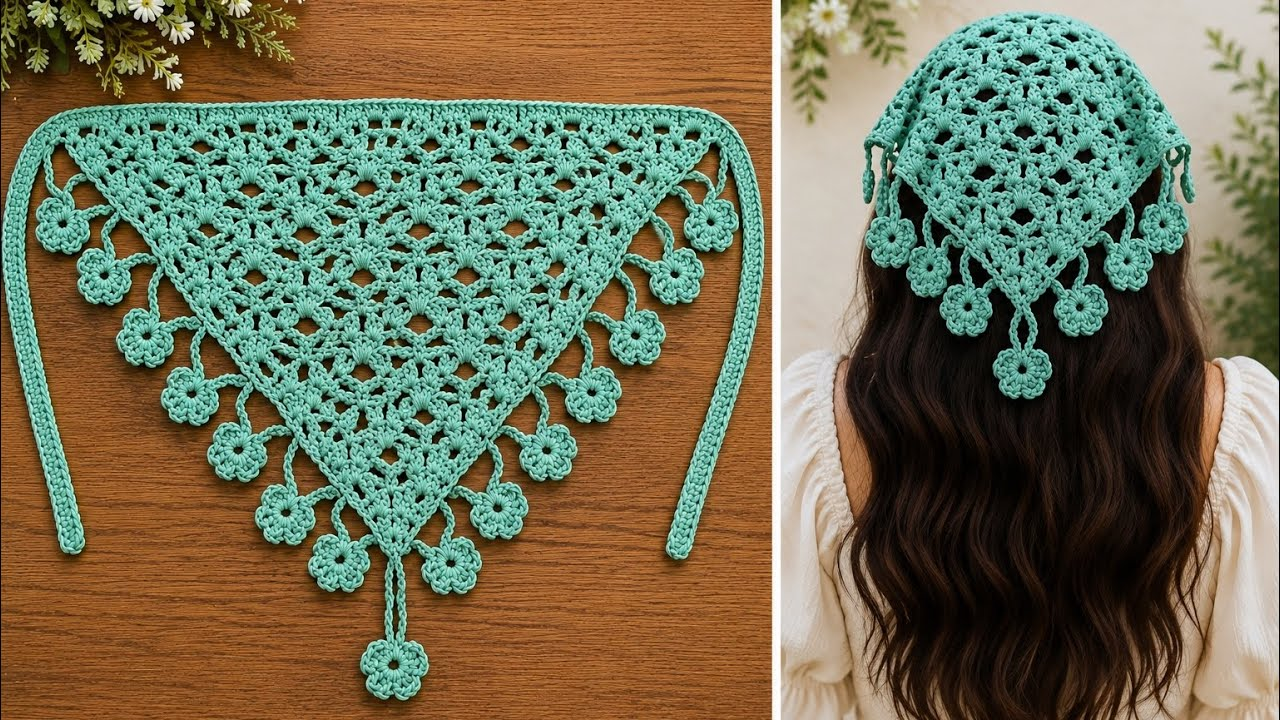
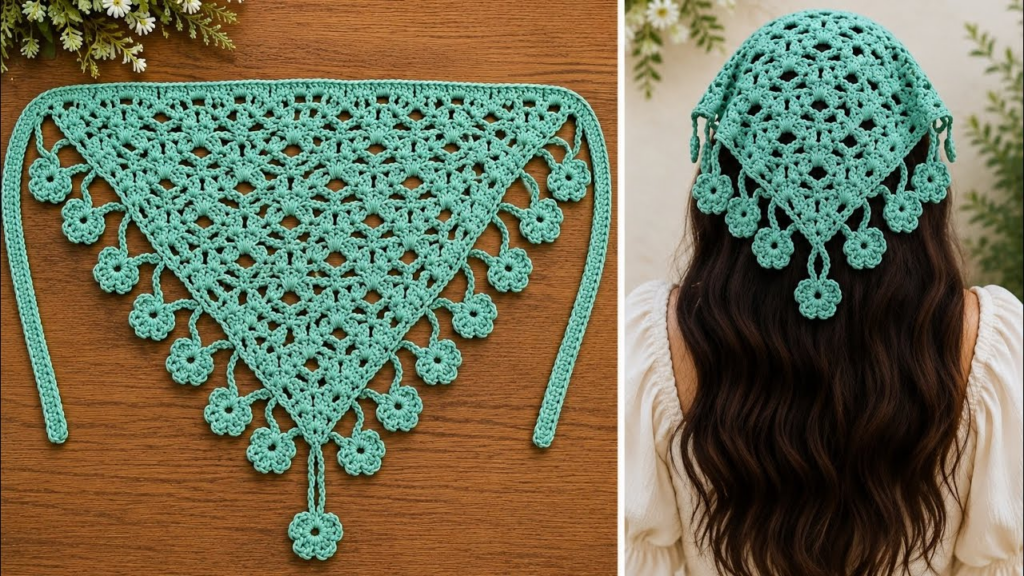
by A Floral Bandana is the quintessential summer accessory. It is lightweight, trendy, and—best of all—it is a project that can be completed in a single afternoon.
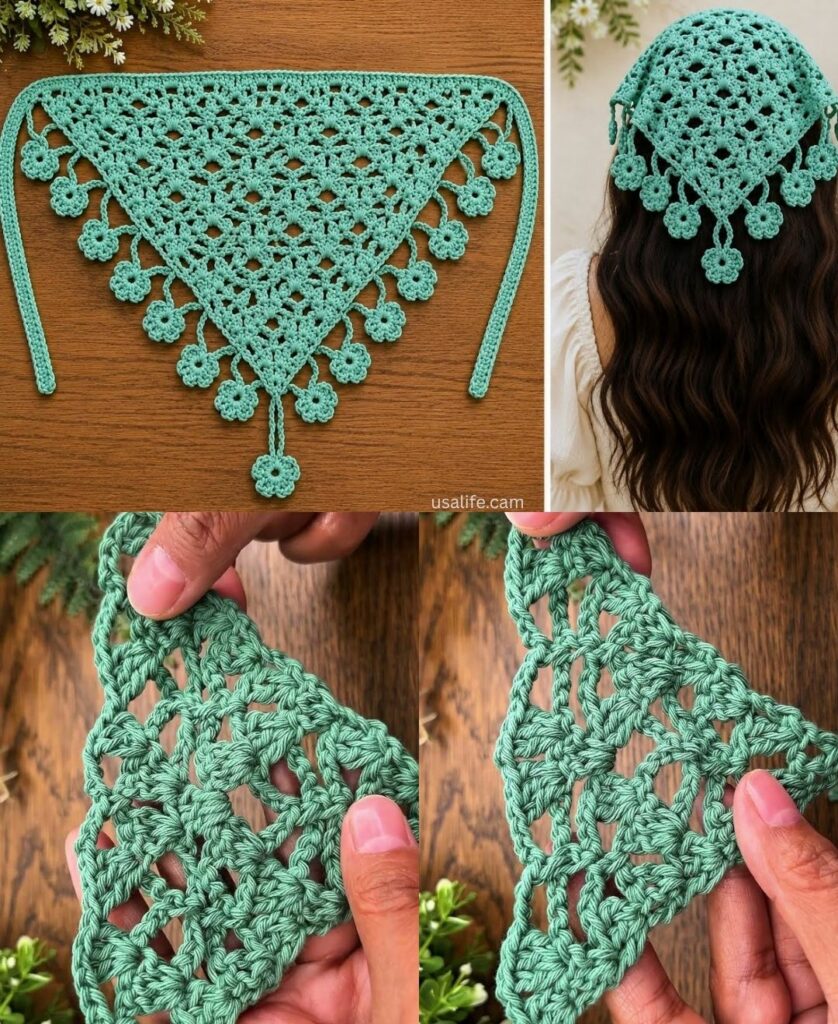
The construction is simple: you create a triangle base and then work your floral motifs directly into the structure or attach them at the end. Here is the easiest “all-in-one” method to create a beautiful, bohemian-style bandana.
🧶 The Toolkit
- Yarn: 100% Cotton (DK weight). Cotton is essential here—it has no “memory” (meaning it won’t stretch out of shape) and keeps your head cool.
- Hook: 4.0 mm.
- Stitch Key (US Terms):
- ch: Chain
- dc: Double Crochet
- sc: Single Crochet
- tr: Treble Crochet (for the flower petals)
🛠 Phase 1: The Bandana Base
We will start at the bottom point and work upward.
- Start:
ch 4, join with asl stto the first chain to form a ring. - Row 1:
ch 3(counts as firstdc), work 2 dc into the ring,ch 2, work 3 dc into the ring. (You now have a small triangle). - Row 2:
ch 3and turn. Work 2 dc in the first stitch.ch 1, and in the centerch-2space, work(3 dc, ch 2, 3 dc).ch 1, then work 3 dc in the last stitch. - The Growth: Continue this pattern. In every row, you will increase by adding a
3-dccluster at the beginning, end, and in the center corner. - Finish: Continue until the triangle is wide enough to cover your head from temple to temple (usually about 15–18 inches wide).

🛠 Phase 2: The “Floral” Border
Instead of attaching separate flowers, we will build a Picot/Flower edge directly into the top row to give it that stunning, delicate finish.
- The Setup: Along the top (the longest side) of your bandana, work a row of
sc. - The Flower Edge:
scin the first stitch.ch 4, work 3trinto the same stitch,ch 4,sl stback into the same stitch. (This creates a tiny 4-petaled flower).scin the next 3 stitches.- Repeat from * to * across the entire top edge.
- The Ties: Once you reach the end of the top row, do not fasten off! Chain 60–80 stitches to create a long, sturdy tie. Work a row of
scback down the chain to make it thick and secure. Repeat on the other side.

✨ Pro-Tips for a Boutique Finish
- The “Double-Strand” Tie: The ties are the most stressed part of the bandana. If you use a single strand of yarn, they may stretch or snap. Use two strands of yarn held together for the ties, or work a row of
dcinstead ofscto make them extra durable. - The Blocking Ritual: Because this is a triangle, the edges will curl. Before wearing, soak your bandana in cool water, pin it out into a perfect triangle on a towel, and let it dry. This transforms a “wavy” piece of fabric into a crisp, professional-looking accessory.
- Color Strategy:
- Solid White: Looks vintage and high-end.
- Variegated Yarn: If you use a yarn that changes color on its own, your bandana will look like a multi-colored floral garden without you having to change yarn balls!
💡 Styling Idea
If you want a more “intricate” look, make three separate 3D floral motifs (using the rose pattern discussed previously) and sew them onto the center of the bandana base. It adds a beautiful, high-fashion focal point that makes the bandana look like a designer piece.
Would you like me to provide a specific pattern for a “sunflower” or “daisy” motif to sew onto your bandana, or are you ready to pick your yarn colors?