 by
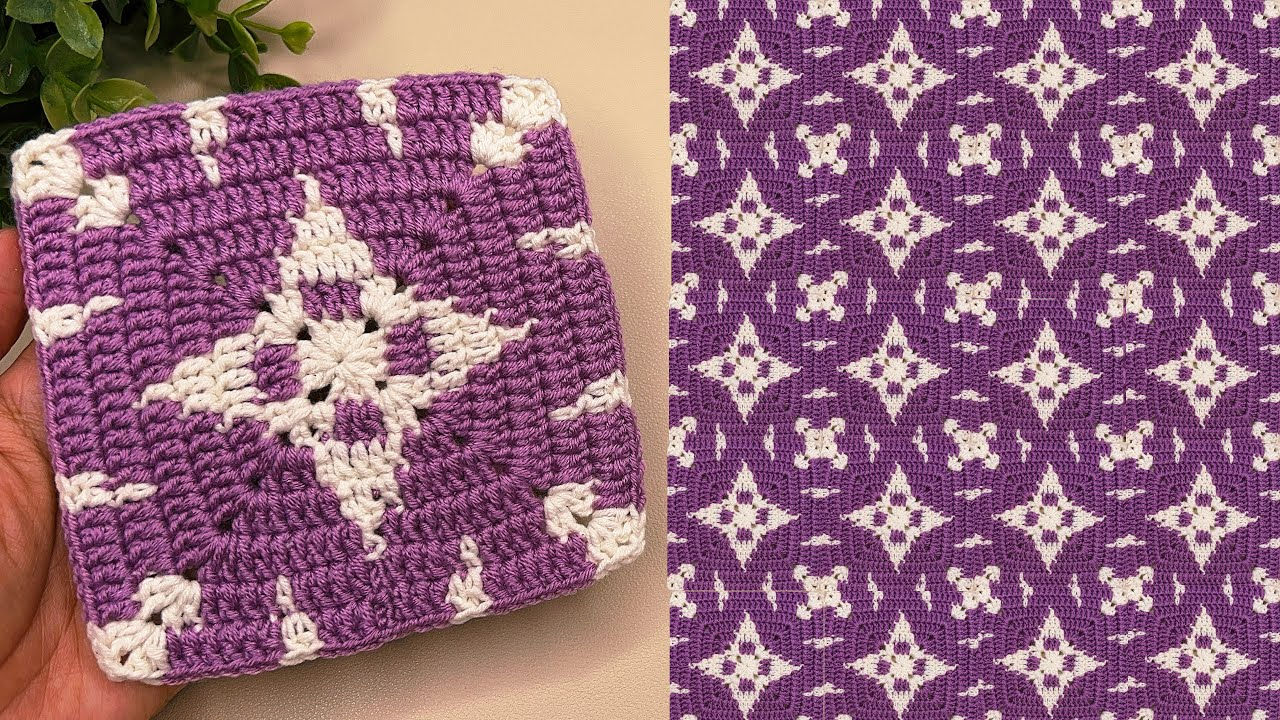
by The Star Mosaic Crochet Square is a showstopper. Unlike traditional tapestry crochet, which uses multiple colors in one row, Mosaic Crochet works by using one color per row and “dropping” down to pull up long stitches (usually trebles) into the stitches of previous rounds. This creates crisp, sharp geometric lines that look like a woven tapestry.
For a Star motif, you are essentially “drawing” the star geometry by skipping stitches in the current color and filling them with long, dramatic stitches in a contrasting color.
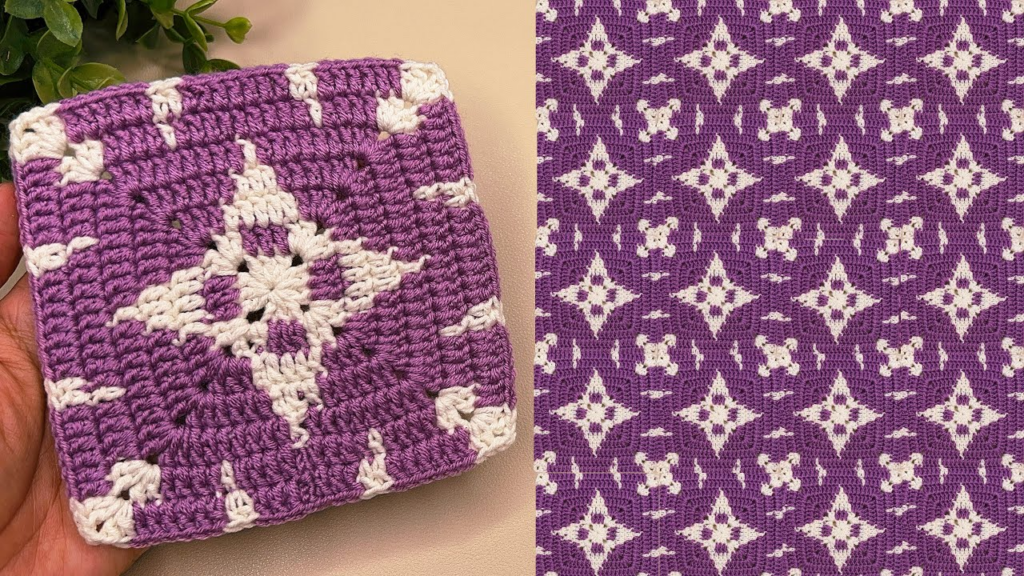
🧶 The Mosaic Toolkit
| Item | Recommendation | Why? |
| Yarn | Worsted Weight (Size 4) Cotton | Clean, non-fuzzy stitches are essential to see the star shape. |
| Hook | 4.5 mm (G+) | A slightly smaller hook creates a “tight” fabric, preventing the long stitches from sagging. |
| Colors | High Contrast (e.g., White on Navy) | The star design relies entirely on light/dark contrast to “pop.” |
Essential Stitch Key (US Terms)
- sc (Single Crochet): The main stitch for the background.
- Drop-Down Tr (Treble Crochet): The “mosaic” stitch. Work this into the unworked stitch two rows below, skipping the current row’s stitch behind it.
🛠 Step-by-Step: The Star Mosaic Square
Note: Mosaic crochet is typically worked in rounds, where you “drop” the yarn at the end of each round and join with a new color.
The Foundation
- Start with a Magic Ring in your Background Color (Color A).
- Work 8 sc into the ring. Join with a sl st to the first sc.

The Mosaic “Star” Rounds
The magic happens when you alternate rounds between Color A (Background) and Color B (Star Color).
- Color B (Star Points): Join in any stitch. Work [1 sc, 1 Drop-Down Tr into the center ring]. The Drop-Down Tr creates the “arm” of the star.
- Color A (Background Fill): Work sc in every stitch, but in the stitches behind the Star Points, you will simply skip them (leaving them unworked for now).
- Color B (Expanding the Star): In the next round, work your Drop-Down Tr stitches into the top of the previous Star Points, creating a V-shape. By staggering where you place these long stitches, you create the diagonal lines of the star.

Squaring the Star
Once the star reaches your desired width, you must transition from a circle to a square.
- Transition: In the corners of your square, work (sc, ch 2, sc).
- Side Fill: On the sides, work sc in the background stitches and Drop-Down Tr in the star stitches.
- The “Lattice” Frame: To make it a true square, the final 2 rounds should be worked entirely in Color A (sc in every stitch) to create a solid border that “locks” the star into place.
📐 The Math of the Star Geometry
Mosaic crochet relies on a grid. Before you begin, it helps to graph your square on paper.
- The Rule: A Drop-Down Tr must always be anchored by a stitch in the row directly below it to prevent the fabric from stretching.
- The Grid: If your square is $20 \times 20$ stitches, the center star usually spans the middle $12 \times 12$ stitches, leaving 4 stitches on each side for the border.
✨ 3 Secrets for a Professional Star
1. The “No-Cut” Hack
If you are working in rounds, you don’t have to cut your yarn every time. Instead, carry your unused yarn up the inside of the work (if it’s a bag or pillow) or, if you want a clean finish, learn the “Yarn Anchor” method where you sl st the inactive color up the seam of the square.

2. The Back-Loop Only (BLO) Standard
In almost all mosaic patterns, you work your stitches into the Back Loop Only (BLO) of the stitch below. This leaves the “front loop” exposed, which gives the fabric a lovely, ribbed texture that makes the star look like it’s floating on top of the background.
3. Blocking is Your Best Friend
Mosaic fabric is naturally “bouncy” because of the long treble stitches. You must block it. Pin the star points out aggressively to the corners of your board. Steam them until they are flat. This locks the star shape into a perfect square, which makes joining the squares together much easier.
💡 Troubleshooting
- The “Curling” Star: If your square is curling, your Drop-Down Tr stitches are too tight. Make sure you pull up a long loop before you start the treble stitch to ensure it’s the same height as the surrounding single crochets.
- The “Holes” Problem: If you see holes where you drop down, you are likely not skipping the stitch behind the treble crochet. You must skip exactly one stitch for every one Drop-Down Tr you make.
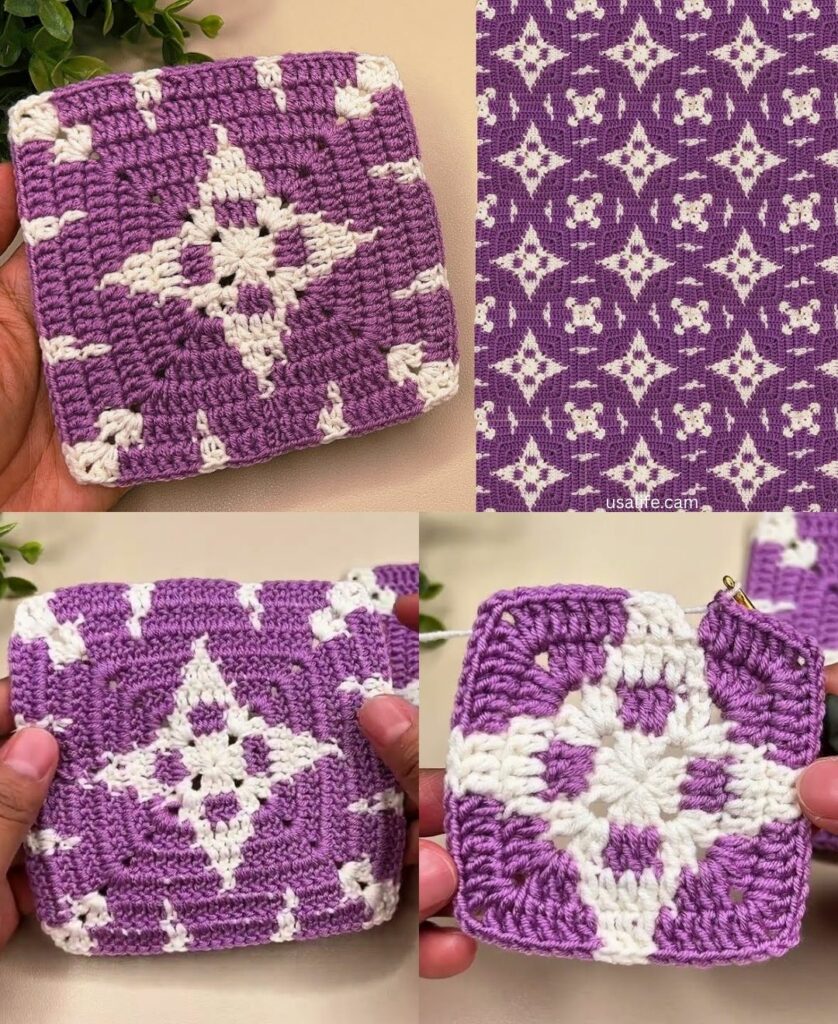
Would you like me to create a “Mosaic Chart” (a grid pattern) that you can follow to keep your star points perfectly symmetrical?