 by
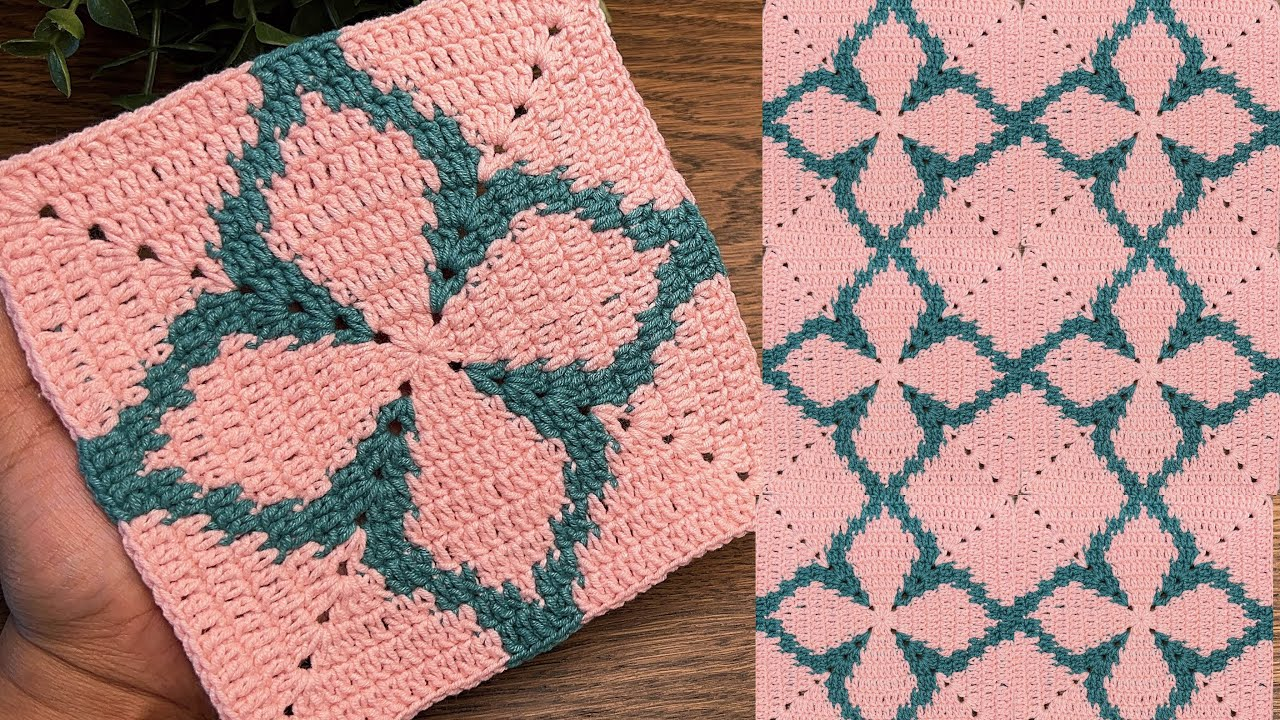
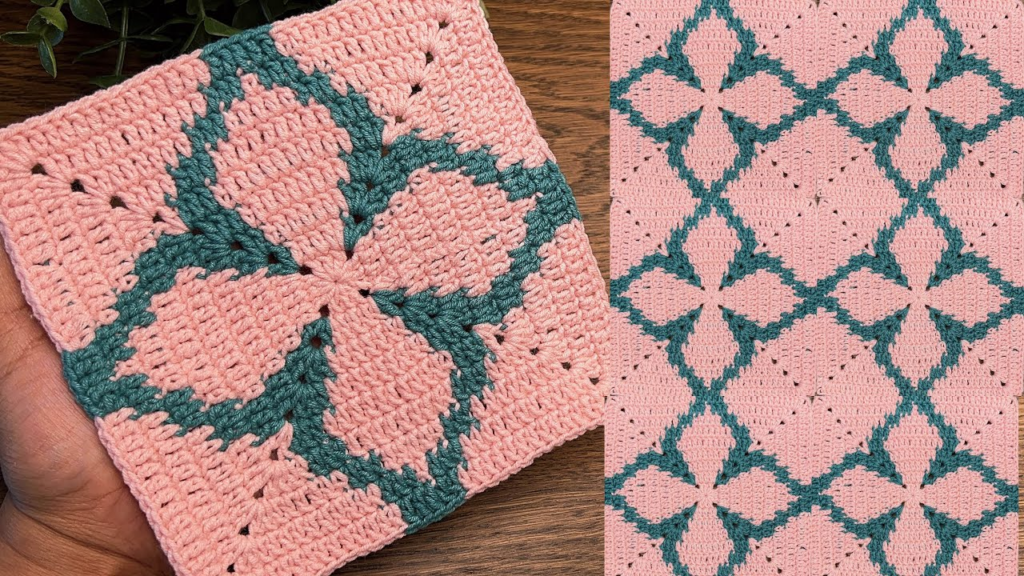
by A crochet square motif is the fundamental “building block” of countless projects, from blankets to bags. Because you are interested in creating unique patterns for runners, blouses, and 3D textured designs, the “Stacked-Stitch Square” is the perfect place to start. It is cleaner, more solid, and more professional-looking than a basic granny square.
Here is the step-by-step guide to mastering this versatile, elegant square.
🧶 The Foundation: Your Toolkit
- Yarn: For motifs intended for runners or clothing, use Mercerized Cotton or a Cotton/Bamboo blend. These fibers have excellent stitch definition and don’t “fuzz” over time.
- Hook: 3.5 mm (E/4). Using a slightly smaller hook than recommended on the yarn label creates a denser, more architectural fabric.
- Stitch Markers: Keep at least four handy to mark your corners; it saves you from having to count stitches repeatedly.
🛠 Stitch Key (US Terms)
- ch / sl st: Chain / Slip Stitch.
- dc: Double Crochet.
- tr: Treble Crochet.
- fpdc (Front Post Double Crochet): Insert hook from front to back around the post of the stitch below, yarn over, and pull up a loop to complete a normal dc. This creates the “raised” texture you enjoy.
🚀 Step-by-Step: The “Stacked-Stitch” Square
Round 1: The Core
- Start: Make a Magic Ring.
- Stitches: ch 3 (counts as dc). Work 11 dc into the ring (12 dc total).
- Join: sl st to the top of the ch 3. Tighten the ring completely.

Round 2: Setting the Corners
- Pattern: ch 3 (counts as dc), 1 dc in same stitch.
- Corners: Skip one stitch, then work (2 dc, ch 2, 2 dc) into the next stitch.
- Sides: Work 2 dc into the next stitch.
- Repeat: Repeat the corner and side pattern around. You should have 4 corners and 4 sides.
- Join: sl st to the top of the ch 3.
Round 3: Building the Texture
This is where you add the “gorgeous” 3D detail.
- Pattern: Work 1 dc into every stitch along the side.
- The “Raised” Corner: When you reach the ch-2 space, work (2 dc, ch 2, 2 dc).
- The Texture: On every 3rd stitch of the side, work an fpdc instead of a regular dc. This will create a subtle, vertical raised ridge that adds depth to your runner or blouse.

Round 4: The Finishing Frame
- Pattern: Work 1 dc in every stitch around.
- Corners: Work (2 dc, ch 2, 2 dc) in every corner space.
- Join: sl st, fasten off, and weave in your ends.
📐 The “Pro” Finishing Touches
To ensure your square motif is ready for professional-level projects like runners or blouses, do not skip these steps:
- The Invisible Join: Instead of a bulky slip stitch, cut your yarn and use a tapestry needle to “sew” the final stitch into the first, mimicking the shape of a “V.” This makes the square look like a continuous circle.
- Wet Blocking: This is the secret to a “stunning” design. Pin your finished square to a foam board (or a towel on a bed) using rust-proof pins. Stretch it into a perfect 90-degree square and mist it with water. Let it dry for 24 hours. This “sets” the architecture of the stitches.
- Consistency: If you are making 20 squares for a runner, try to crochet them in “batches” of five. This helps keep your tension uniform so that all squares are exactly the same size when it comes time to join them.

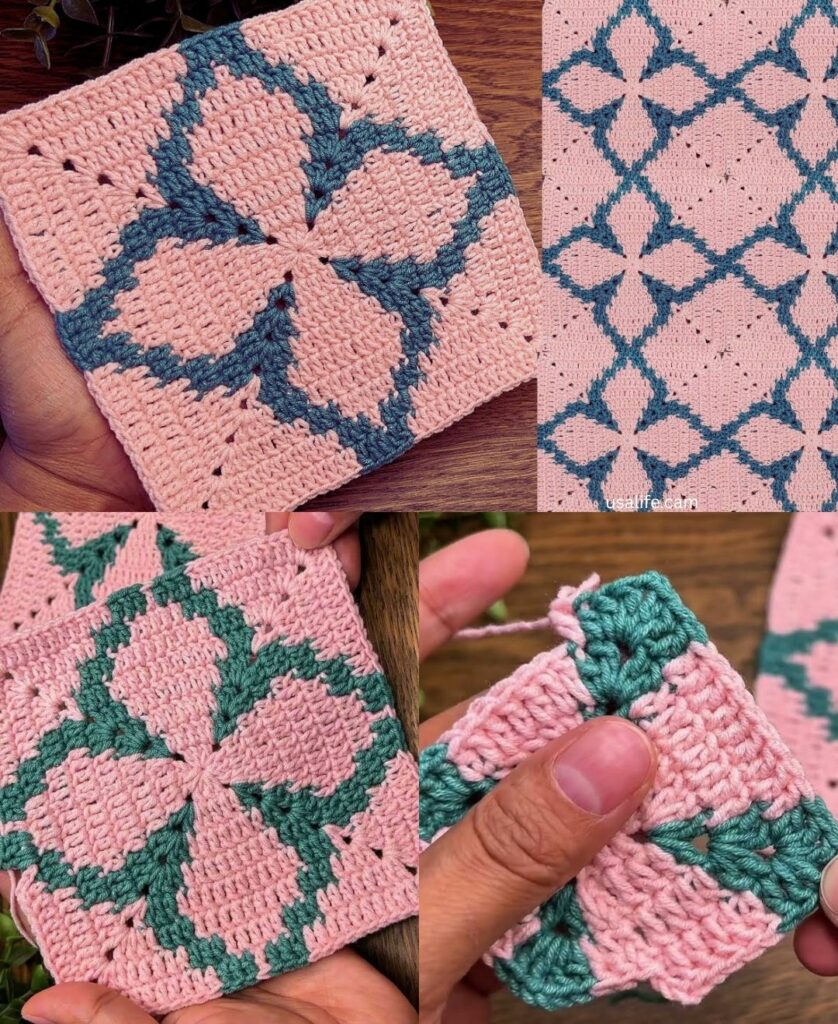
💡 How to Connect Them
- For Runners: Use the Flat Slip Stitch Join through the Back Loops Only (BLO). It looks like a decorative seam and lays perfectly flat on a table.
- For Blouses: Use the Whip Stitch through the back loops. This allows for a tiny bit of “give” in the fabric, making the garment more comfortable to wear.
Would you like me to explain how to arrange these squares into a specific shape, such as a “T-Shape” for a blouse or a “Long-Rectangle” for a runner?