 by
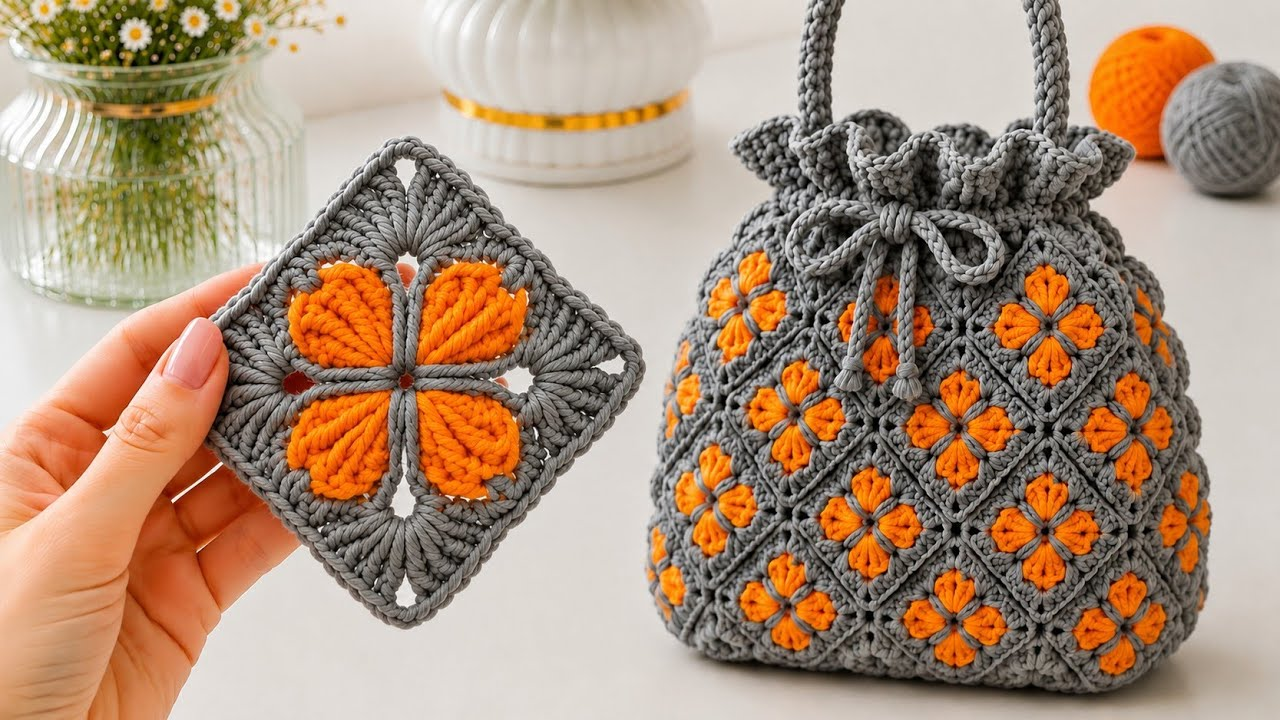
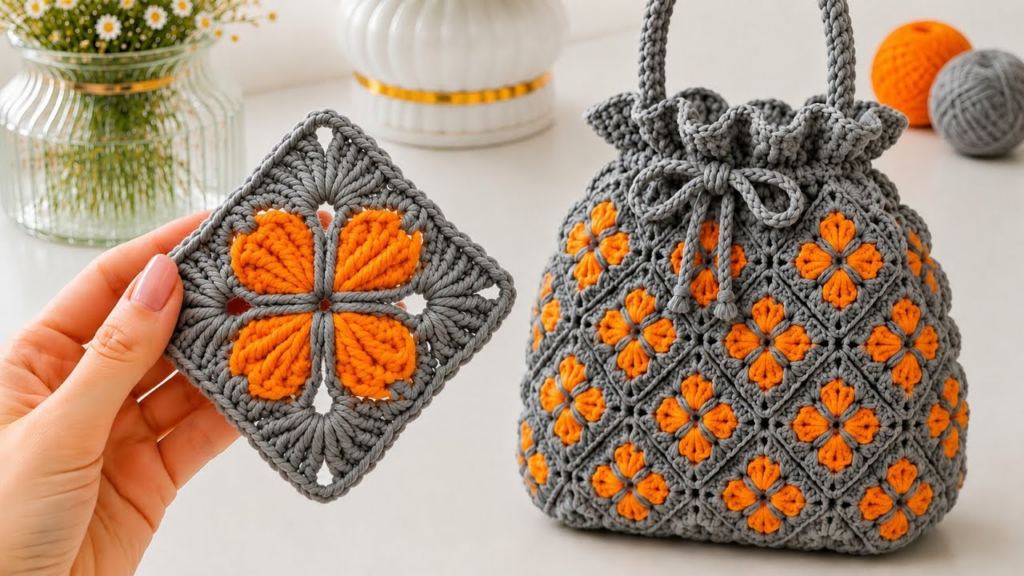
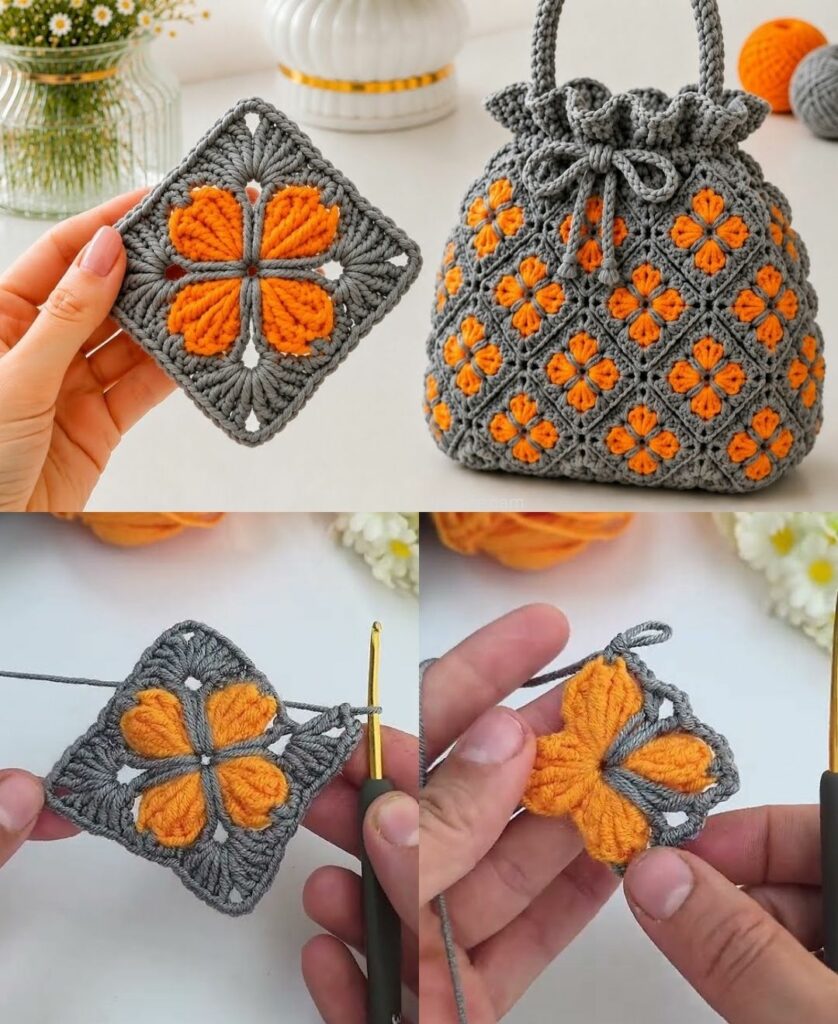
by Turning your floral crochet squares into a stunning, functional bag is a fantastic project that showcases your hard work. The key to a professional-looking bag is structure—you want the bag to hold its shape when filled with your belongings.
Here is your detailed, step-by-step guide to assembling your floral squares into a designer-style bag.
🛠 The Bag Construction Toolkit
- Motifs: You will need 13 floral squares for a standard-sized tote (1 base, 4 for front, 4 for back, 2 for each side).
- Yarn: Use a sturdy, non-stretch cotton yarn. Acrylic is too soft and will cause your bag to sag under weight.
- Hook: 4.0 mm (a slightly smaller hook keeps the stitches tight and the bag durable).
- Extra Supplies: A tapestry needle, a piece of fabric for the lining (essential!), and optional handles (leather or wooden).

🧩 Phase 1: The Assembly (The “Flat Join”)
To ensure your bag looks like a high-end boutique piece rather than a home craft, use the Flat Slip Stitch Join.
- Layout: Lay out your 13 squares:
- Main Panel: A 3×3 grid (9 squares) for the body.
- Side Panels: Two columns of 2 squares each.
- Joining: Hold the squares with the “right sides” (the pretty side) facing each other. Join them by working a
sl stthrough the back loops only of both squares. This creates a smooth, flat, “invisible” seam that looks woven. - The “U” Shape: Sew your front and back panels together at the sides and bottom, then sew in your two side panels to create a 3D box shape.
🌟 Phase 2: Adding Structure & Durability
1. The Reinforced Edge
Once your bag is assembled, work 2–3 rounds of single crochet (sc) around the top opening. In the final round, work a “crab stitch” (reverse single crochet). This creates a thick, corded edge that prevents the bag from stretching out at the top.
2. The Fabric Lining (The Most Important Step)
A crochet bag will stretch. To prevent this, you must line it.
- Measure: Cut a piece of cotton fabric slightly larger than your bag.
- Sew: Sew the fabric into a pouch that matches the shape of your crochet box.
- Attach: Fold the top edge of the fabric inward and hand-stitch it to the inside of your crochet top row using a whip stitch. This transfers all the weight of your items to the fabric, keeping your crochet work pristine and “bag-shaped” forever.

🛠 Phase 3: Professional Handles
Do not just crochet your handles, as they will stretch and grow long over time!
- For a “Designer” Look: Purchase wooden or bamboo D-rings or leather straps. Attach them to the top of your bag by crocheting a small “tab” (a 4-stitch wide strip of
sc) and folding it over the handle hardware, then sewing it securely into the inside top of the bag. - For a “Boho” Look: If you prefer crochet handles, make them triple-thick. Chain your desired length, then work
scinto every chain, but do this three separate times and braid the strands together before attaching them to the bag.

💡 The “Pro-Finishing” Checklist
- The Bottom Support: Cut a piece of stiff plastic canvas to the exact size of your bag’s base and place it at the bottom inside the lining. This creates a flat, sturdy base that prevents the bag from drooping when you set it down.
- The Magnetic Snap: Sew a magnetic purse snap onto the inside top of the lining. It keeps your bag closed and adds that final touch of professional quality.
- Steam Blocking: Before you sew in the lining, give the entire exterior a final steam block. Ensure the floral squares are perfectly square and the seams are laying flat.
🌈 Design Variation: The “Flower Garden” Bag
If you want to take this to the next level:
- Use your 3D Floral Hexagons for the center panels.
- Use solid granny squares for the sides and base to provide more structural support.
- Alternate the colors of the flowers to create a “gradient” effect from the bottom of the bag to the top.
Would you like a tutorial on how to sew a simple fabric lining for a bag, or are you interested in a pattern for a “braided” crochet handle?