 by
by A crochet square motif runner is a sophisticated way to showcase your needlework. Because a runner is long and narrow, it relies on a consistent “join” and a balanced color scheme to look professional rather than cluttered.
Here is the master plan for constructing a high-quality, boutique-style motif runner.

🧶 The Runner Toolkit
- Yarn: Mercerized Cotton (Sport or DK weight). Avoid wool or acrylic for a table runner; cotton is heat-resistant, doesn’t stretch, and has a crisp stitch definition that makes the runner look “expensive.”
- Hook: 3.0 mm – 3.5 mm. A slightly smaller hook keeps the fabric dense so cutlery and plates sit stably on top.
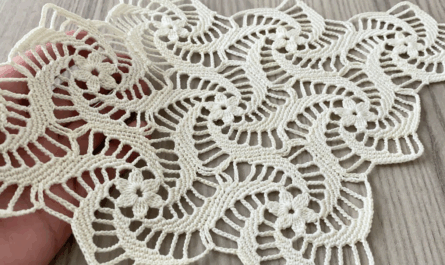
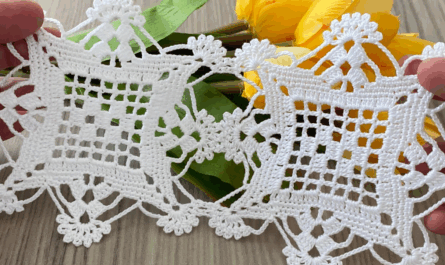
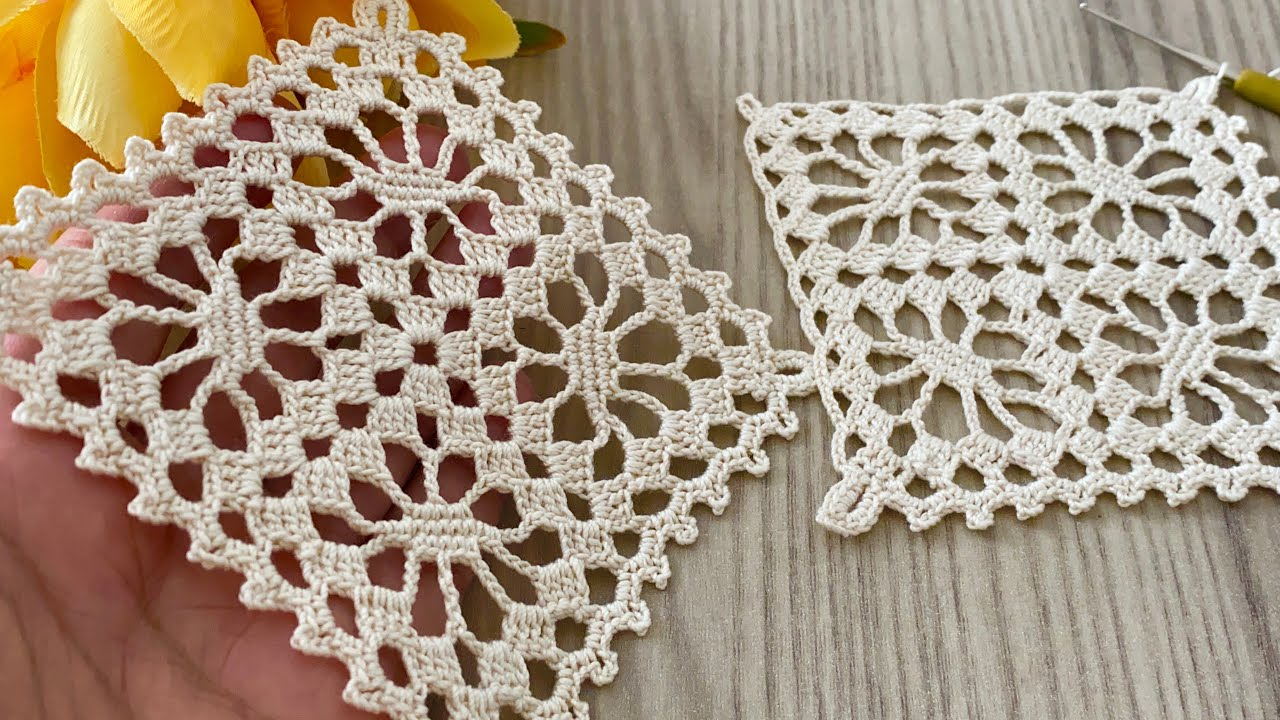
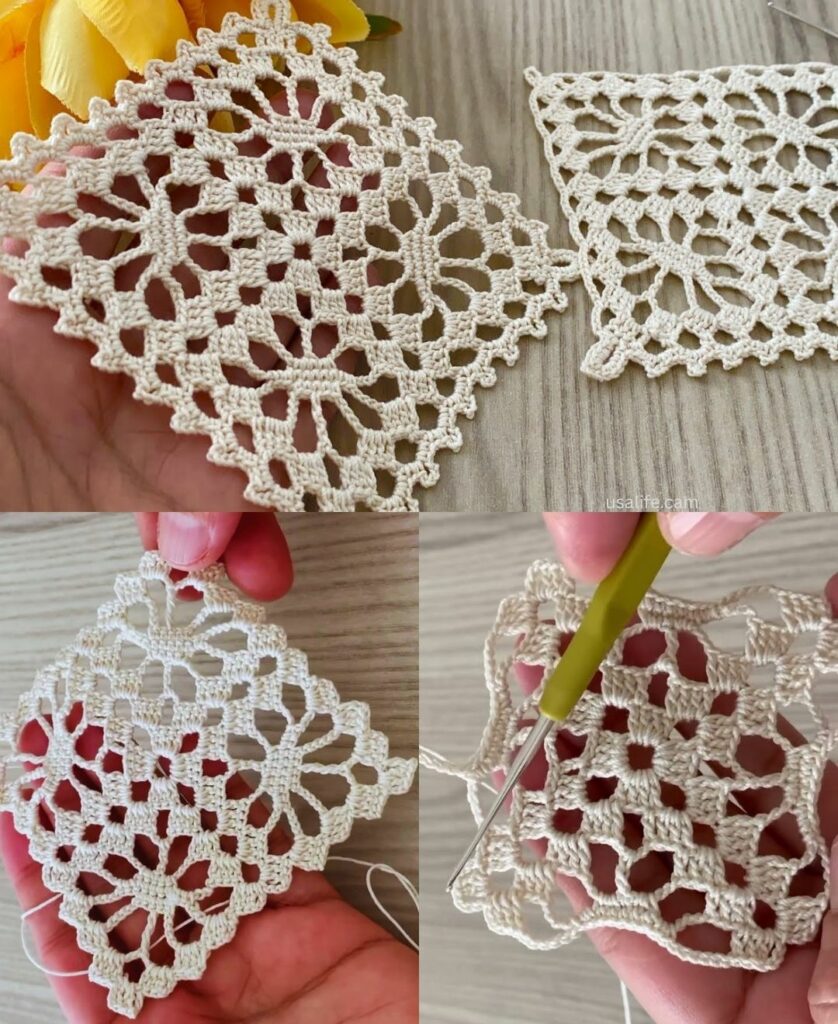
- The Motif: Use the “Timeless Lattice Square” or a “Solid Square” (as discussed previously). A solid center is better for a runner than an open-mesh center, as it prevents food crumbs from falling through.
🛠 Part 1: The Math of the Runner
Before you begin, decide on your dimensions. A standard runner is usually 12–15 inches wide and 60–72 inches long.
- Measure your Motif: If your square is $10\text{ cm} \times 10\text{ cm}$, and you want a $30\text{ cm}$ wide runner, you will need a 3-motif width.
- Calculate the Length: If you want a $150\text{ cm}$ long runner, you will need 15 squares in length.
- Total: $3 \times 15 = 45$ motifs total.

👗 Part 2: The “Hidden” Join
The most important part of a runner is the seam. You do not want a bulky, raised ridge.
- The Recommended Method: The Flat Slip Stitch Join.
- Hold two motifs together, wrong sides touching.
- Insert your hook through the back loop of the stitch on the first square and the back loop of the corresponding stitch on the second square.
- Pull the yarn through both loops and complete a
sl st. - Result: This creates a perfectly flat, horizontal “ladder” seam that looks like it was woven on a loom.
🌟 Design Tips for a Professional Finish
1. The “Anchor” Border
A runner looks unfinished if the outer edges of the squares are just raw chains.
- Work a border of Single Crochet (sc) all the way around the entire perimeter of the runner.
- At every corner, work
(sc, ch 1, sc)to keep the corners sharp and flat. This frames the motifs and turns the individual squares into one cohesive piece.
2. The Weight of Tassels
To give the runner a “designer” feel, add tassels or fringe to the two short ends.
- Use the same yarn you used for the motifs.
- Attach them at every corner and at the center of each motif width.
- The Pro-Touch: After attaching the tassels, lay the runner flat and use sharp fabric scissors to trim the fringe to a perfectly straight, clean line.

3. Blocking is Non-Negotiable
Because a runner is a long, thin strip, it is prone to curling or stretching.
- Pinning: You must pin the runner out completely flat on a towel or carpet. Use a tape measure to ensure the width is the same at both ends.
- Steaming: Use a steamer or a damp cloth with an iron. Heat is required to “set” the cotton fibers.
- Wait: Leave the runner pinned until it is 100% dry. This ensures that when you place it on your dining table, it lays perfectly flat and doesn’t buckle.
💡 Color & Layout Ideas
- The “Ombré” Runner: Use five different shades of the same color family (e.g., Light Blue to Navy). Use the lightest square at the center of the runner and gradually transition to the darkest at the two ends.
- The “Solid-Border” Runner: Use multicolored motifs for the center of the runner, but join them all using the same neutral-colored yarn (like cream or charcoal). The neutral “grid” will act as a frame, making the runner look like a high-end tile mosaic.
Would you like me to suggest a specific number of squares for your table size, or would you like a detailed guide on how to make the tassels for the edges?