 by
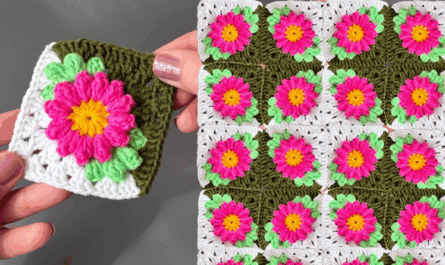
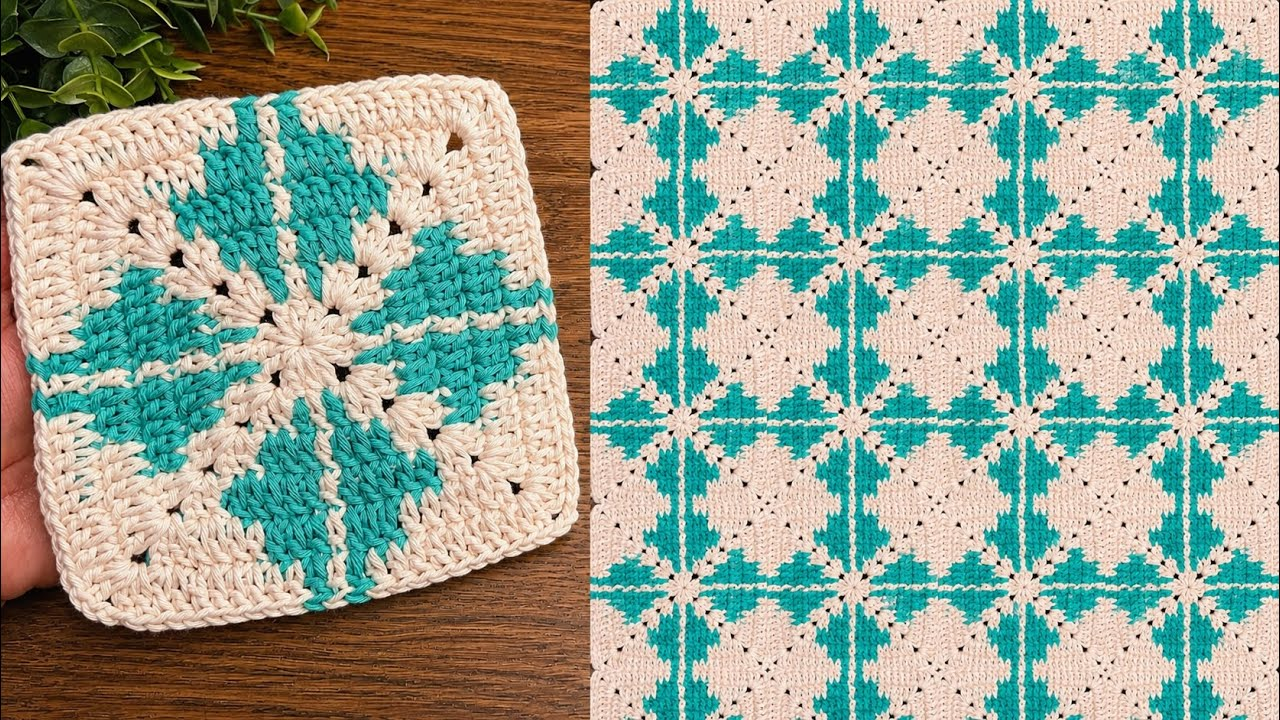
by Creating a Motif Blanket Square is the classic “right of passage” in crochet. Because blankets are large projects, working in motifs (squares) allows you to break the work into manageable, portable pieces that you can complete while commuting, watching TV, or traveling.

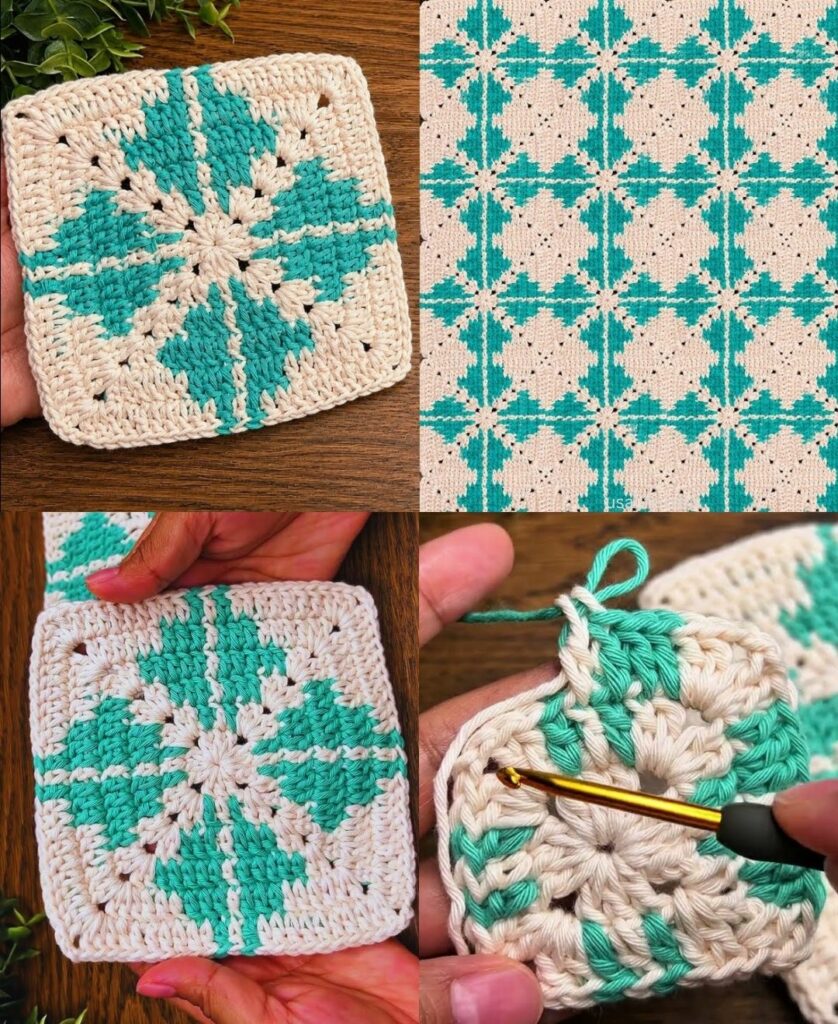
Here is your detailed, step-by-step masterclass for creating a “Classic Solid Square”—a pattern chosen for its durability, lack of holes, and professional, modern look.
🧶 The Blanket Motif Toolkit
- Yarn: Worsted weight (Size 4) acrylic or cotton blend. Acrylic is lighter and machine-washable, making it ideal for large blankets.
- Hook: 5.0 mm (H/8). This is the “Goldilocks” size for most worsted-weight yarns, ensuring a soft fabric that isn’t too stiff or too holey.
- Stitch Key (US Terms):
- ch: Chain
- sl st: Slip Stitch
- dc: Double Crochet
🛠 The Step-by-Step Construction
Round 1: The Foundation (The Magic Ring or Ch-4)
- Start:
ch 4, join with asl stin the first chain to form a ring. - The Base:
ch 3(counts as firstdc), work 2 dc into the ring. - The Corner:
ch 2. - The Pattern: Work
3 dcinto the ring,ch 2. Repeat this 3 more times until you have 4 clusters of 3. - Join:
sl stto the top of your initialch 3.

Round 2: Defining the Square
- Travel:
sl stacross the next 2 stitches and into the nearest cornerch-2space. - The Corner:
ch 3, 2 dc, ch 2, 3 dcall into that same corner space. - The Sides:
ch 1. - The Pattern: Move to the next corner hole and work
(3 dc, ch 2, 3 dc). Repeat this in all 4 corners, remembering toch 1between each corner group. - Join:
sl stinto the top of the initialch 3.
Round 3 & Beyond: The “Solid Fill”
- Travel:
sl stto the corner. - The Corner: Always work
(3 dc, ch 2, 3 dc)in every corner. - The Side Gaps:
ch 1. You will see a gap from the previous round’sch 1. Work 3 dc into that gap.ch 1. - Repeat: Work
3 dcin every side gap and(3 dc, ch 2, 3 dc)in every corner until the square reaches your desired size (usually 6–8 inches for a blanket).

✨ Pro-Tips for a Boutique Blanket
1. The “Invisible” Join
Don’t just whip-stitch your squares together! To make your blanket look like a high-end heirloom:
- The Flat Slip Stitch Join: Hold two squares together with “wrong sides” touching. Insert your hook through the back loop only of both squares and perform a
sl st. This creates a beautiful, flat, decorative line on the front that makes your blanket look like it was professionally assembled.
2. Blocking: The Secret to Professionalism
If you skip this, your blanket will look like a “homemade” pile of uneven shapes.
- Once you have all your squares, lay them on a towel and pin them into perfect squares.
- Steam them lightly.
- Why? This relaxes the fibers and ensures every single square is the exact same size, making the joining process 100% easier.

3. Color Management
- The “Shadow” Effect: Join all your squares using the same neutral color (like cream, charcoal, or navy). This creates a “grid” that ties all your different square colors together, turning a collection of leftovers into a deliberate, modern design.
💡 Project Planning: How many squares do you need?
- Baby Blanket (30″ x 30″): Approximately 25–30 squares (if each is 6 inches).
- Throw Blanket (50″ x 60″): Approximately 80–100 squares (if each is 6 inches).
Would you like a guide on how to calculate exactly how many squares you need based on your specific yarn stash, or would you like to know how to add a “scalloped” border around the entire finished blanket?