 by
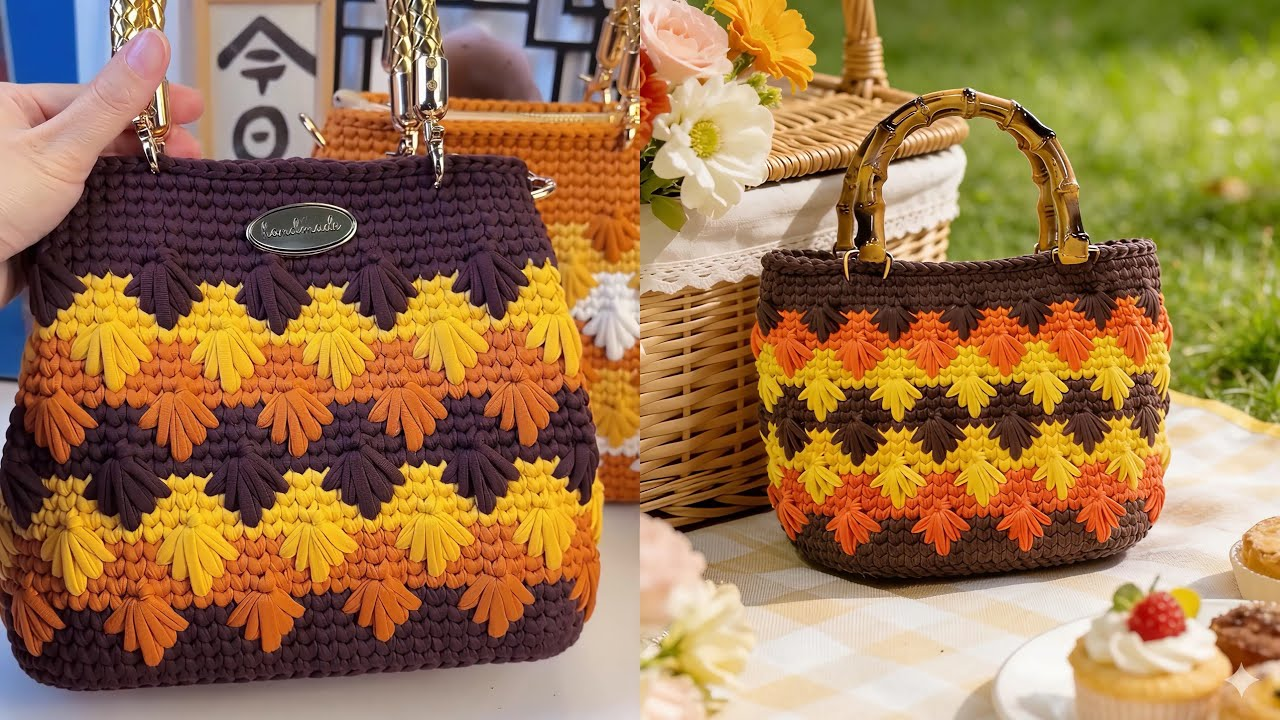
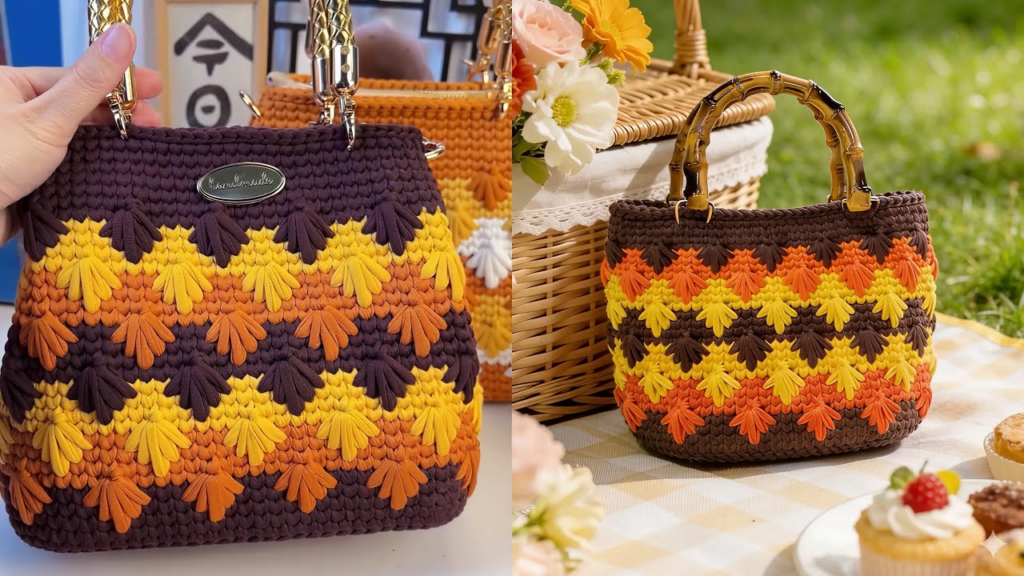
by The Firework Stitch is a high-texture, visually explosive stitch that radiates outward, mimicking the burst of a firework. When used for a bag, it creates a thick, sturdy fabric that naturally holds its shape. This project is perfect for someone looking for a “wow factor” piece that looks complex but relies on a simple, repeating rhythm.
🧶 The Toolkit
- Yarn: Worsted weight (Size 4) cotton. Cotton is non-stretchy and creates a crisp definition for the “burst” effect of the stitch.
- Hook: 4.0 mm (smaller than usual for worsted yarn to ensure a tight, durable fabric).
- Stitch Key (US Terms):
- ch: Chain
- sl st: Slip Stitch
- sc: Single Crochet
- dc: Double Crochet
- tr: Treble Crochet
- cl (Cluster): Work 3 unfinished dc stitches into one space, then yarn over and pull through all 4 loops on your hook.
🛠 The Firework Stitch Pattern (The Burst)
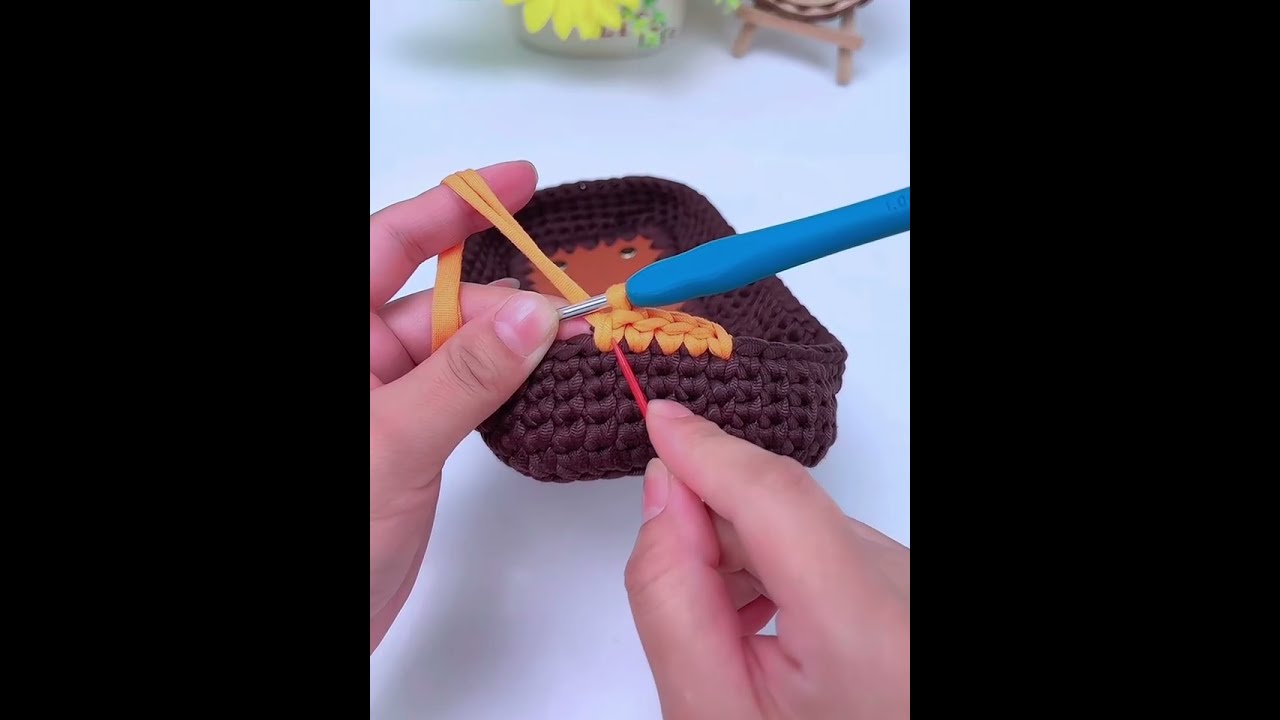
The Firework Stitch is essentially a cluster worked into a central point, with chain spaces creating the “beams” of the firework.
- Round 1 (The Core):
ch 4, join withsl stto form a ring.ch 3(counts as dc), work 11 dc into the ring.sl stto top ofch 3. - Round 2 (The Burst):
ch 4(counts astr),1 trin same stitch.ch 2. Work 2trin the next stitch,ch 2. Repeat around. This creates the “rays” of your firework. - Round 3 (The Anchor):
scinto each stitch and2 scinto eachch-2space. This rounds out your firework and prepares it to be a flat square or hexagon shape.
🛠 Phase 1: Constructing the Bag Panels
For a medium-sized tote, you will need two large panels.
- Work the Motif: Follow the Firework Stitch pattern above. To make the bag functional, grow your motif into a large square.
- Squaring the Burst: After Round 3, work a round of
dcto make the piece a square:(3 dc, ch 2, 3 dc)in the four corners and3 dcin the sides. - Size: Continue growing the square until it is approximately 10–12 inches wide. Make two identical panels.
🛠 Phase 2: Assembly & Sides
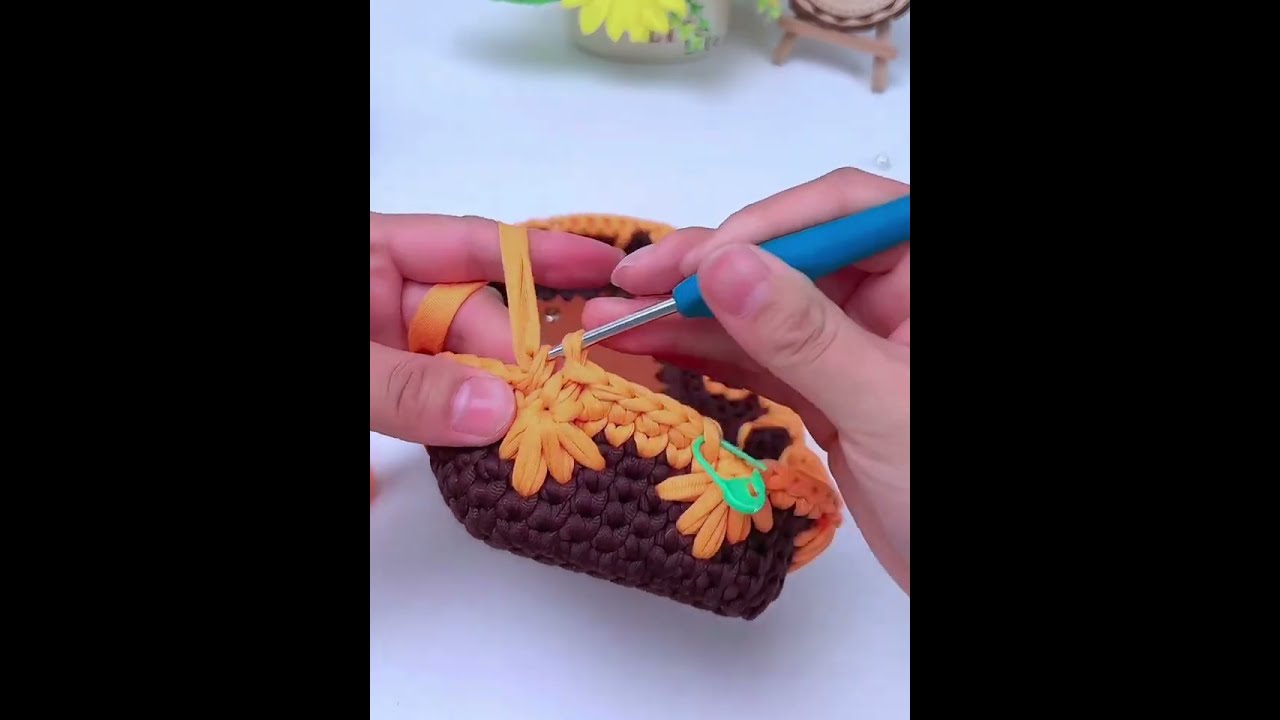
To give the bag depth, we need to connect the two panels with a “gusset” (the side and bottom piece).
- The Gusset: Chain 12. Work
scback and forth until the strip is long enough to cover the bottom and two sides of your square panels (roughly 30–35 inches). - The Join: Place one panel face down, align the gusset, and use the Flat Slip Stitch Join to connect them. Do the same for the second panel. The bag will now have a boxy, sturdy shape.
🌟 Pro-Tips for a “Designer” Finish
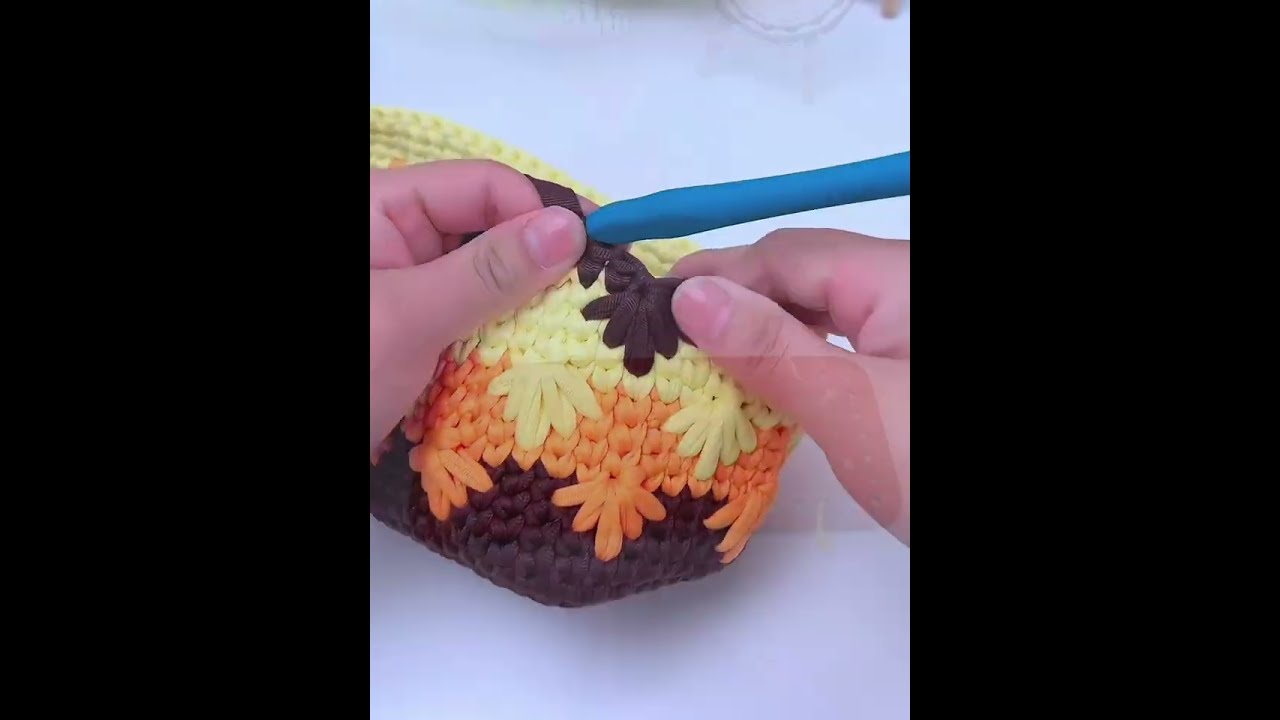
- Color Strategy: Use a Dark Charcoal or Black as your base (Round 1 & 3), and use a Variegated Neon or Metallic yarn for Round 2. This makes the “firework” look like it is actually exploding against a night sky.
- The Weight Test: Because the Firework Stitch uses many
tr(treble) stitches, the fabric can be slightly looser than a solidscbag. You must line this bag with a sturdy cotton fabric. Sew the lining into a rectangle slightly smaller than the bag’s interior to prevent the crochet from stretching when you fill it. - The Rim: After joining, work 3 rounds of
scalong the top edge of the bag. To make the rim extra sturdy, insert a piece of nylon cord along the top edge and crochet over it (a technique called “carrying the cord”). This creates a rigid rim that will never sag.
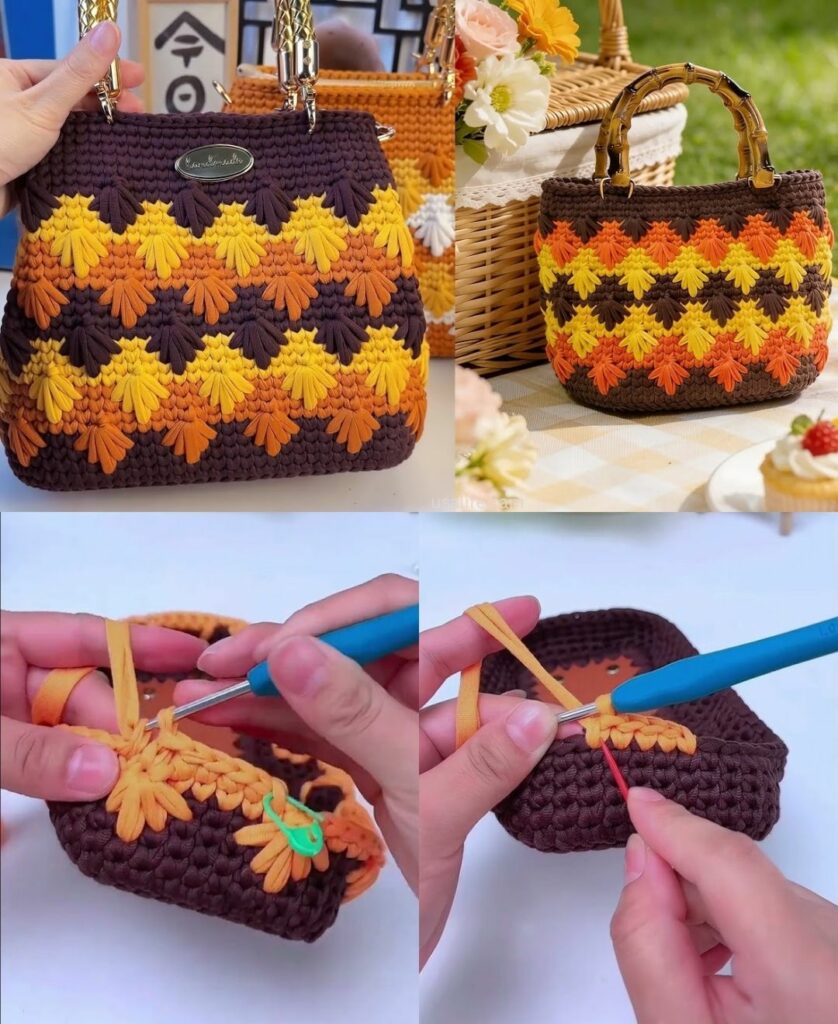
💡 Styling Idea: The “Midnight Tote”
Add a long, braided crochet strap that attaches to the inside corners of the bag. For the ultimate “firework” detail, attach a large, tassel charm made from all the colors you used in the Firework Stitch to one of the side handles.
Would you like me to provide a pattern for the sturdy braided strap, or would you prefer a tutorial on how to add a hidden interior pocket to the lining of your bag?