 by
by 
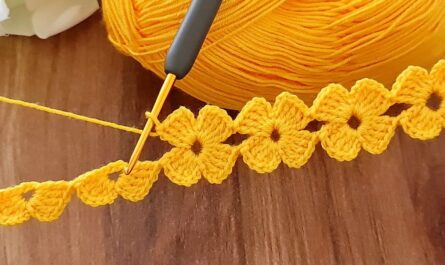
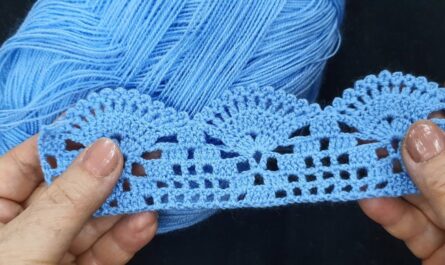
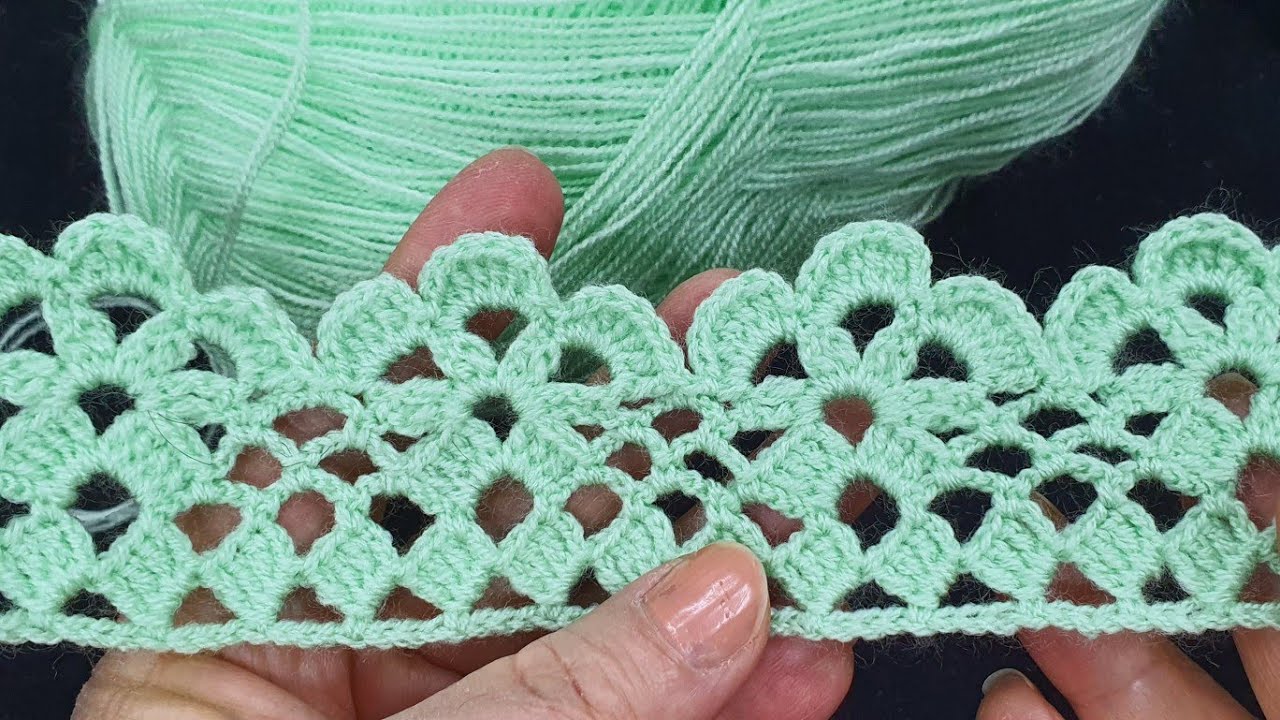
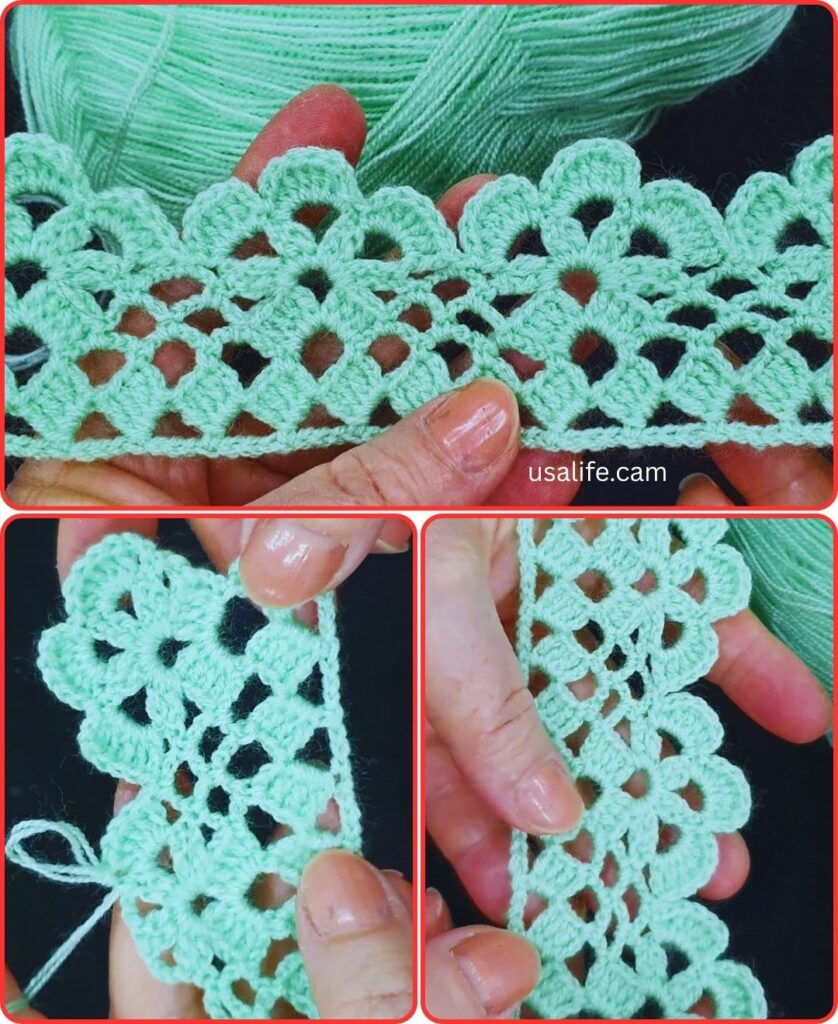
Borders are the finishing touches that transform a simple knitted piece into a polished masterpiece. They add structure, visual interest, and prevent edges from curling. But with so many border options out there, choosing the right one can feel overwhelming. Fear not, fellow knitters! This detailed blog pattern guide will equip you with the knowledge and skills to knit stunning borders for any project.
Step 1: Choosing Your Border
Before diving into stitches, consider these factors:
- Project type: Is it a blanket, scarf, hat, or something else?
- Yarn weight and fiber content: A delicate lace border might not suit chunky wool yarn.
- Skill level: Are you a beginner seeking a simple border, or an experienced knitter ready for a challenge?
- Desired look: Do you want a classic garter stitch border, a playful picot edge, or something more intricate?
Step 2: Pattern Prep
Once you’ve chosen your border, gather the necessary materials:
- Knitting needles appropriate for your yarn weight
- Yarn in a contrasting color (optional)
- Stitch markers (optional)
- Tapestry needle for weaving in ends
- The pattern for your chosen border! (See resources below)
Step 3: Casting On (or Picking Up Stitches)
Most borders are worked after completing the main body of your project. There are two main approaches:
- Casting on: This creates a new row of stitches around the edge. Cast on the required number of stitches according to your pattern.
- Picking up stitches: This method uses existing stitches from the edge of your project. Use a crochet hook or a spare knitting needle to pick up stitches along the edge, following your pattern’s instructions.
Step 4: Knitting the Border
Now comes the fun part! Follow your chosen pattern’s instructions carefully. Common border stitches include:
- Knit and purl variations: Simple yet effective, offering texture and definition.
- Increases and decreases: Create decorative shapes like scallops or waves.
- Cable stitches: Add a touch of elegance and complexity.
- Lace patterns: Delicate and airy, perfect for lightweight projects.
Step 5: Binding Off
Once you’ve reached the desired border length, bind off your stitches securely according to your pattern. Common bind-off methods for borders include:
- Simple bind off: Creates a clean, finished edge.
- Picot bind off: Adds a row of decorative loops for a whimsical touch.
- Scalloped bind off: Creates a wavy edge for a playful look.
Step 6: Finishing Touches
Weave in any loose ends with your tapestry needle. Press your project lightly to even out stitches and block it for a professional finish.
Bonus Tips:
- Practice swatching your chosen border pattern before starting on your actual project.
- Use stitch markers to keep track of your pattern repeats.
- Don’t be afraid to experiment with different colors and textures for your border.
- If you’re a beginner, start with a simple border pattern and gradually progress to more complex ones.
Video tutorial
Resources:
- Websites:
- Ravelry: https://www.ravelry.com/ (vast collection of free and paid knitting patterns)
- VeryPink Knits: https://verypink.com/ (clear tutorials and beginner-friendly patterns)
- KnitPicks: https://www.knitpicks.com/ (variety of border patterns with video tutorials)
- Books:
- Knitting Borders & Edgings by Debbie Stoller
- The Encyclopedia of Knit Stitches by Barbara Walker
With this guide and a little practice, you’ll be knitting stunning borders that elevate your projects to the next level. Happy knitting!tunesharemore_vert