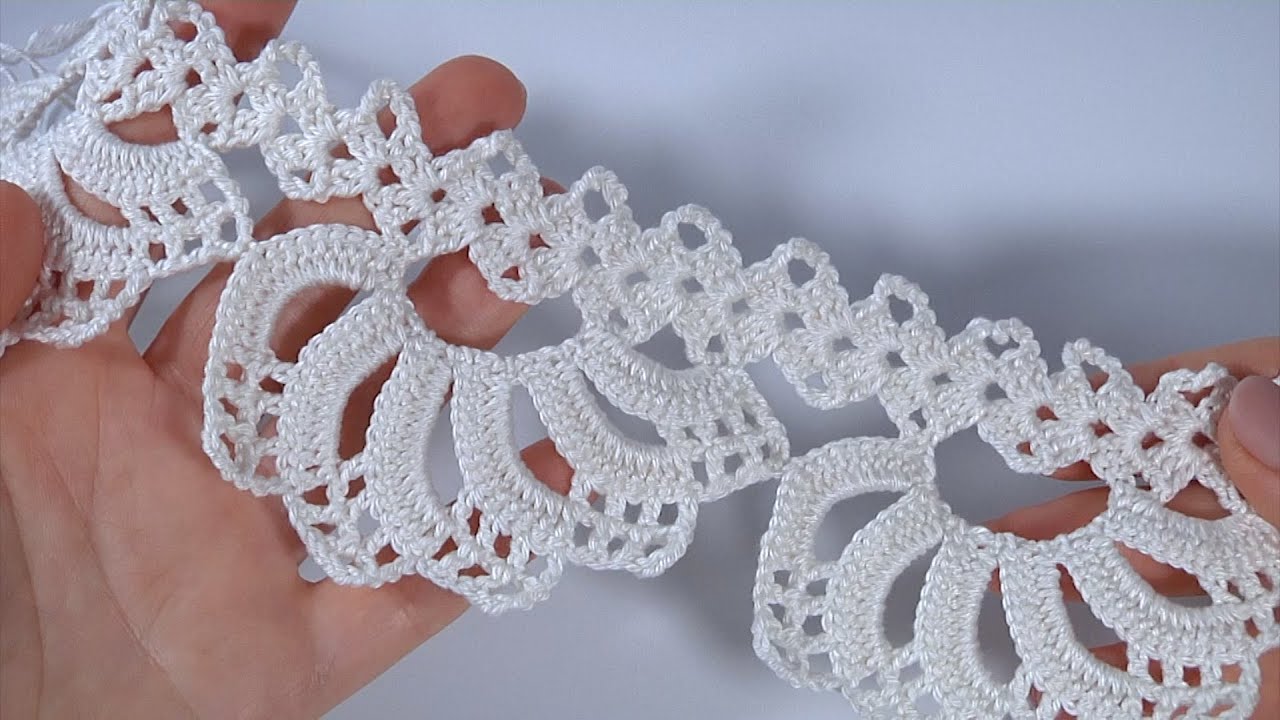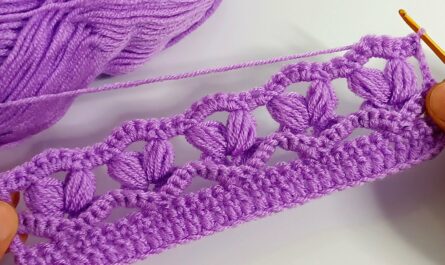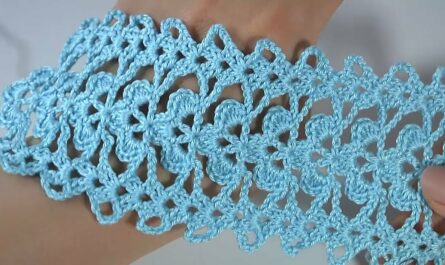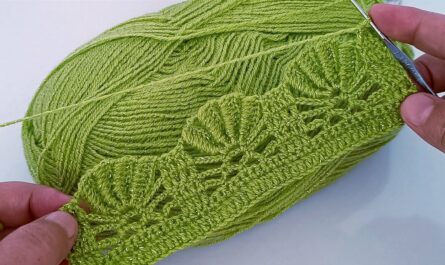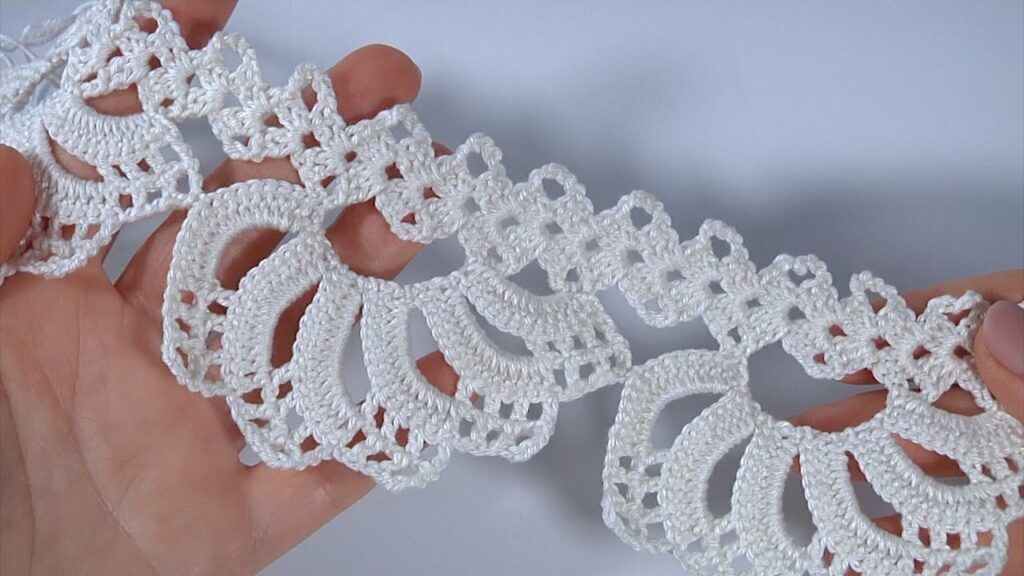
Adding a lace edge to your crochet project takes it from ordinary to extraordinary. Whether you’re embellishing a blanket, scarf, or clothing, a delicate lace border adds a touch of elegance and femininity. But where to begin? This detailed blog post will guide you through creating a stunning lace edge pattern, suitable for both beginners and experienced crocheters.
Materials:
- Crochet hook (size appropriate for your chosen yarn)
- Yarn suitable for crochet lace (lightweight, with good stitch definition)
- Tapestry needle (optional, for weaving in ends)
Choosing your pattern:
The internet is a treasure trove of free and paid lace edge patterns! Consider the following factors when making your choice:
- Skill level: Are you a beginner, intermediate, or advanced crocheter? Choose a pattern that matches your comfort level.
- Project type: Is the lace for a blanket, scarf, or clothing? Some patterns work better for specific projects.
- Desired look: Do you want a simple scalloped edge, a picot edging, or something more intricate?
Basic lace crochet techniques:
Before diving into the specific pattern, let’s brush up on some fundamental lace crochet techniques:
- Chain spaces: These create airy gaps in your lace.
- Double crochet (dc): The workhorse of many lace patterns.
- Slip stitch (sl st): Used to join stitches and create invisible joins.
- Picots: Tiny loops made with chains and slip stitches, adding a dainty touch.
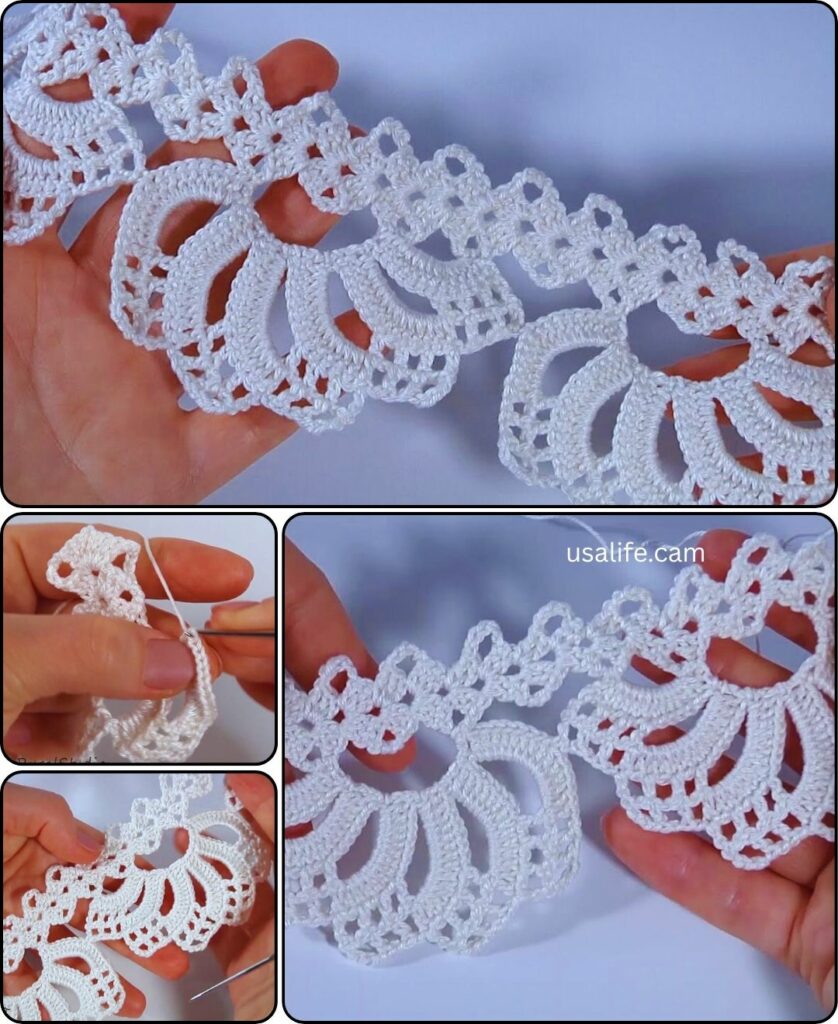
Following the pattern:
Once you’ve chosen your pattern, carefully follow the instructions. Most patterns use abbreviations, so ensure you understand them before starting. Pay close attention to:
- Number of chains and stitches: Accuracy is crucial for consistent lacework.
- Repeat sections: Many lace patterns involve repetitive motifs. Understand how to repeat them correctly.
- Turning chains: These chains help you turn your work without creating gaps.
Tips for success:
- Use stitch markers to keep track of your place in the pattern.
- Crochet in good lighting to see your stitches clearly.
- Work loosely to create delicate lace, but not so loose that stitches lose definition.
- Block your finished project to even out stitches and enhance the lace details.
Beyond the basics:
As you gain confidence, explore more advanced lace techniques like picot joins, popcorn stitches, and even incorporating beads. Remember, practice makes perfect!
Inspiration and resources:
Here are some online resources to find and learn lace edge patterns:
- Ravelry: A vast online community with countless free and paid crochet patterns.
- Crochet websites and blogs: Many websites offer free lace edge patterns with clear instructions and photos.
- Crochet books and magazines: Numerous publications feature beautiful lace edgings for all skill levels.
Video tutorial
Showcase your creation!
Once you’ve completed your lace edge, share your accomplishment with the crochet community! Upload photos on social media using relevant hashtags and tag the pattern designer (if applicable).
Remember, crocheting lace is a journey of exploration and creativity. Enjoy the process, embrace challenges, and don’t be afraid to experiment!
Note: This blog post provides a general guide to crocheting a lace edge. Remember to replace the generic instructions with the specific details of your chosen pattern for accurate results. Happy crocheting!tunesharemore_vert
