 by
by 
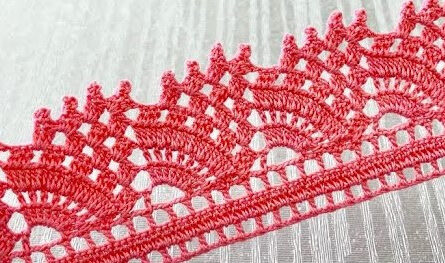
Ever get tired of your beloved dish cloths living a lonely life on the hook or tossed unceremoniously in a drawer? Give them a luxurious upgrade with this easy, quick, and economical crochet bed! Not only will it add a touch of whimsy to your kitchen, but it’s also a practical way to store and display your cleaning companions.
Materials:
- Crochet hook: Size appropriate for your chosen yarn weight (recommended: H/8 – 5.00mm)
- Yarn: Cotton yarn is ideal for both absorbency and durability. Choose colors that complement your kitchen décor!
- Tapestry needle: For weaving in ends
- Optional: A small bell, stuffing (for a more 3D bed), ribbon for embellishment
Skill Level: Beginner
Gauge: Gauge isn’t crucial for this project, but knowing your gauge will help estimate the finished size. Make a small swatch with your chosen yarn and hook size, measure stitches and rows per inch, and adjust the pattern accordingly.
Size: This pattern is adaptable to fit various dishcloth sizes. Measure your dishcloth and adjust the starting chain and subsequent increases/decreases based on desired dimensions.
Let’s Get Crocheting!
- Base:
- Chain a number of stitches slightly longer than the width of your dishcloth.
- Single crochet (sc) across the chain.
- Chain 2, turn.
- Sc in each stitch across. This completes your first row.
- Sides:
- Increase Rows: Continue working rows of sc, increasing one stitch at each end every other row until your work measures slightly wider than your dishcloth height.
- Straight Rows: Once you reach the desired width, work even rows of sc until the piece is about 3/4 the height of your dishcloth.
- Foot of the Bed:
- Decrease Rows: Decrease one stitch at each end every other row until you have the same number of stitches as your starting chain.
- Final Row: Sc across, slip stitch into the first stitch to join.
- Head of the Bed:
- Repeat steps 2 and 3, mirroring the increases and decreases to create a symmetrical bed shape.
- Finishing Touches:
- Weave in all ends securely.
- Optional: Attach a bell to the corner for decoration.
- Optional: Stuff the bottom half of the bed for a more 3D effect.
- Optional: Embellish with ribbon bows or other decorative touches.
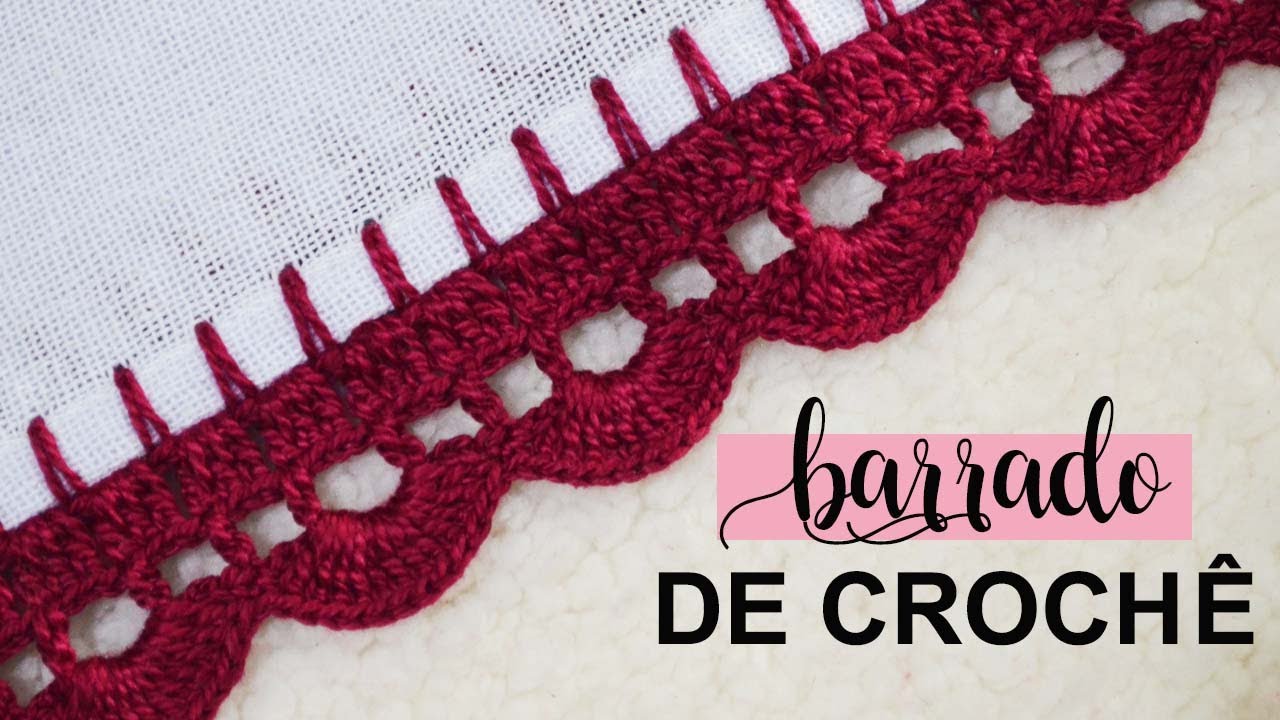
Video tutorial
Tips:
- Use contrasting colors for the base and sides to create a defined bed frame.
- Experiment with different stitch patterns for the sides and head of the bed for added texture.
- Make a matching pillowcase from a smaller square or rectangle crocheted in the same yarn.
- This project is perfect for using up leftover yarn scraps!
With just a little bit of yarn and love, you can create a charming and functional home for your trusty dish cloths. So, grab your hook, choose your favorite colors, and get ready to crochet some cozy comfort!
Don’t forget to share your creations online and tag me! I love seeing your interpretations of my patterns.
Happy crocheting!tunesharemore_vert