by
by 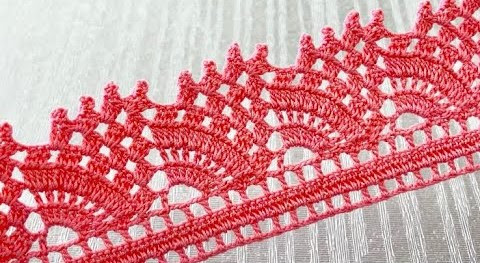
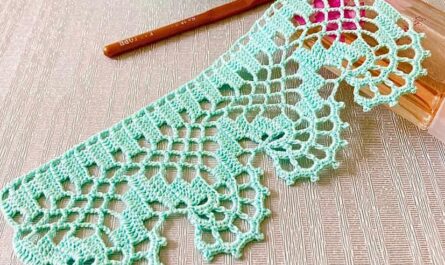
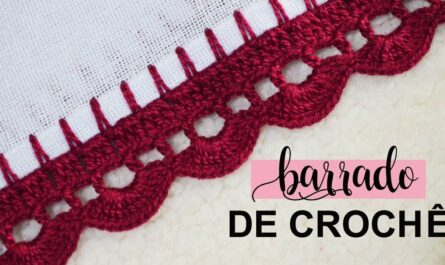
Adding a beautiful lace edge to your crochet projects takes them from simple to stunning. This tutorial will guide you through creating a versatile cover lace edge that can be adapted to various projects, from blankets and tablecloths to napkins and potholders.
Skill Level: Beginner-Intermediate
Materials:
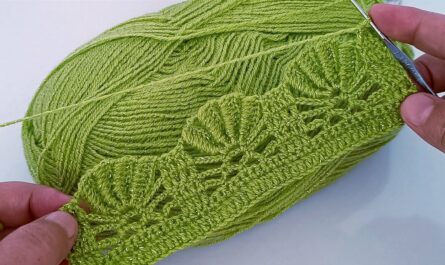
- Crochet hook appropriate for your yarn weight (I used a size 4 hook for worsted weight yarn)
- Yarn in a color that complements your project
- Scissors
- Tapestry needle (optional, for sewing in ends)
Gauge: This pattern is gauge-independent, meaning you can adjust the stitch multiples and rows to fit your desired finished size and project. However, it’s helpful to make a small gauge swatch to ensure you’re happy with the drape and stitch definition before starting your edge.
Instructions:
Foundation Row:
- Chain a number of stitches divisible by 4 (plus 1 or 2 additional stitches for turning) to fit around the edge of your project.
Row 1:
- Single crochet (sc) in the 3rd chain from the hook (skipping the first 2 chains).
- Chain 1 (ch 1), skip 2 stitches, sc in the next stitch. Repeat from * to * across the row, ending with a sc in the last stitch.
- Turn your work.
Row 2:
- Ch 2 (counts as a dc).
- Double crochet (dc) in the first ch 1 space, ch 3, dc in the next ch 1 space. Repeat from * to * across the row, ending with a dc in the last ch 1 space.
- Turn your work.
Row 3:
- Ch 1, sc in the first dc, ch 2, sc in the next dc, ch 2, skip 2 dc, sc in the next dc. Repeat from * to * across the row, ending with a sc in the last dc.
- Turn your work.
Row 4:
- Ch 2 (counts as a dc).
- Dc in the first ch 2 space, ch 1, dc in the next ch 2 space, ch 3, dc in the next ch 2 space. Repeat from * to * across the row, ending with a dc in the last ch 2 space.
- Turn your work.
Repeat Rows 3 and 4 for as many rows as desired to create your desired lace edge width.
Finishing:
- Fasten off your yarn and weave in any ends.
- You can optionally block your project to even out the stitches and give the lace a crisp look.
Video tutorial
Tips:
- You can modify the pattern by changing the number of starting chains, the number of stitches skipped between groups of stitches, and the height of the rows. Experiment to create different lace effects.
- If you’re working on a curved edge, you may need to adjust the number of stitches in each row to maintain the shape.
- Use stitch markers to mark the beginning and end of your repeats to make it easier to keep track.
- Practice makes perfect! Start with a small project to get comfortable with the pattern before tackling a larger piece.
Additional Resources:
- For visual learners, here are some helpful video tutorials:
- For written patterns with stitch diagrams, check out these websites:
I hope this tutorial helps you add a beautiful touch to your next crochet project! Feel free to ask any questions you may have. Happy crocheting!tunesharemore_vert