by
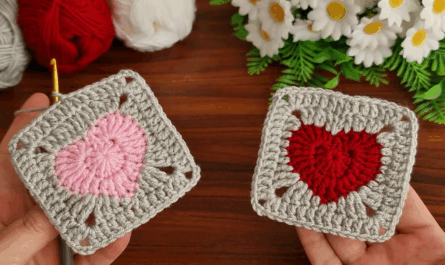
by You’re looking to create gorgeous crocheted coasters! That’s a fantastic idea. Coasters are perfect for adding a touch of handmade charm to your home decor, protecting surfaces, and they make wonderful gifts. They’re also an excellent project for beginners to practice various stitches and techniques in a small, manageable format.
Given your location in Phnom Penh, where it’s warm and humid, 100% cotton yarn is the absolute best choice for coasters. Here’s why:
- Absorbency: Cotton is highly absorbent, which is crucial for soaking up condensation from cold drinks.
- Heat Resistance: Unlike acrylic, cotton won’t melt or distort if a hot mug is placed on it.
- Durability: It stands up well to repeated use and washing.
- Washability: You can easily machine wash and dry cotton coasters, which is a big plus for items that will encounter spills.
- Texture & Stitch Definition: Cotton yarn often gives great stitch definition, making your patterns pop.
How to Crochet Gorgeous Coasters (Beginner-Friendly & Beyond)
To make a coaster truly “gorgeous,” we’ll focus on a few key elements: interesting stitch patterns, neat edges, and proper finishing. I’ll provide a few options, starting with a classic and moving to something with a bit more flair.
1. Essential Materials You’ll Need
- Yarn:
- Fiber: 100% Cotton Yarn (Worsted Weight is most common).
- Weight: Worsted Weight (Aran / Medium / 4) is ideal. It’s thick enough to provide good protection and works up quickly. DK (Double Knitting / 3) can also be used for a slightly more delicate coaster.
- Color(s): Choose colors that match your home decor, complement your mugs, or create a vibrant pop! Coasters are great for using up small amounts of leftover yarn.
- Quantity: You can usually get 2-4 coasters from a standard 100g skein of worsted weight cotton, depending on the pattern.
- Crochet Hook:
- For Worsted Weight cotton: A 4.5mm (US 7) or 5.0mm (US H/8) hook.
- For DK Weight cotton: A 3.5mm (US E/4) or 4.0mm (US G/6) hook.
- Aim for a firm tension. You want your coasters to be dense enough to protect surfaces and lie flat, not flimsy or holey. If your work feels loose, go down half a hook size.
- Scissors: For cutting yarn.
- Yarn Needle (Tapestry Needle): Essential for neatly weaving in all yarn ends.
- Optional: Stitch marker (helpful for working in rounds), blocking mats and rust-proof pins (highly recommended for a professional, flat finish).
2. Basic Crochet Stitches You’ll Use
All these patterns rely on fundamental stitches:
- Chain (ch): To begin your work and create spaces.
- Slip Stitch (sl st): For joining rounds or neatening edges.
- Single Crochet (sc): Creates a dense, sturdy fabric.
- Half Double Crochet (hdc): A medium-height stitch, good for solid fabric.
- Double Crochet (dc): A taller stitch, creates a more open fabric.
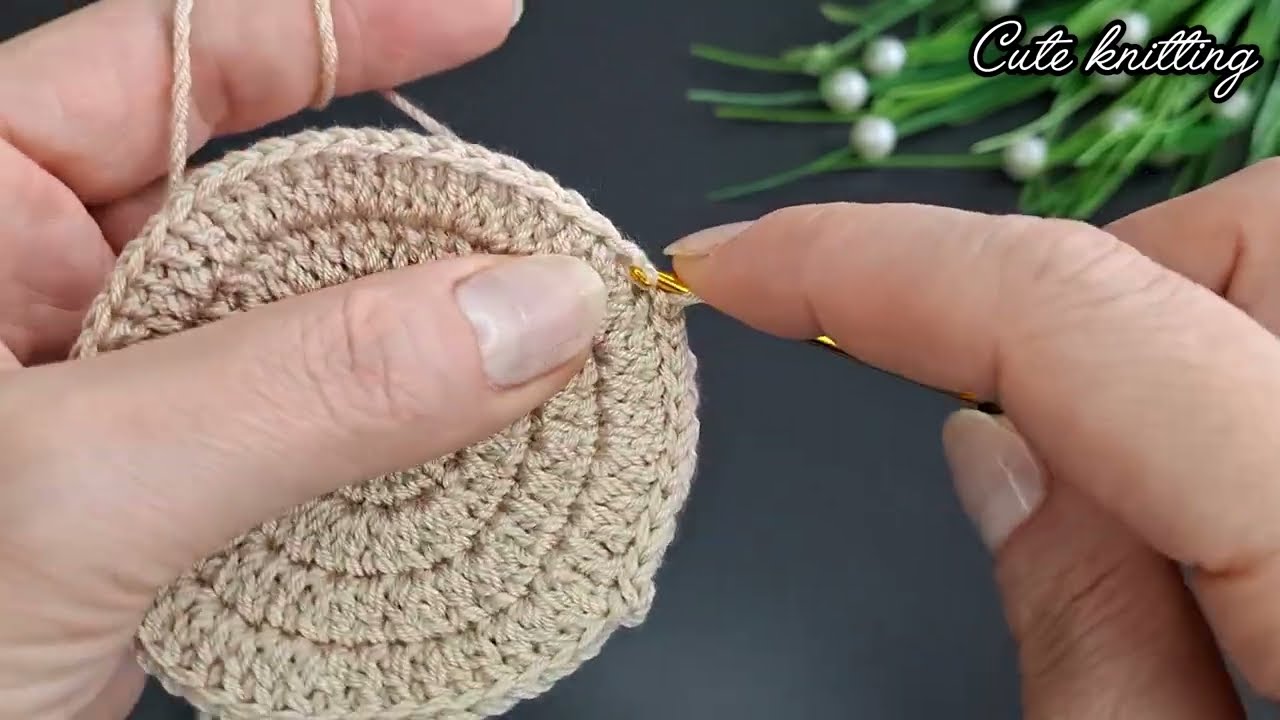
- Magic Ring (MR): (Also known as Magic Circle or Adjustable Ring). The best way to start a circular coaster for a tight, hole-free center. An alternative chain method is provided.

Gorgeous Coaster Pattern Options
Here are a few patterns, increasing in complexity, to make your coasters truly gorgeous.
Option 1: The “Solid & Sturdy” Round Coaster (Beginner-Friendly)
This uses basic stitches to create a flat, dense, and effective coaster. We’ll use Half Double Crochet (hdc) for good density.
Abbreviations (US Crochet Terms):
- ch: chain
- sl st: slip stitch
- hdc: half double crochet
- MR: magic ring
- inc: increase (work 2 stitches in the same stitch)
- st(s): stitch(es)
- *: repeat instructions between asterisks
Start (Choose ONE method for your center):
- Method A: Magic Ring (Recommended for a tighter center)
- Create a Magic Ring (MR).
- Ch 2 (does NOT count as a stitch).
- Work 8 hdc into the Magic Ring.
- Gently pull the yarn tail to close the center hole tightly.
- Join with a sl st to the top of the first hdc. (8 hdc)
- Method B: Chain Method (Easier for Beginners)
- Ch 3.
- Join with a sl st to the first chain to form a ring.
- Ch 2 (does NOT count as a stitch).
- Work 8 hdc into the center of the ring.
- Join with a sl st to the top of the first hdc. (8 hdc)
Working the Rounds:
- Round 1: Ch 2 (does NOT count as st). Work 2 hdc in each st around. Join with a sl st to the top of the first hdc. (16 hdc)
- Round 2: Ch 2. Work 1 hdc in the first st. *Work 2 hdc in the next st (inc), 1 hdc in the next st.* Repeat from * to * 7 more times. Join with a sl st to the top of the first hdc. (24 hdc)
- Round 3: Ch 2. Work 1 hdc in each of the first 2 sts. *Work 2 hdc in the next st (inc), 1 hdc in each of the next 2 sts.* Repeat from * to * 7 more times. Join with a sl st to the top of the first hdc. (32 hdc)
- Round 4: Ch 2. Work 1 hdc in each of the first 3 sts. *Work 2 hdc in the next st (inc), 1 hdc in each of the next 3 sts.* Repeat from * to * 7 more times. Join with a sl st to the top of the first hdc. (40 hdc)Your coaster should now be about 4-5 inches (10-12 cm) in diameter, which is a good size.
Finishing:
- Fasten Off: Cut yarn, leaving a 6-inch tail. Pull through loop on hook.
- Weave in Ends: Use your yarn needle to neatly weave in both the starting tail and the finishing tail.
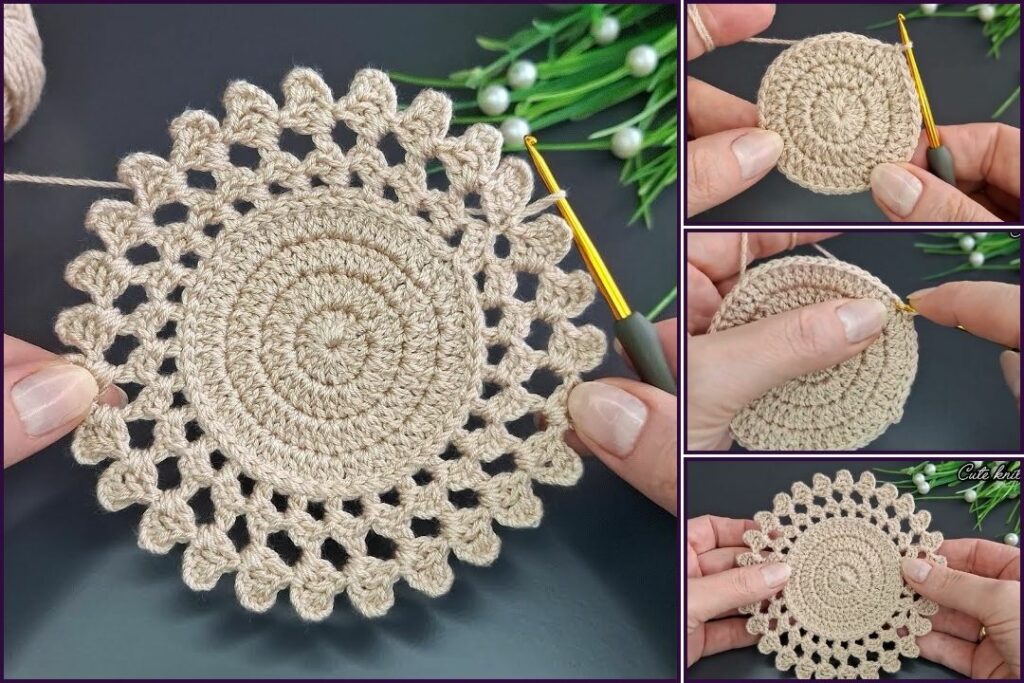
Option 2: The “Textured Starburst” Coaster (Advanced Beginner)
This pattern adds more visual interest with different stitches and layers.
Abbreviations: Same as above, plus dc (double crochet).
Start (Magic Ring or Chain 3 method):
- Round 1 (Center – Color A): Ch 2 (does NOT count as st). Work 10 hdc into MR/ring. Join with sl st to first hdc. (10 hdc)
- Fasten off Color A.
Round 2 (Petals – Color B):
- Join Color B with a sl st into any hdc from Round 1.
- *Ch 2, work 3 dc into the same st where you joined. Sl st into the next st.* Repeat from * to * 9 more times.
- (You’ll have created 10 small “petals” (clusters of 3 dc) around the center, joined to the base with sl sts.)
- Join with a sl st to the very first sl st of the round.
- Fasten off Color B.
Round 3 (Outer Border – Color C or B):
- Join Color C (or continue with B) with a sl st into any ch-2 space from Round 2 (the top of a petal).
- Ch 1 (does NOT count as st).
- Work 2 sc into the same ch-2 space.
- *Work 1 sc into the next sl st (this is the sl st that connected two petals in Round 2). Work 2 sc into the next ch-2 space.* Repeat from * to * 9 more times.
- Join with a sl st to the top of the first sc. (30 sc)
- Fasten off and weave in ends.

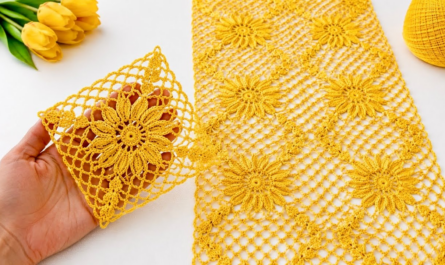
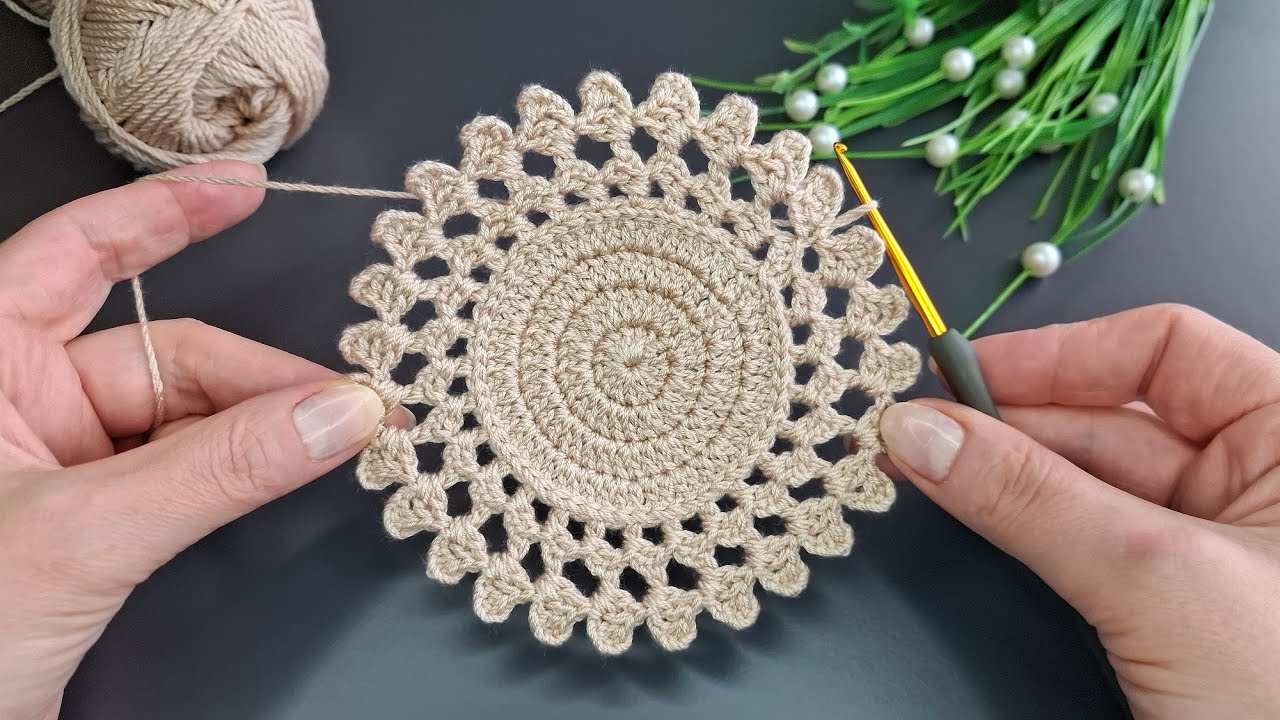
Option 3: The “Flower Petal” Coaster (Intermediate Beginner)
This focuses on forming distinct petals that make a gorgeous floral shape.
Abbreviations: Same as above, plus tr (treble/triple crochet).
Start (Magic Ring or Chain 3 method):
- Round 1 (Center – Color A): Ch 2 (does NOT count as st). Work 12 hdc into MR/ring. Join with sl st to first hdc. (12 hdc)
- Fasten off Color A.
Round 2 (Petals – Color B):
- Join Color B with a sl st into any hdc from Round 1.
- Ch 1 (does NOT count as st).
- *Work (1 sc, 1 hdc, 1 dc, 1 hdc, 1 sc) all into the same st. Sk 1 st, sl st into the next st.* Repeat from * to * 5 more times.
- (You’ll have 6 distinct petals forming, with a skip-stitch and slip stitch between each to define them.)
- Join with a sl st to the very first sl st of the round.
- Fasten off Color B, leaving a short tail.
Round 3 (Outer Petal Definition – Color C or B):
- Join Color C (or continue with B) with a sl st into any sl st from Round 2 (these are the slip stitches you made between the petals of Round 2).
- Ch 3 (counts as 1 dc).
- Work (1 dc, 1 tr, 1 dc) into the same sl st.
- *Work 1 sl st into the next sl st (between petals). Ch 3 (counts as 1 dc), work (1 dc, 1 tr, 1 dc) into the same sl st.* Repeat from * to * 4 more times.
- (You’ll create another layer of 6 larger petals that “frame” the first layer.)
- Join with a sl st to the top of the starting Ch 3.
- Fasten off and weave in ends.
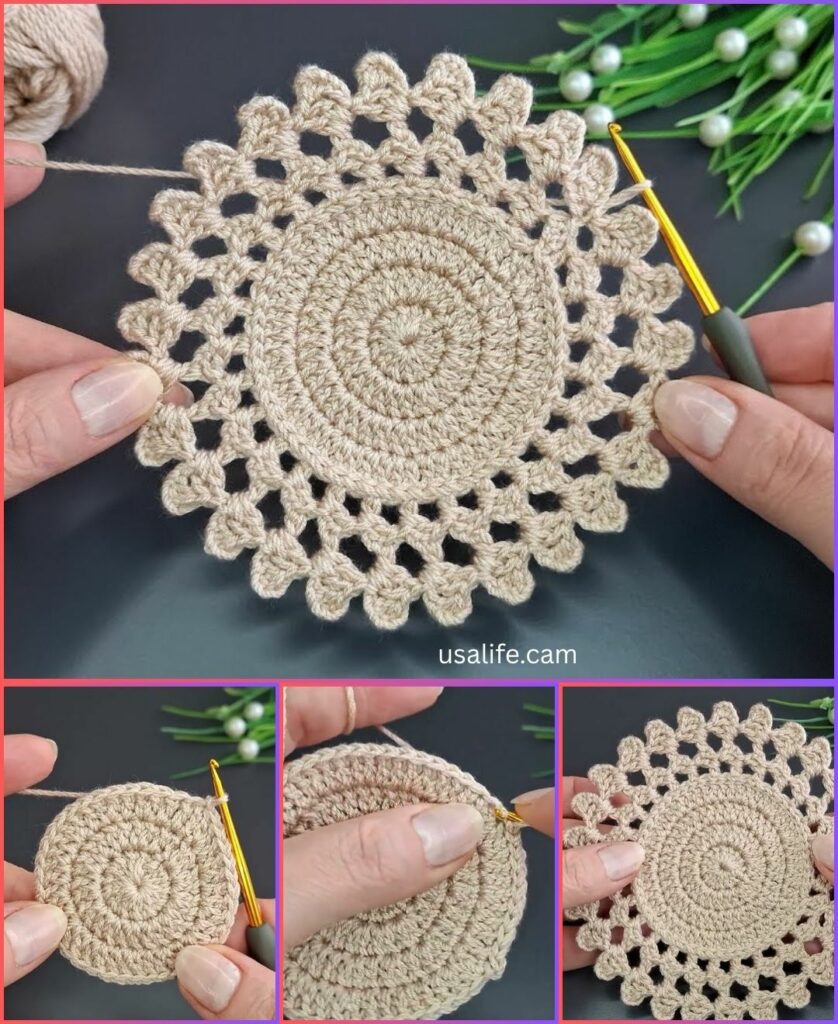
3. Finishing Your Gorgeous Coasters (Crucial Steps!)
No matter which pattern you choose, proper finishing makes a world of difference.
- Weave in All Ends NEATLY: This is the most important step for a “gorgeous” coaster. Use your yarn needle to weave in every single yarn tail securely into the stitches. For multi-color coasters, take care to weave colors into stitches of the same color to make them invisible. Do not just snip them short, or your coaster will unravel!
- Blocking (Highly Recommended): This is the secret to making your crocheted items look professional and lay perfectly flat.
- Wet Blocking: Gently wet your coaster(s). You can spray them with water, or fully immerse them in cool water for a few minutes.
- Shape: Carefully squeeze out excess water (do NOT wring or twist!). Lay the coaster(s) flat on a clean, dry towel or a foam blocking mat. Gently stretch and shape each coaster into a perfect circle or the desired shape, ensuring it lies completely flat without any cupping or ripples.
- Pin (Optional but helpful): Use rust-proof pins to hold the edges of your coaster(s) in place if they are not naturally lying flat.
- Dry: Allow the coaster(s) to air dry completely. This can take several hours or even overnight. Blocking will relax the fibers, open up your stitches, and make your coasters perfectly flat and beautiful.
4. Tips for Making Your Coasters Truly Gorgeous
- Yarn Choice is Key: Stick with cotton! It performs the best for absorbency and heat resistance, and gives a crisp, defined look to stitches.
- Consistent Tension: Try to maintain an even tension throughout your crocheting. This ensures your stitches are uniform and your coaster lies flat. If it starts to cup, your tension might be too tight, or you might need an extra increase. If it ruffles, your tension is too loose, or you have too many increases.
- Count Your Stitches: Especially important for circular patterns. Counting at the end of each round helps ensure you’re maintaining the correct stitch count and that your circle remains flat.
- Experiment with Colors: Don’t be afraid to try different color combinations. You can match your home decor, or create a fun, eclectic set.
- Mix and Match Patterns: Once you’re comfortable, you can create a set of coasters using different patterns for variety.
- Gifts: Crocheted coasters make excellent, thoughtful, and budget-friendly gifts for housewarmings, birthdays, or holidays. Package them with a nice mug or specialty tea/coffee!
- Care: Always include care instructions if giving them as a gift. For cotton, it’s typically “Machine wash cold, tumble dry low” or “Lay flat to dry.”
With these detailed instructions and tips, you’ll be able to create truly gorgeous crocheted coasters that are both functional and decorative!