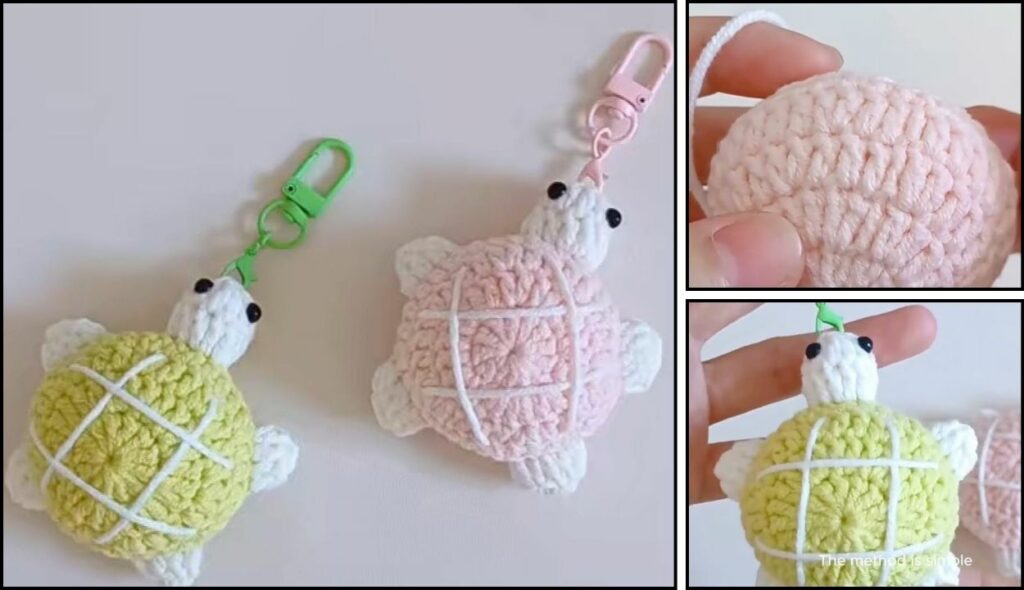
Crocheting a turtle is a fun and rewarding project, and it’s a fantastic way for beginners to get started with amigurumi, the art of crocheting stuffed toys. This pattern will guide you through making a simple, adorable turtle using basic stitches and shaping techniques.
Materials Needed
- Yarn: Medium-weight yarn in two colors: one for the shell (e.g., green, blue, or a variegated color) and one for the body (e.g., light brown or tan).
- Crochet Hook: The size that matches your yarn. Check the yarn label for a recommendation.
- Stuffing: Polyester fiberfill or a similar stuffing material.
- Safety Eyes (optional): Small plastic eyes that snap into place. You can also embroider the eyes later.
- Scissors: For cutting yarn.
- Tapestry Needle: For sewing the pieces together and weaving in ends.
- Stitch Marker: Essential for keeping track of your rounds.

Abbreviations
- ch: chain
- sc: single crochet
- sl st: slip stitch
- inc: increase (work two single crochet stitches in the same stitch)
- dec: decrease (work a single crochet two together, or sc2tog)
- st(s): stitch(es)
- ( ) the number of stitches you should have at the end of the round.
How to Make the Turtle
The turtle is made in two main parts: the shell and the body. We’ll be working in continuous rounds, which means you won’t join with a slip stitch at the end of each round. Use a stitch marker to mark the first stitch of each round and move it up as you go.

Part 1: The Shell (in your shell color)
- Round 1: Start with a magic ring. Work 6 sc into the ring. (6)
- Round 2: inc in each stitch around. (12)
- Round 3: [sc in the next st, inc] 6 times. (18)
- Round 4: [sc in the next 2 sts, inc] 6 times. (24)
- Round 5: [sc in the next 3 sts, inc] 6 times. (30)
- Round 6: [sc in the next 4 sts, inc] 6 times. (36)
- Round 7: [sc in the next 5 sts, inc] 6 times. (42)
- Round 8: Working in the back loop only for this round, sc in each stitch around. (42)
- Fasten off and leave a long tail for sewing. This back-loop-only round creates a clear ridge for attaching the shell later.

Part 2: The Body (in your body color)
The body includes the head and flippers. You’ll make one large piece that is then stuffed and shaped.
- Round 1: Start with a magic ring. Work 6 sc into the ring. (6)
- Round 2: inc in each stitch around. (12)
- Round 3: [sc in the next st, inc] 6 times. (18)
- Round 4: [sc in the next 2 sts, inc] 6 times. (24)
- Round 5: [sc in the next 3 sts, inc] 6 times. (30)
- Round 6: [sc in the next 4 sts, inc] 6 times. (36)
- Rounds 7-8: sc in each stitch around. (36)
- Round 9: [sc in the next 4 sts, dec] 6 times. (30)
- Round 10: [sc in the next 3 sts, dec] 6 times. (24)
- Round 11: [sc in the next 2 sts, dec] 6 times. (18)
- Stuff the body firmly with fiberfill. Continue to stuff as you decrease in the next rounds.
- Round 12: [sc in the next st, dec] 6 times. (12)
- Round 13: dec 6 times. (6)
- Fasten off, leaving a tail. Use a tapestry needle to weave the tail through the remaining 6 stitches and pull tight to close the hole. Weave in the end.

Assembly
- Attach the Shell: Place the shell piece over the body, matching the beginning of the round. Using the long tail you left on the shell, sew the two pieces together, stitching through the front loops of the shell and the corresponding stitches on the body. This creates a clean, visible seam.
- Add the Flippers (Optional): You can also make simple, small flippers and sew them on. To do this, ch 4 and work sl st in the 2nd chain from the hook, then sc, then sl st. Fasten off and sew these onto the body, with two in the front and two in the back.
- Add the Head (Optional): You can create a small head, stuff it, and sew it on. To do this, make a small sphere (
sc6 into magic ring,incin each st,scaround, thendecand stuff). Sew it on securely with a tapestry needle. - Add the Face: If you’re using safety eyes, insert them into the head or the front of the body before sewing it on. If you prefer, use black yarn and a tapestry needle to embroider two small dots for eyes and a smile.
- Weave in All Ends: Neatly weave in any remaining loose ends to finish your adorable turtle.
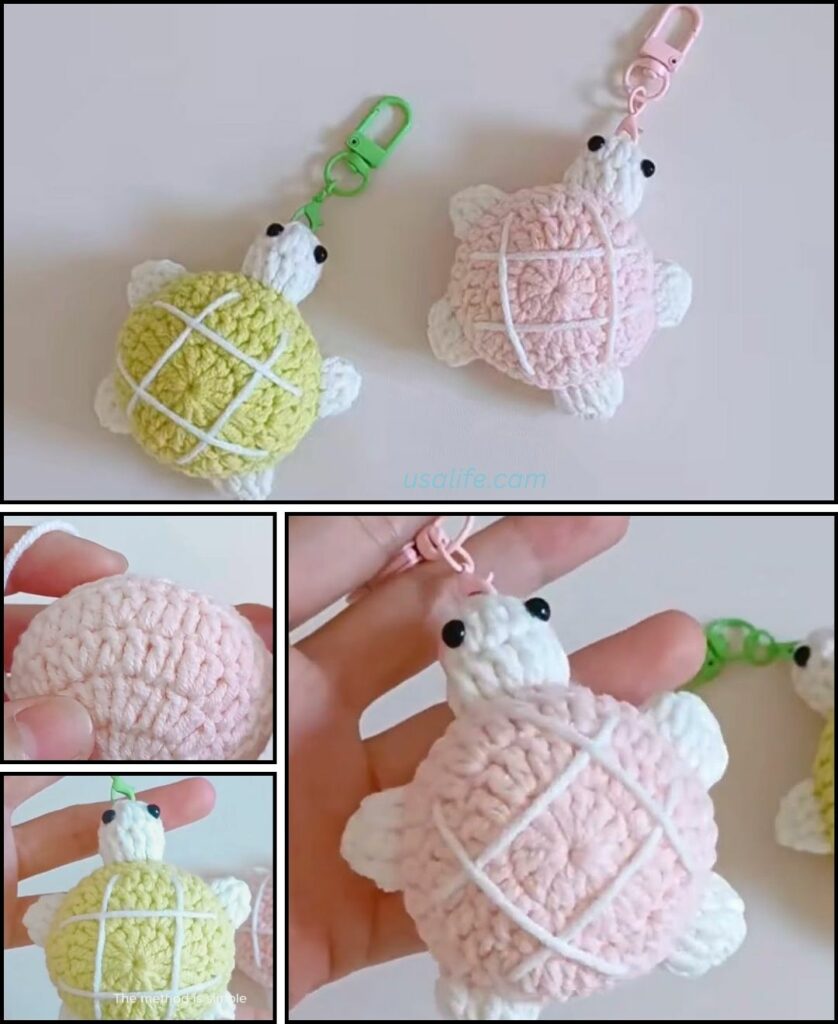
You’ve now created a complete and charming crocheted turtle!
Video tutorial

