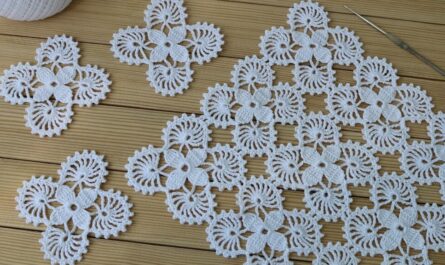
That’s a fantastic choice! Hexagon motifs are just as versatile as squares, but they offer a unique shape that’s wonderful for garments, blankets, and bags, often resulting in a beautiful tessellated or honeycomb pattern.
The easiest way to crochet a hexagon for beginners is using the Traditional Granny Hexagon method, which relies on clusters of double crochet (dc) stitches and consistent increases to maintain the six sides.

🔶 Traditional Granny Hexagon Motif Tutorial
This tutorial uses the basic double crochet (dc) and chain stitches, making it perfect for beginners familiar with working in the round.
Materials You’ll Need
- Yarn: Medium-weight yarn (worsted/size 4) is easiest to practice with.
- Crochet Hook: The size appropriate for your yarn (e.g., 5.0 mm).
- Scissors
- Tapestry Needle: For weaving in ends.
Key Crochet Terms
| Abbreviation | Stitch Name |
| ch | Chain |
| sl st | Slip Stitch |
| dc | Double Crochet |
| sp | Space (refers to a chain space) |
Part 1: Establishing the Center (The 6 Points)
To get six sides, you must establish six clusters and six corner spaces in the first round.
- Start the Ring: Make a Magic Ring (or ch 4, sl st to join).
- First Cluster: ch 3 (counts as first dc). Work 2 dc into the ring. (3 dc total).
- Corner: ch 2.
- Repeat: Work [3 dc into the ring, ch 2] 5 times. (You will have 6 clusters and 6 corner spaces).
- Finish: Join with a sl st to the top of the beginning ch 3. (Total of 6 clusters).

Part 2: Defining the Sides and Corners
In this round, we start working into the spaces to make the motif grow outward, maintaining the six corners.
- Move to Corner: sl st into the next two dc’s, and sl st into the first ch-2 corner sp.
- Corner 1: ch 3 (counts as dc). Work (2 dc, ch 2, 3 dc) into the same corner space. (This creates a full corner cluster).
- Side Space: ch 1 (separates clusters on the side).
- Repeat: [3 dc, ch 2, 3 dc] into the next corner space, ch 1. Repeat this sequence around all six corner spaces.
- Finish: Join with a sl st to the top of the beginning ch 3.
Part 3: Expanding the Hexagon
The pattern is now set. Each subsequent round increases the number of clusters along the sides while keeping the corners the same.
- Move to Corner: sl st over to the next corner space.
- Corner: Work the full corner cluster: (ch 3, 2 dc, ch 2, 3 dc) into the corner space.
- Side: ch 1. Work 3 dc into the next ch-1 side sp. ch 1.
- Next Corner: Work the full corner cluster into the next corner space.
- Repeat: Continue the sequence of (Corner, Side Clusters) around the entire hexagon. In this round, you only have one side space to fill.
- Finish: Join with a sl st to the top of the beginning ch 3.

Continuing to Grow
To make the hexagon larger, simply repeat the Expansion Round (Part 3).
- In Round 4, you will have two
(3 dc, ch 1)clusters along each side. - In Round 5, you will have three
(3 dc, ch 1)clusters along each side, and so on.
The formula is always: Corner is worked in the ch-2 space, and Side Clusters are worked in the ch-1 spaces.
Finishing and Usage
- Fasten Off: Cut the yarn, leaving a tail, and weave in all ends securely with a tapestry needle.
- Blocking: Hexagons can sometimes curl slightly. Blocking (wetting and pinning the motif) is highly recommended to ensure the sides are straight and the angles are crisp, making them easier to join.

This simple hexagon is perfect for starting a blanket, shawl, or even a pillow!
Video tutorial:


