 by
by Please write to me in detail about How to crochet different granny square tutorial for beginners
That is an excellent idea! Once you master the classic Granny Square, exploring variations allows you to create textured and uniquely stylized projects while still using the simple principles of working in the round and increasing at the corners.
Here are detailed, step-by-step tutorials for three popular and easy Granny Square variations perfect for beginners.
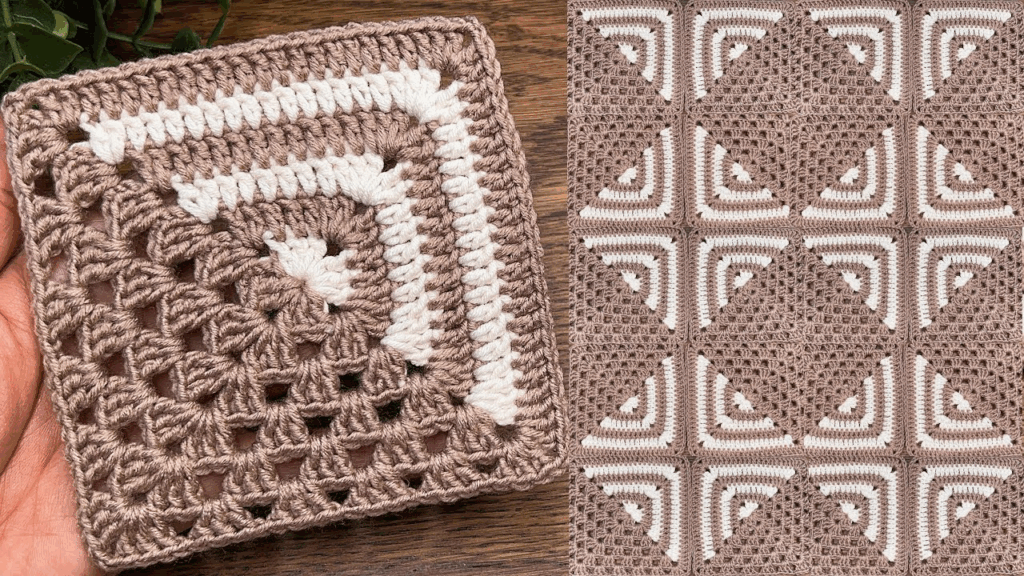
🧶 Different Granny Square Tutorials for Beginners
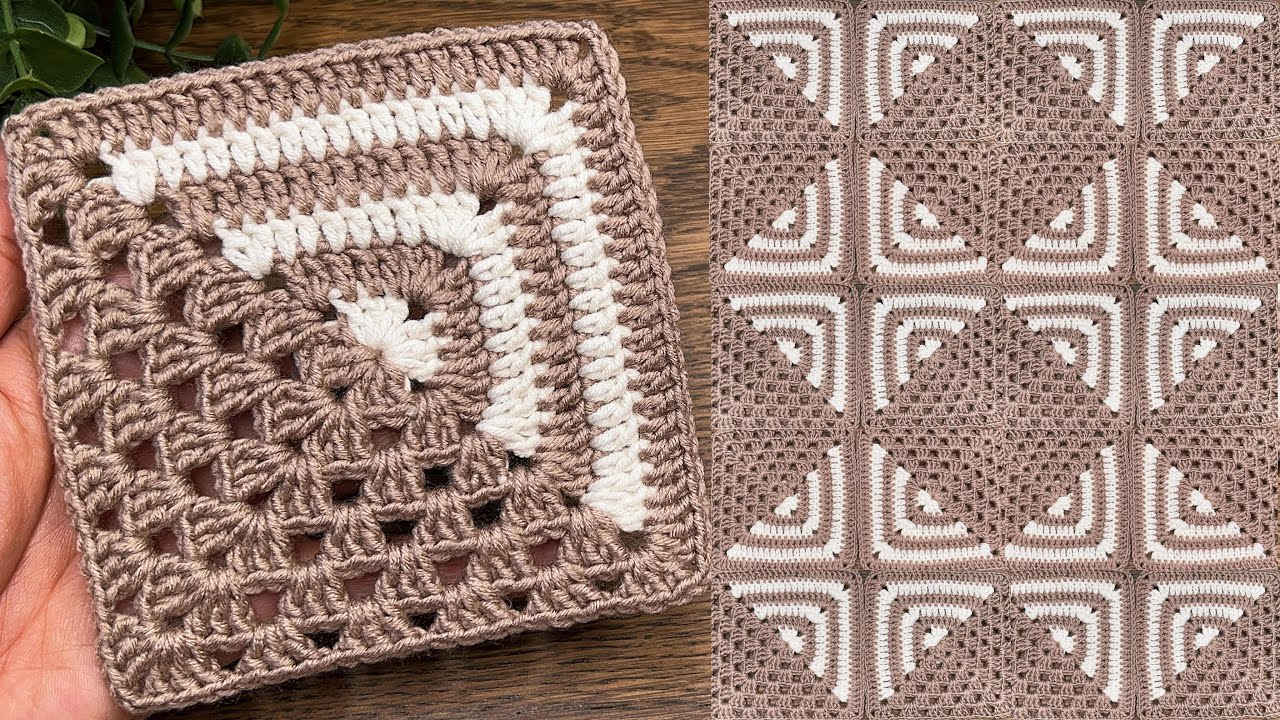
1. 🟨 The Solid Granny Square (Dense Fabric)
This variation eliminates the chain spaces along the sides, creating a dense, less holey fabric, which is great for blankets and garments needing warmth.
Key Difference: You work into every stitch, not just spaces.
| Abbreviation | Stitch Name |
| ch | Chain |
| sl st | Slip Stitch |
| dc | Double Crochet |
| Corner | (dc, ch 2, dc) |
Step-by-Step Instructions
Round 1: Foundation
- Start: Make a Magic Ring. ch 3 (counts as dc). Work 2 dc into the ring.
- Corner: ch 2.
- Repeat: Work [3 dc into the ring, ch 2] 3 more times.
- Finish: Pull tail tight. Join with a sl st to the top of the ch 3. (12 dc total).

Round 2: Expanding the Solid Sides
- ch 3 (counts as dc). Work dc in the next 2 stitches (1 dc into each dc from R1).
- Corner: Work (dc, ch 2, dc) into the ch-2 corner space.
- Repeat: Work [dc in the next 3 stitches, Corner (dc, ch 2, dc) in the next ch-2 space] 3 more times.
- Finish: Join with a sl st to the top of the ch 3.
Round 3: Continuing to Grow
- ch 3 (counts as dc). Work dc in every stitch across the side until you reach the corner space.
- Corner: Work (dc, ch 2, dc) into the ch-2 corner space.
- Repeat: Continue the sequence [dc in every stitch across the side, Corner (dc, ch 2, dc)] around the square.
- Continue: Repeat Round 3 until the square is the size you need.
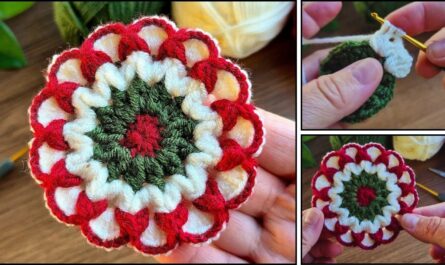
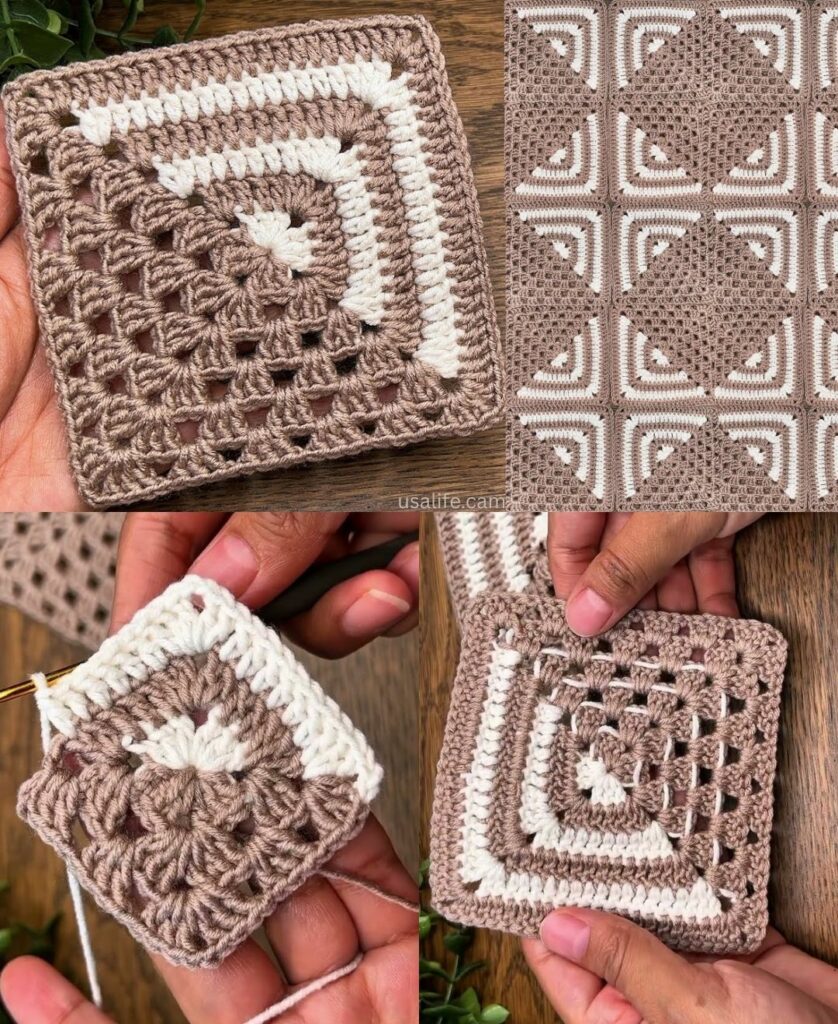
2. 🌟 The Sunburst/Starburst Center Granny (Textured Center)
This adds a stunning, textured, circular center before squaring off with a traditional granny border.
Key Differences: Uses Puff/Cluster stitches and starts circular.
| Abbreviation | Stitch Name |
| PS | Puff Stitch (or 4-DC Cluster) |
| dc | Double Crochet |
| Corner | (3 dc, ch 2, 3 dc) |

Step-by-Step Instructions
Round 1: Center
- Start: Make a Magic Ring. ch 3 (counts as dc). Work 11 dc into the ring.
- Finish: Join with a sl st to the top of the ch 3. (12 dc).
Round 2: The Sunburst Petals
- ch 2 (does not count as st). Work PS (Puff Stitch) in the same stitch. ch 1 to close.
- ch 1 (separates the petals).
- Repeat: [PS in the next st, ch 1] 11 more times.
- Finish: Join with a sl st to the top of the first PS. (12 petals).
Round 3: Squaring Off
This round introduces the four corners. Work into the ch-1 spaces between the petals.
- sl st into the first ch-1 space.
- First Corner: ch 3 (counts as dc). Work (2 dc, ch 2, 3 dc) into the same space.
- Side: ch 1. Work 3 dc into the next ch-1 space. ch 1.
- Repeat Corner: Work (3 dc, ch 2, 3 dc) into the next ch-1 space.
- Continue: Repeat the sequence [Corner, ch 1, 3 dc Cluster, ch 1] two more times.
- Finish: Join with a sl st to the top of the ch 3.
Round 4 (and beyond): Continue using the Classic Granny Square pattern (Round 3 in that tutorial) to expand the frame.

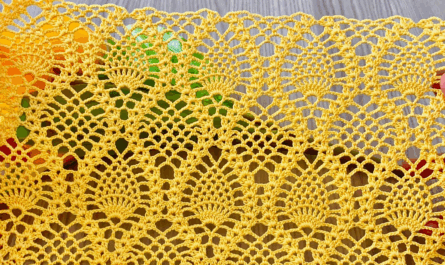
3. 💖 The Heart/Lace Granny (Airy Lace)
This variation uses V-stitches and chains to create a light, lacy feel, which is perfect for shawls or lightweight runners.
Key Difference: Uses V-Stitches instead of solid DC Clusters.
| Abbreviation | Stitch Name |
| ch | Chain |
| V-st | V-Stitch (dc, ch 1, dc) |
| Corner | (V-st, ch 2, V-st) |
Step-by-Step Instructions
Round 1: Foundation
- Start: Make a Magic Ring. ch 4 (counts as dc + ch 1). Work dc in the ring (First V-Stitch).
- Corner: ch 2.
- Repeat: Work [V-st (dc, ch 1, dc) in the ring, ch 2] 3 more times.
- Finish: Pull tail tight. Join with a sl st to the 3rd ch of the beginning ch 4. (4 V-sts, 4 ch-2 corners).
Round 2: Expanding the Lace
- sl st into the ch-1 space of the first V-st. ch 3 (counts as dc). Work ch 1, dc in the same space (V-st in V-st).
- Side: ch 1.
- Corner: Work [V-st (dc, ch 1, dc), ch 2, V-st (dc, ch 1, dc)] into the ch-2 corner space.
- Repeat: Continue the sequence [ch 1, V-st in V-st, ch 1, Corner] three more times.
- Finish: Join with a sl st to the 3rd ch of the beginning ch 3.
Round 3 (and beyond): Repeat Round 2, ensuring you work a ch 1 between every V-stitch and cluster along the sides, and the Corner formula remains the same.
Video tutorial: