 by
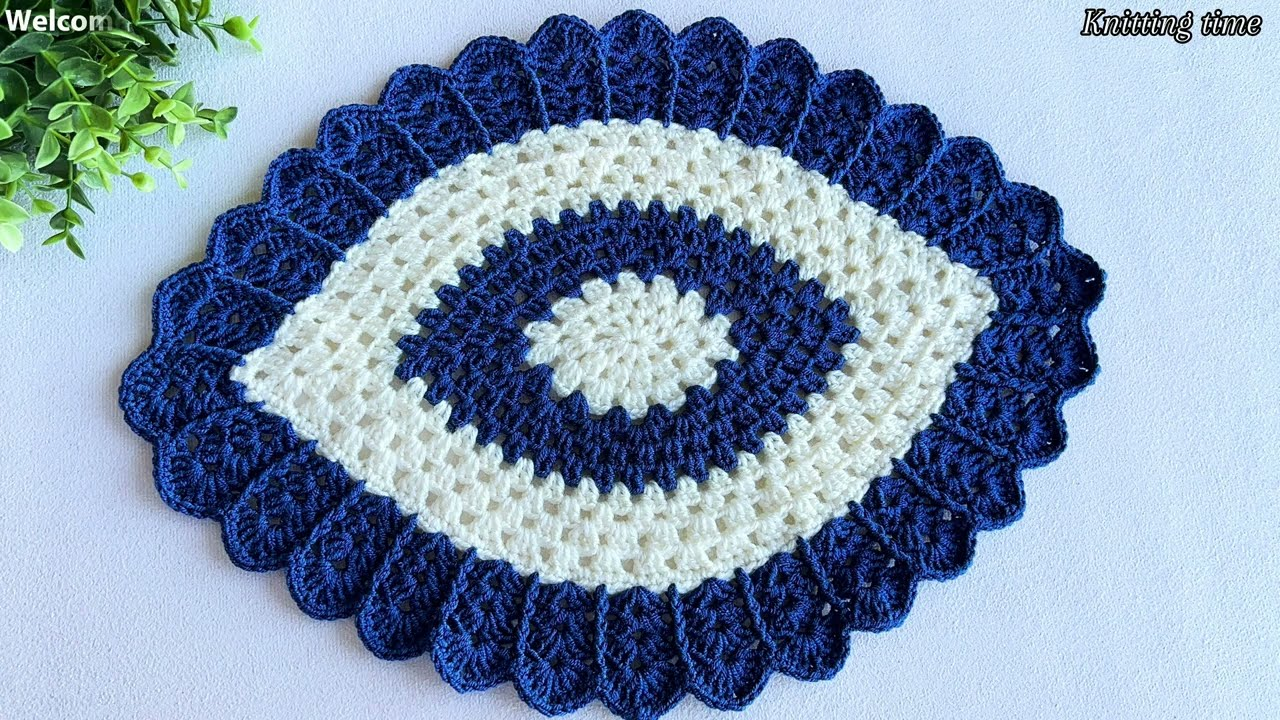
by That is a wonderful project! An Eye-Catching Crochet Doily or Table Mat relies on intricate lace work, defined texture, and perfect symmetry. For a beginner to achieve an “eye-catching” result, the pattern should use simple stitches but arranged in a complex, radiating design.
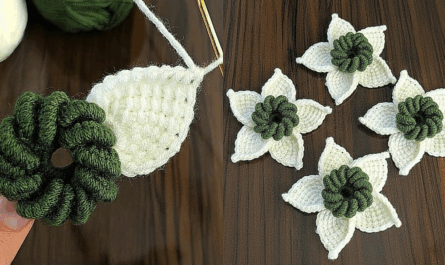
I will detail a tutorial for the “Starburst Lace Doily,” which features prominent shells and picot points to maximize visual appeal and texture.
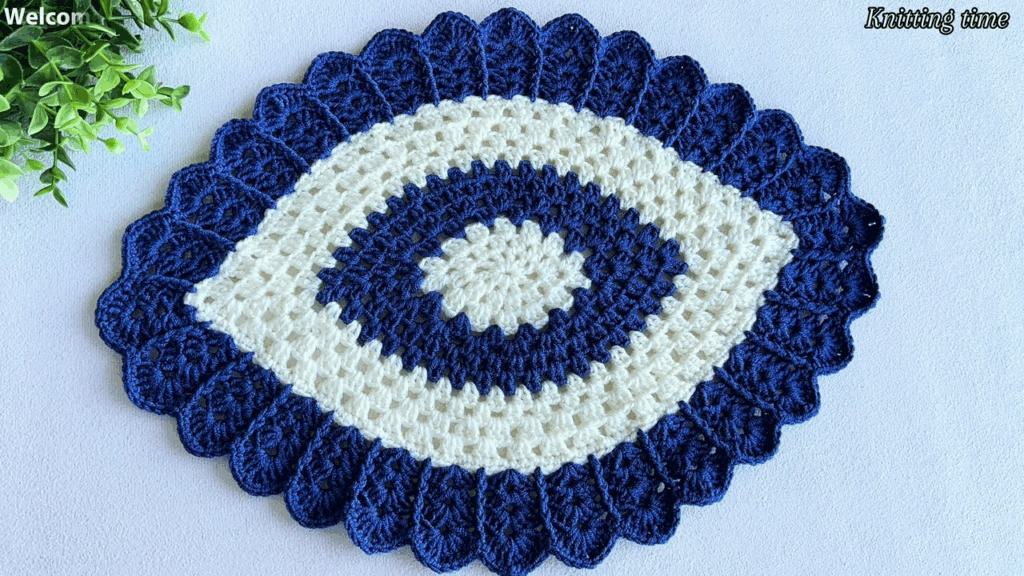
✨ Eye-Catching Starburst Lace Doily/Table Mat Tutorial
This design utilizes increasing shells and delicate chain mesh to create a beautiful, layered starburst effect radiating from the center.
Materials You’ll Need
- Thread/Yarn:
- For a Doily: Size 10 or 20 Mercerized Cotton Thread for fine lace.
- For a Table Mat: Sport or DK weight cotton yarn for a larger, sturdier piece.
- Crochet Hook: A size appropriate for your material (e.g., 1.5 mm for thread, 3.5 mm for yarn).
- Scissors, Tapestry Needle, Blocking Pins.
Key Crochet Terms
| Abbreviation | Stitch Name |
| ch | Chain |
| sl st | Slip Stitch |
| sc | Single Crochet |
| dc | Double Crochet |
| Shell | (dc, ch 1, dc) or a group of dc |
| Picot | ch 3, sl st into the first ch |
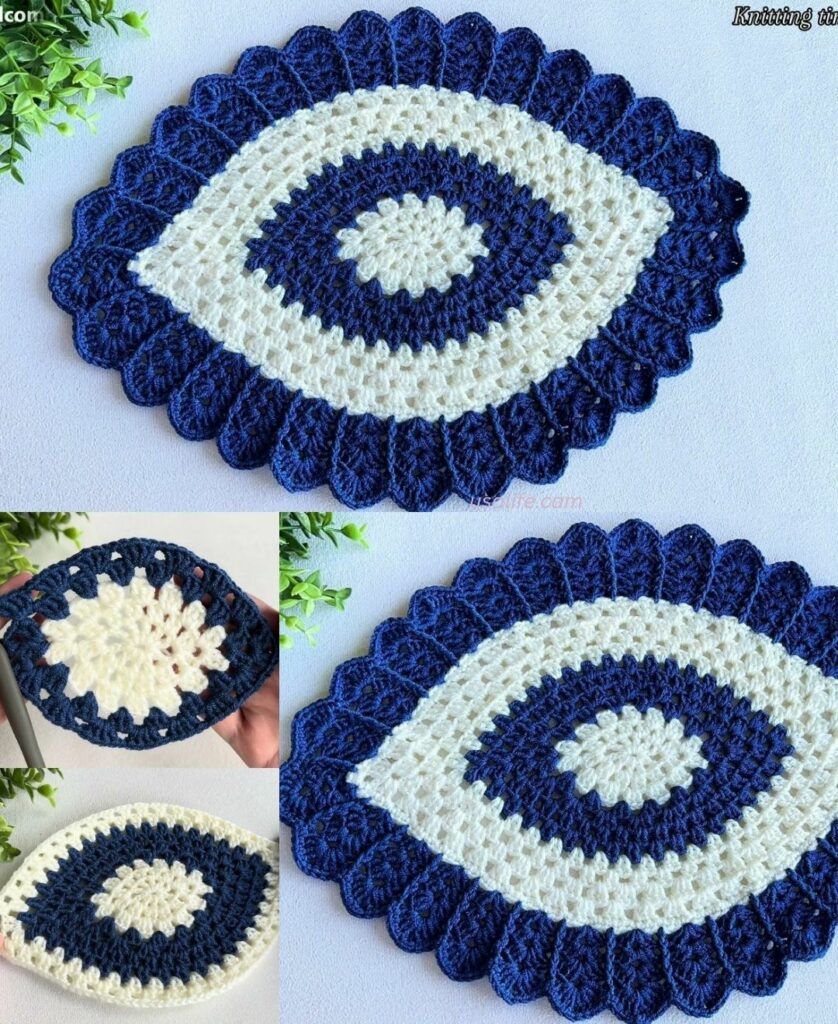
Part 1: Establishing the Center Starburst
Round 1: Foundation
- Start: Make a Magic Ring. ch 3 (counts as dc). Work 15 dc into the ring.
- Finish: Pull the tail tight. Join with a sl st to the top of the ch 3. (16 sts).

Round 2: Creating Spoke Loops
- ch 1. Work sc in the same st.
- Spoke: ch 4. Skip 1 st.
- Repeat: [sc in the next st, ch 4, skip 1 st] 7 more times. (8 ch-4 loops).
- Finish: Join with a sl st to the first sc.
Round 3: Building the Inner Shells
We start the radiating design using taller stitches for definition.
- sl st into the first ch-4 loop.
- Inner Shell: ch 3 (counts as dc). Work (3 dc, ch 2, 4 dc) into the same ch-4 loop.
- Anchor: Work sc into the next sc anchor.
- Repeat: Work [Shell (4 dc, ch 2, 4 dc) into the next ch-4 loop, sc into the next sc anchor] 7 more times.
- Finish: Join with a sl st to the top of the beginning ch 3. (8 Shells created).
Part 2: Expanding the Lace Structure
Round 4: Simple Mesh
This round creates the necessary space for the next round of shells.
- sl st over to the ch-2 center space of the first shell.
- ch 1. Work sc into the ch-2 space.
- Mesh: ch 5.
- Repeat: [sc into the ch-2 space of the next shell, ch 5] 7 more times.
- Finish: Join with a sl st to the first sc. (8 ch-5 loops).

Round 5: Outer Shells
These shells will sit between the inner shells, creating the starburst points.
- sl st into the first ch-5 loop.
- Outer Shell: ch 3 (counts as dc). Work (4 dc, ch 3, 5 dc) into the same ch-5 loop.
- Repeat: Work [Shell (5 dc, ch 3, 5 dc) into the next ch-5 loop] 7 more times.
- Finish: Join with a sl st to the top of the beginning ch 3.
Part 3: The Eye-Catching Picot Border
Round 6: Final Picot Edging
This round adds the decorative finishing touch and prepares the edge for blocking.
- ch 1. Work sc in the same st. Work sc in the next 4 dc stitches.
- Picot Anchor: Work sc, Picot (ch 3, sl st in first ch), sc into the ch-3 peak of the shell.
- Side: Work sc in the next 5 dc stitches.
- Anchor: Work sc in the space between the shells (the sl st from R4).
- Repeat: Continue the sequence [sc 5, sc Picot sc in shell peak, sc 5, sc in anchor] 7 more times.
- Finish: Join with a sl st to the first sc. Fasten off.
Final Step: Essential Blocking
For this doily to be truly Eye-Catching, blocking is mandatory.
- Wet: Gently wet the finished doily (submerge in cool water and squeeze out excess).
- Pin: Lay the doily flat on a blocking mat or towel. Pin the center, then carefully pin out the eight points of the outer shells, ensuring the motif is perfectly symmetrical.
- Dry: Allow the doily to dry completely.
Blocking opens up the lace, defines the shells, and locks the geometric starburst shape into place, transforming it into a stiff, professional, and eye-catching piece.
Video tutorial: