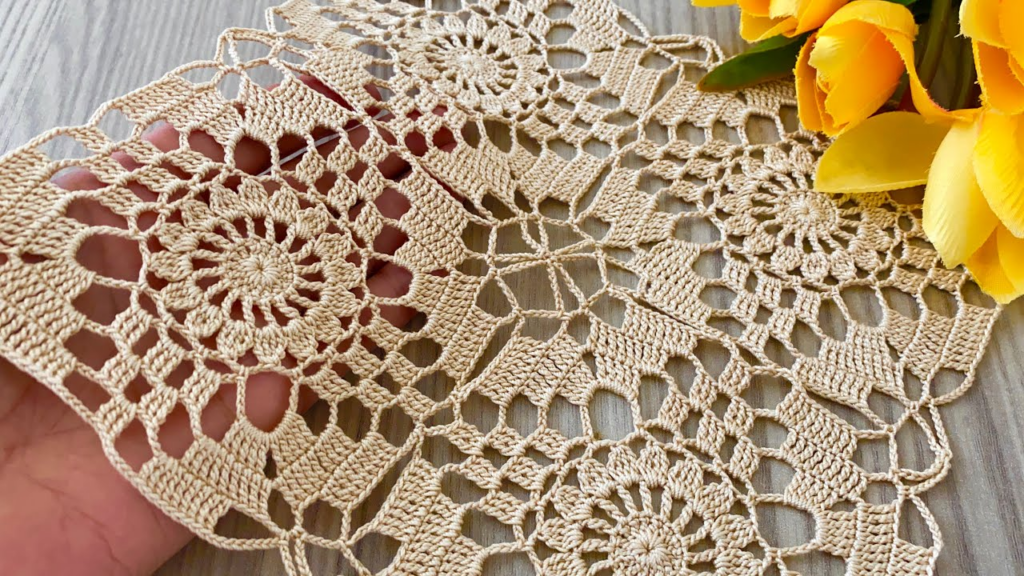
The Classic Granny Square is the perfect starting point for any beginner. It is the “Lego brick” of crochet—once you master this one motif, you can join them together to create a magnificent blanket, a stylish tote bag, or even a trendy summer vest.
This tutorial focuses on the most traditional version, which uses “clusters” of stitches and open spaces to create a beautiful, geometric design.
🧶 The Beginner’s Tool Kit
Before you pick up the hook, let’s ensure you have the right materials. For beginners, I always recommend a light-colored yarn so you can see your stitches clearly.
Item
Recommendation
Why?
Yarn
Worsted Weight (Size 4) Acrylic or Cotton
Stable, easy to handle, and doesn’t split easily.
Hook
5.0 mm (H/8)
Fits the yarn weight perfectly and is comfortable for hands.
Notions
Scissors & Tapestry Needle
To cut your yarn and “weave in” the tails.
🛠 Stitch Key (US Terms)
ch (Chain): The basic foundation stitch.
sl st (Slip Stitch): Used to join the round or move your yarn across.
dc (Double Crochet): The “tall” stitch that creates the body of the square.
sp (Space): The “hole” created by chains where you will put your hook.
Cluster: A group of 3 double crochets worked into the same hole.
🟩 Step-by-Step Instructions
Round 1: The Foundation Ring
Start: Make a slip knot and place it on your hook.
The Ring: ch 4. Insert your hook into the first chain you made and work a sl st. You now have a tiny circle.
First Cluster: ch 3 (this counts as your first dc). Work 2 dc into the center of the ring.
First Corner: ch 2.
Repeat: Work [3 dc into the ring, ch 2] three more times.
Join: sl st into the top of the starting ch 3.
Check your work: You should have 4 groups of 3 dc, separated by 4 “corner” holes.
Round 2: Growing the Corners
In this round, we only work into the corners (the holes).
Move Hook: sl st into the next two stitches and then sl st into the first corner hole. (This gets you into the right spot).
First Corner: ch 3 (counts as dc), then work 2 dc, ch 2, 3 dc all in that same corner hole.
The Side: ch 1.
Next Corners: In each of the remaining 3 corner holes, work: (3 dc, ch 2, 3 dc) followed by a ch 1.
Join: sl st to the top of the starting ch 3.
Round 3: Sides and Corners
Now we have side spaces between the corners.
Move Hook: sl st over to the first corner hole.
Corner: ch 3, work (2 dc, ch 2, 3 dc) in the corner. ch 1.
The Side: Look at the space on the side between corners. Work 3 dc into that side space. ch 1.
Repeat: Work a Corner (3 dc, ch 2, 3 dc) in every corner hole and 3 dc in every side hole, always separated by a ch 1.
Join: sl st to the top of the starting ch 3.
💡 3 Secrets for Success
The “Hidden” Stitch: After you finish a corner, the first stitch on the next side often gets covered by the corner you just made. Pull your corner stitches back to find that first hole!
Counting is Key: Every corner should have 2 clusters. Every side space should have 1 cluster. If your square is turning into a circle, you likely missed a corner chain.
Relax Your Hands: If your square is curling up like a bowl, your stitches are too tight. Try to keep your yarn loose or move up to a 5.5 mm hook.
🏁 Finishing the Motif
When the square is the size you want (usually 3 to 5 rounds for a beginner), follow these steps:
Cut the yarn, leaving a 6-inch tail.
Pull the loop on your hook all the way through to knot it.
Thread the tail onto your tapestry needle and weave it back and forth through the back of the square. This ensures it won’t come apart in the wash!
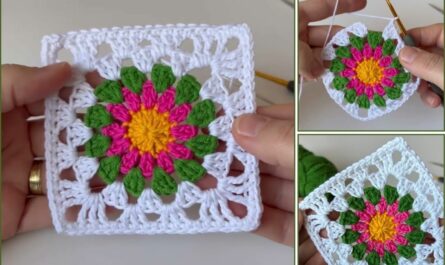
Would you like me to show you how to change colors between rounds to create a bright, multi-colored square?

 by
by