by
by To create a truly multipurpose motif, you need a design that is “Modular”—meaning it is solid enough to be a Runner (to protect a table) but light and drapable enough to be a Blouse.
The following pattern is for the “Geometric Petal Square.” It features a dense center for stability and a lacy outer edge for easy joining and drape.

I. Technical Specifications
- Yarn for Runner: Mercerized Cotton (DK weight). It is heat-resistant and stiff.
- Yarn for Blouse: Bamboo or Silk blend (Finger/Sport weight). It has “memory” and hangs beautifully on the body.
- The Hook: $3.5\text{mm}$ (E) for a firm runner; $4.5\text{mm}$ (G) for a breezy blouse.
- Stitch Multiple: The motif is a 5-inch square. (Adjust hook size to change the scale).
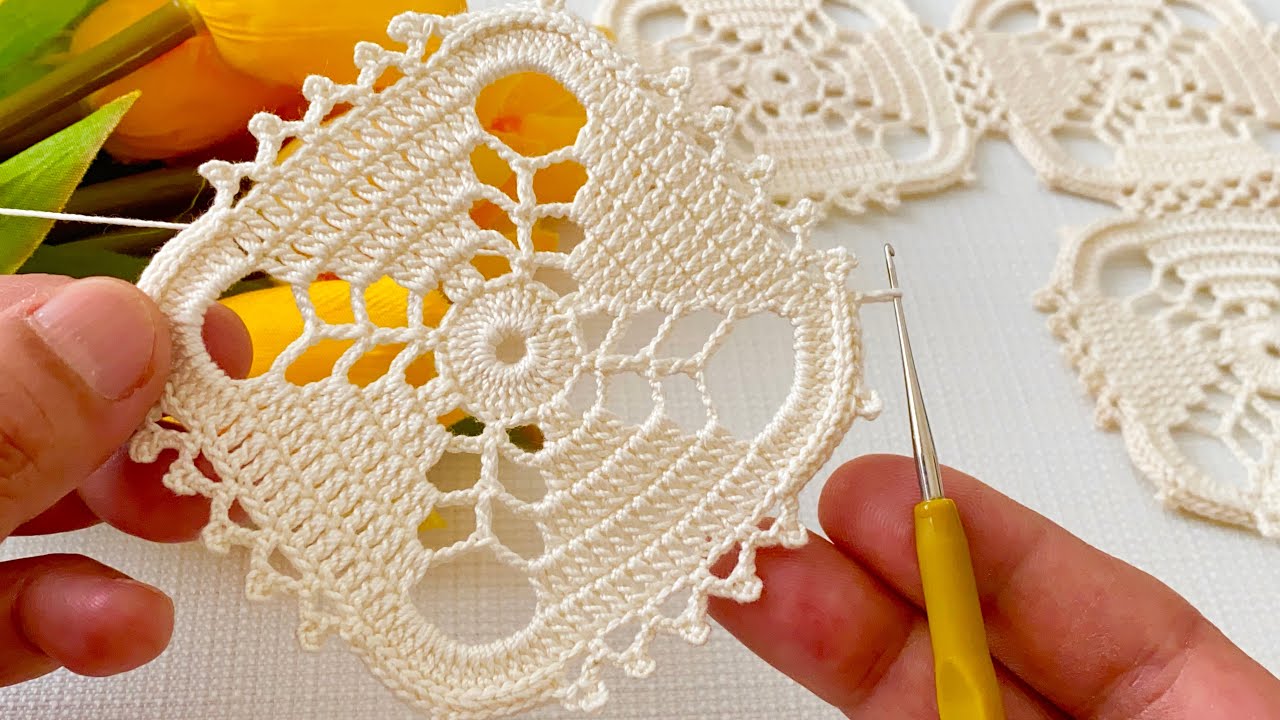
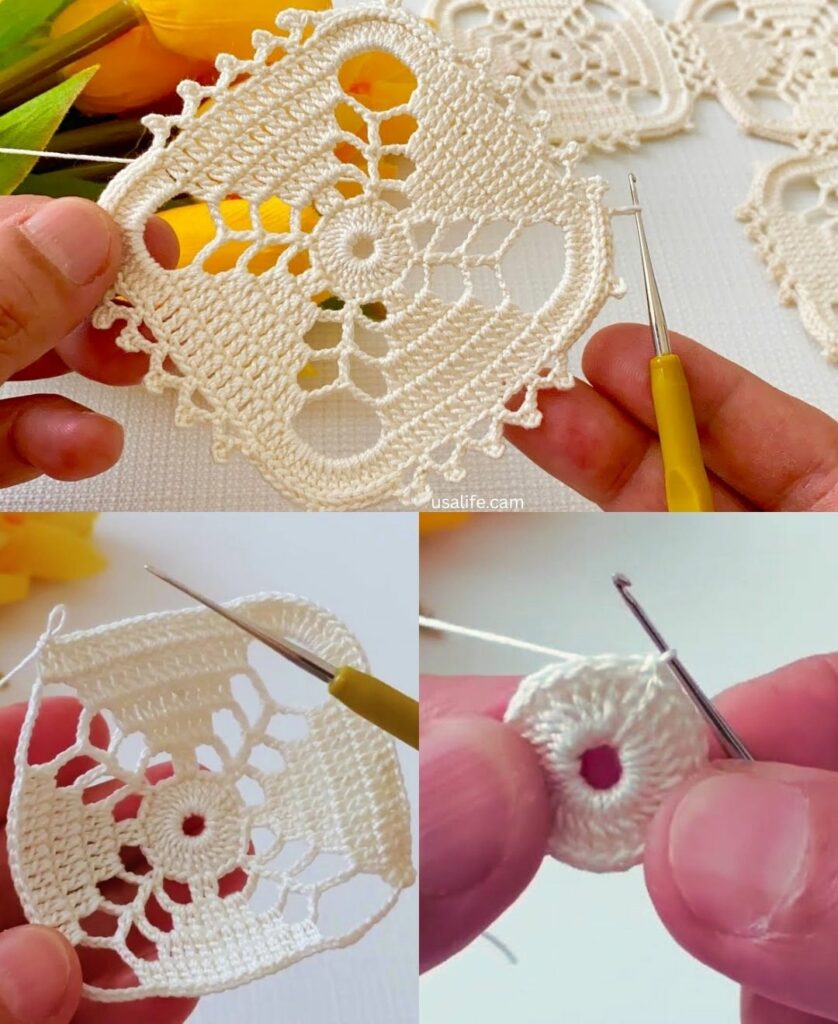
II. The “Geometric Petal” Motif Pattern
Round 1: The Foundation (The Center)
- MR (Magic Ring): Ch 3 (counts as 1st dc).
- Work 15 dc into the ring.
- Sl st to the top of the ch-3. (16 dc total).
Round 2: The Textured Petals
- Ch 4 (counts as 1st dc + ch 1).
- dc in next st, ch 1. Repeat from * to * around.
- Sl st to the 3rd ch of the starting ch-4. (16 dc, 16 ch-1 spaces).

Round 3: The “V-Stitch” Expansion
- Sl st into the first ch-1 space. Ch 3, 1 dc in same space.
- Ch 1, skip 1 space, work (2 dc, ch 2, 2 dc) in the next space. (This begins the corner).
- Ch 1, skip 1 space, 2 dc in next space.
- Repeat the sequence around to create 4 corners. Sl st to join.
Round 4: The Final Squaring (The Joining Row)
- Sl st to the corner ch-2 space.
- Corner: (Ch 3, 2 dc, ch 3, 3 dc) in the corner space.
- Side: Ch 1, 3 dc in the next ch-1 space, ch 1, 3 dc in the next ch-1 space, ch 1.
- Repeat around. Sl st to join. Fasten off.
III. Assembly: Runner vs. Blouse
1. The Multipurpose Runner
- Layout: Join motifs in a $2 \times 8$ or $3 \times 10$ grid.
- The “Runner” Detail: Use a Tight Whipstitch join. This makes the seam invisible and the runner lie perfectly flat so glasses don’t tip over.
- Finish: Add a row of Single Crochet around the entire edge in a contrasting color to “frame” the table.
2. The Stylish Blouse
- Layout: Two large rectangles ($4 \times 4$ motifs for a Medium size).
- The “Blouse” Detail: Use the Join-As-You-Go (JAYG) method. This leaves small “gaps” at the corners of the join, which adds breathability and a high-end lace look.
- Neckline: Leave the center two motifs unjoined at the top for a “Slash Neck” or “Boat Neck” style.
- Finish: Do not add a border to the bottom; let the natural “scallop” of the motifs create a decorative hem.
IV. “Detail and Detail”: Expert Tips
Blocking for Professionals
- For the Runner: Spray-starch the motifs while pinned. This makes the runner feel like a solid “tile” and prevents it from bunching up under plates.
- For the Blouse: Steam block only. Do not use starch. You want the fibers to be as soft as possible to skim the body.
The “Signature” Touch
To make this unique, use two colors.
- Color A (Rounds 1-2): A bright jewel tone.
- Color B (Rounds 3-4): A neutral cream or black.This makes the center of each motif look like a glowing jewel, whether it’s sitting on your dining table or being worn out to dinner.
V. Summary Table for Planning
| Feature | Runner Plan | Blouse Plan |
| Joining Method | Mattress Stitch (Flat/Solid) | Join-As-You-Go (Lacy/Flexible) |
| Tension | Tight & Firm | Loose & Flowy |
| Fiber | 100% Cotton | Bamboo, Linen, or Silk |
| Aesthetic | Geometric & Structural | Delicate & Romantic |
Are you planning to make the motifs all in one color for a minimalist look, or will you use a “Scrap-Buster” approach with many colors?