by
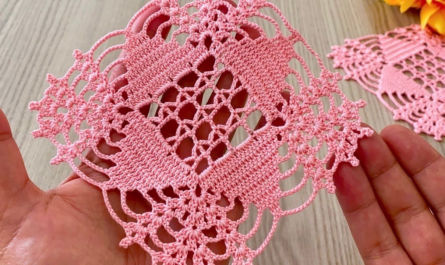
by Crocheting a “tile” usually refers to creating a flat, dense, geometric motif that mimics the look of ceramic tiling, like Moroccan Zellige or Mediterranean tiles. To get that “tile” feel, the stitches need to be crisp, and the construction must be perfectly square or hexagonal.
Here is a detailed pattern for the “Mediterranean Moroccan Tile,” featuring a central star and a heavy, “grouted” border.
I. Design Logistics
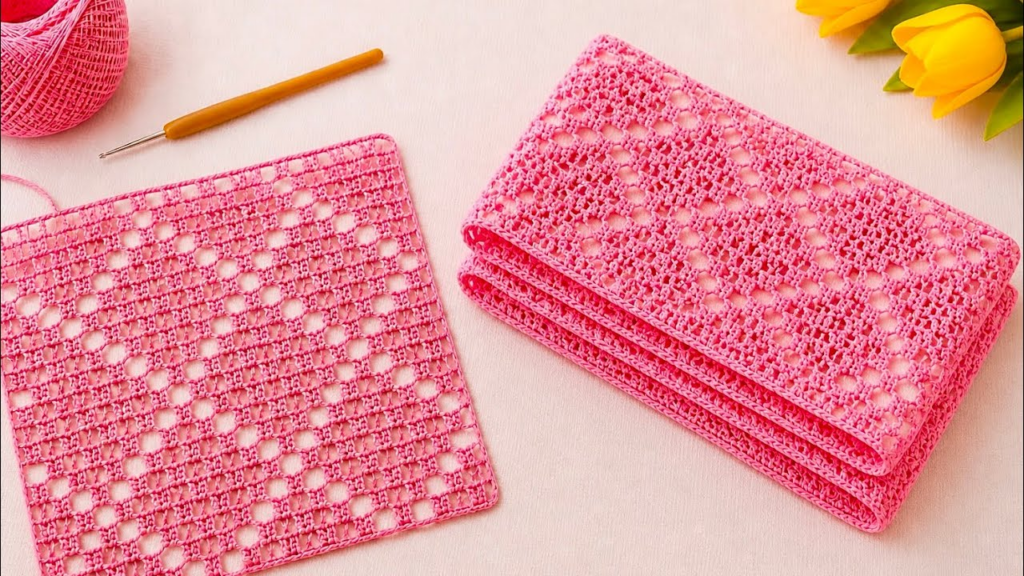
- The Secret to “Tile” Texture: Use Mercerized Cotton. Regular wool or acrylic is too “fuzzy.” Mercerized cotton has a slight sheen and a stiff structure that mimics stone or ceramic.
- The Hook: Use a hook one size smaller than recommended. If the yarn suggests a 4.0mm, use a 3.5mm. This creates a tight, “hard” fabric.
- The Colors:
- Color A: Deep Teal or Navy (The Tile Base).
- Color B: White or Cream (The “Grout” and Detail).
II. The Mediterranean Tile Pattern
Round 1: The Center Core (Color A)
- Make a Magic Ring.
- Ch 2 (counts as 1st hdc). Work 7 hdc into the ring.
- Sl st to join.
Result: 8 stitches.
Round 2: The Star Points (Color B)
Attach Color B to any stitch.
- Ch 1. In the same stitch, work (1 sc, ch 3, 1 sc).
- Repeat (1 sc, ch 3, 1 sc) in every stitch around.
- Sl st to join.
Result: 8 small “petals” or points.
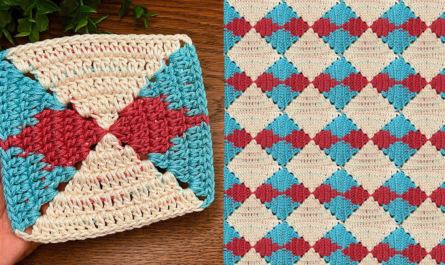
Round 3: Squaring the Tile (Color A)
We will now turn this 8-pointed star into a 4-sided tile.
- Sl st into the first ch-3 loop.
- Corner 1: Ch 3 (counts as dc). In the same loop, work (2 dc, ch 2, 3 dc).
- Side 1: In the next ch-3 loop, work 3 hdc.
- Corner 2: In the next ch-3 loop, work (3 dc, ch 2, 3 dc).
- Repeat around. Sl st to join. Fasten off Color A.

Round 4: The “Grout” Line (Color B)
This round defines the “tile” look by framing the colors in white.
- Join Color B in any ch-2 corner.
- Ch 1. In the corner, work (2 sc, ch 2, 2 sc).
- Back Loop Only (BLO): Work 1 sc in the BLO of every stitch across the side.
- Why BLO? It creates a tiny ridge that makes the “tile” look like it’s set into a frame.
- Repeat for all corners and sides. Sl st to join.
III. How to “Detail and Detail” for a Professional Finish
1. The “Invisible Grout” Join
When joining tile motifs, don’t use a thick seam. Use the Flat Slip Stitch Join.
- Place two tiles side-by-side.
- Insert your hook into the back loops only of both tiles.
- Slip stitch loosely. This keeps the tiles perfectly flat, just like a tiled floor.
2. Starching the Tile
To make the crochet feel like a real tile, you can starch them:
- Mix 1 part white glue with 2 parts water.
- Dip the tile in the mixture, then squeeze out the excess.
- Pin it to a blocking board in a perfect square.
- Once dry, the tile will be stiff and hold its geometric shape forever.

IV. Project Scaling
| Project | Layout |
| Kitchen Runner | A $2 \times 12$ grid of tiles. Use a dark “grout” color to hide spills. |
| Tile Coasters | Make a single tile but add one extra round of Reverse Single Crochet (Crab Stitch) to give it a heavy “lip.” |
| Summer Blouse | Use very thin thread (Size 10) to make 4-inch tiles. Join them at the corners only for a “mosaic” lace effect. |
V. The “Extraordinary” Design Tip
To make the tile look hand-painted, use a “Variegated” (multi-colored) yarn for Round 1 and Round 3, but keep Round 2 and Round 4 in a solid, crisp White. This mimics the look of hand-glazed Mexican Talavera pottery.
Are you planning to make these all in the same color pattern, or are you going for a “shattered mosaic” look with different colors for every tile?