by
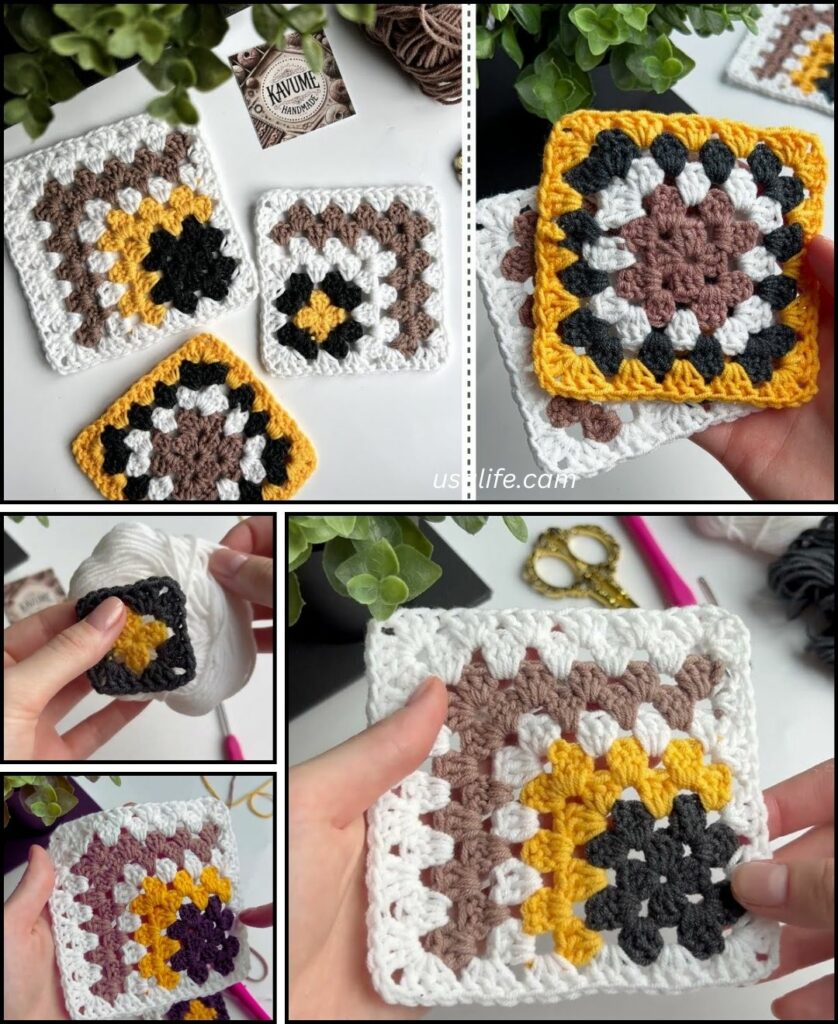
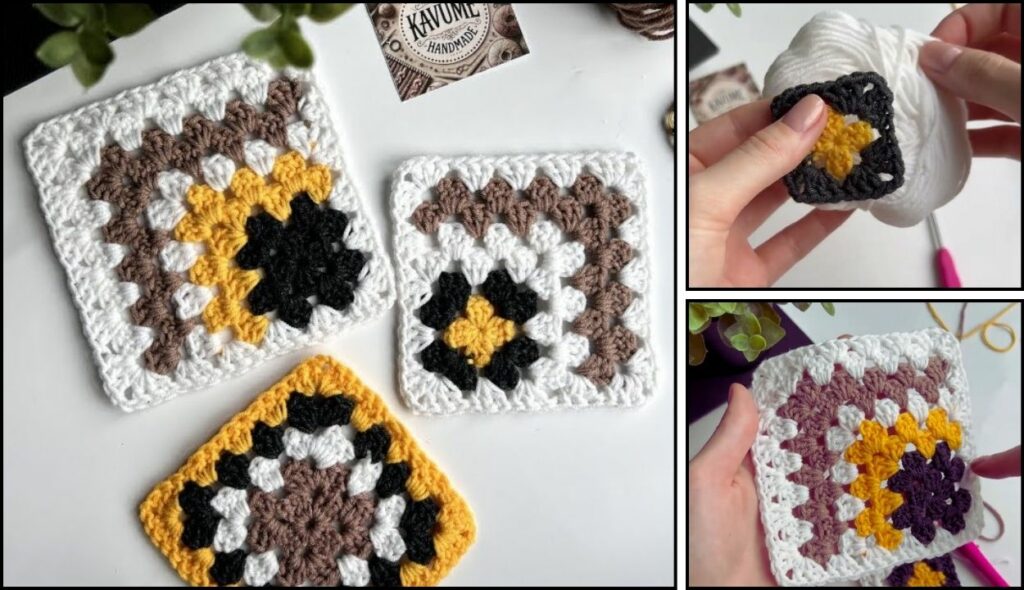
by Learning how to make a granny square is a great first step into the world of crochet. This simple, classic motif is the building block for countless projects, from blankets and scarves to bags and sweaters. This guide will walk you through the process, step by step.
Materials Needed
- Yarn: A medium-weight yarn is a good choice for beginners. You can use a single color or multiple colors.
- Crochet Hook: Choose a hook size that is appropriate for your yarn. Check the yarn label for a recommendation.
- Scissors: For cutting the yarn.
- Tapestry Needle: To weave in the ends when you’re done.
Basic Crochet Stitches
If you’re a beginner, you’ll want to know a few basic stitches before you start.
- Chain (ch): This is the foundation of most crochet projects. Wrap the yarn over your hook (yarn over) and pull it through the loop on your hook.
- Slip Stitch (sl st): A common joining stitch. Insert your hook into a stitch, yarn over, and pull the yarn through both the stitch and the loop on your hook in one motion.
- Double Crochet (dc): This is the main stitch you will use in a granny square. Yarn over, insert your hook into a stitch, yarn over and pull up a loop (you should have three loops on your hook), yarn over and pull through two loops, yarn over again and pull through the last two loops.
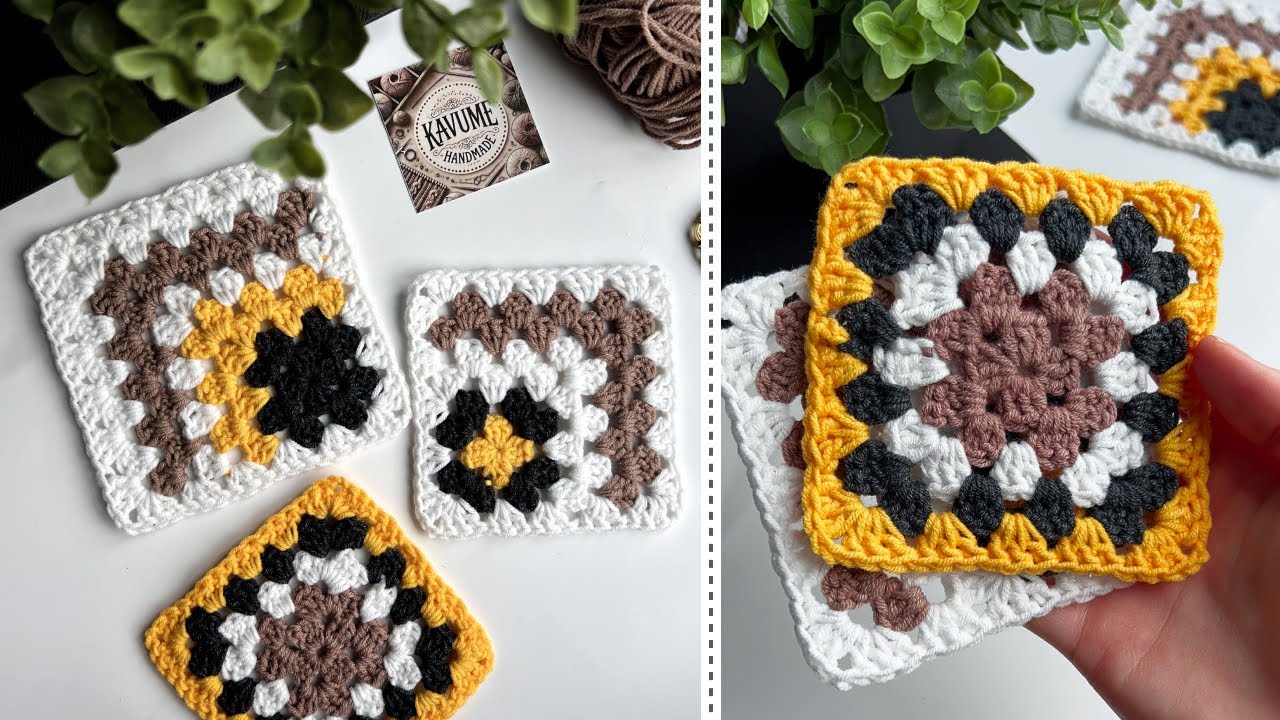
How to Make a Granny Square
We’ll start with a classic four-round granny square.
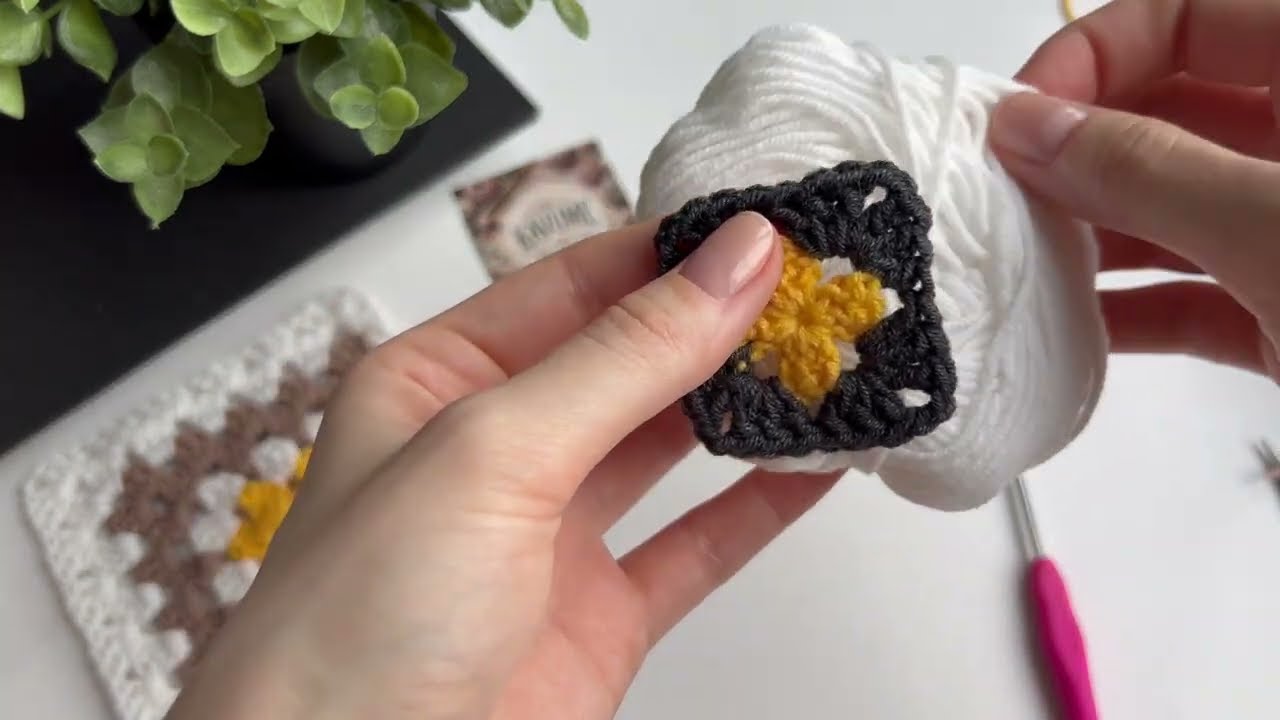
Round 1: The Center
- Make a starting ring: There are two common ways to do this.
- Magic Ring: This creates a tight center hole that you can close. (This is the most common for a solid center.)
- Chain 4: Make a slip knot, then
ch 4. Join with asl stto the first chain to form a ring. This creates a small hole in the center.
- Make the first corner:
ch 3(this counts as your firstdc). Work 2 dc into the ring. ch 2(this creates a corner space).- Make the next corners: Work
3 dcinto the ring, thench 2. Repeat this two more times. - Join the round: You should have four sets of
3 dcseparated bych-2spaces.sl stto the top of the beginningch 3to join the round. - If you’re changing colors, cut the yarn and tie off.
Round 2: Building the Square
- Join a new color (optional): Join your new yarn in any of the
ch-2corner spaces. - Work the first corner:
ch 3(counts as adc), work 2 dc into the same corner space.ch 2, then work3 dcinto the same space. This creates a full corner. ch 1(this creates the side space between corners).- Work the next corners: Move to the next
ch-2corner space. Work(3 dc, ch 2, 3 dc)into that space.ch 1. - Repeat the previous step two more times.
- Join the round: Join with a
sl stto the top of the beginningch 3. Cut the yarn and tie off.
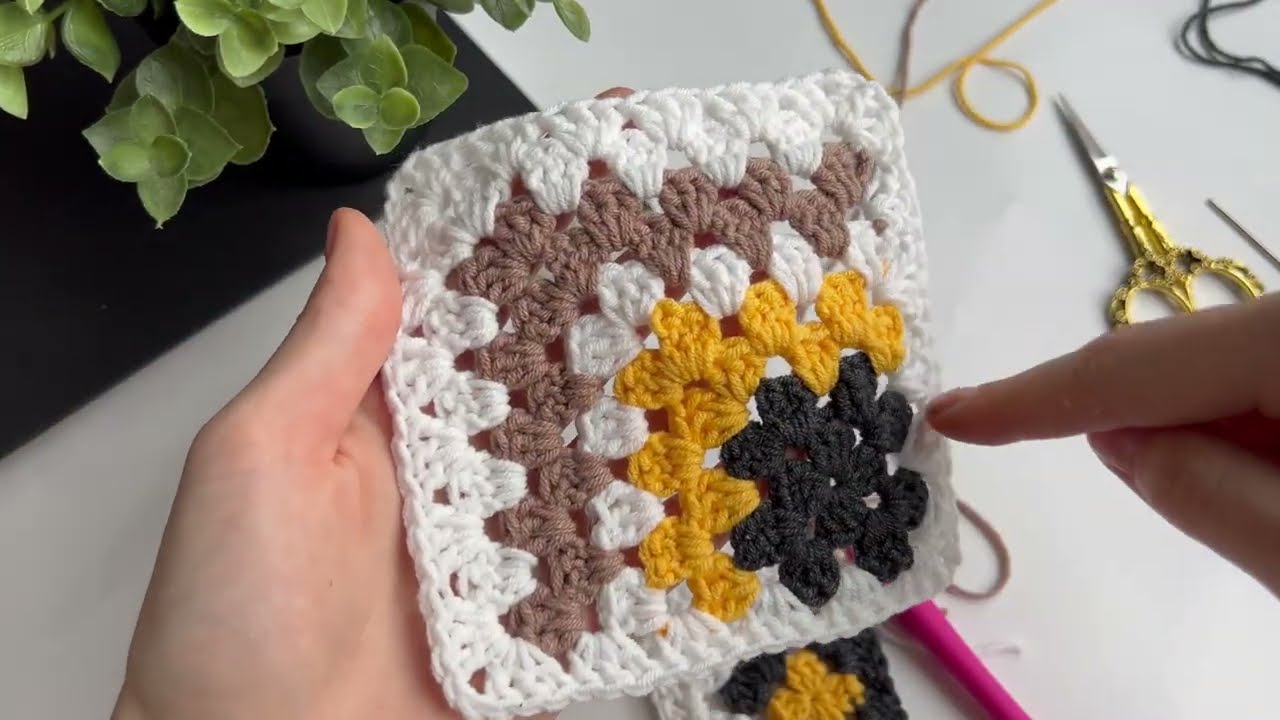
Round 3: Adding to the Sides
- Join a new color (optional): Join your new yarn in any of the
ch-2corner spaces. - Work the first corner:
ch 3(counts as adc), work 2 dc into the same corner space.ch 2, then work3 dcinto the same space. ch 1.- Work the side: You’ll now have a
ch-1space from the previous round between the corners. Work3 dcinto this space.ch 1. - Work the next corner: Work
(3 dc, ch 2, 3 dc)into the nextch-2corner space. - Repeat steps 4 and 5 around the square.
- Join the round: Join with a
sl stto the top of the beginningch 3. Cut the yarn and tie off.
Round 4 and Beyond
The pattern for additional rounds is the same as Round 3. Each side will have one more 3 dc group than the previous round.
- Join your new yarn in a corner space.
- Make the corner:
(ch 3, 2 dc, ch 2, 3 dc)in the corner space. ch 1.- Work
3 dcinto eachch-1side space, followed by ach 1after each3 dcgroup. - Make the next corner:
(3 dc, ch 2, 3 dc)in the next corner space. - Repeat this pattern until your square is the size you want.
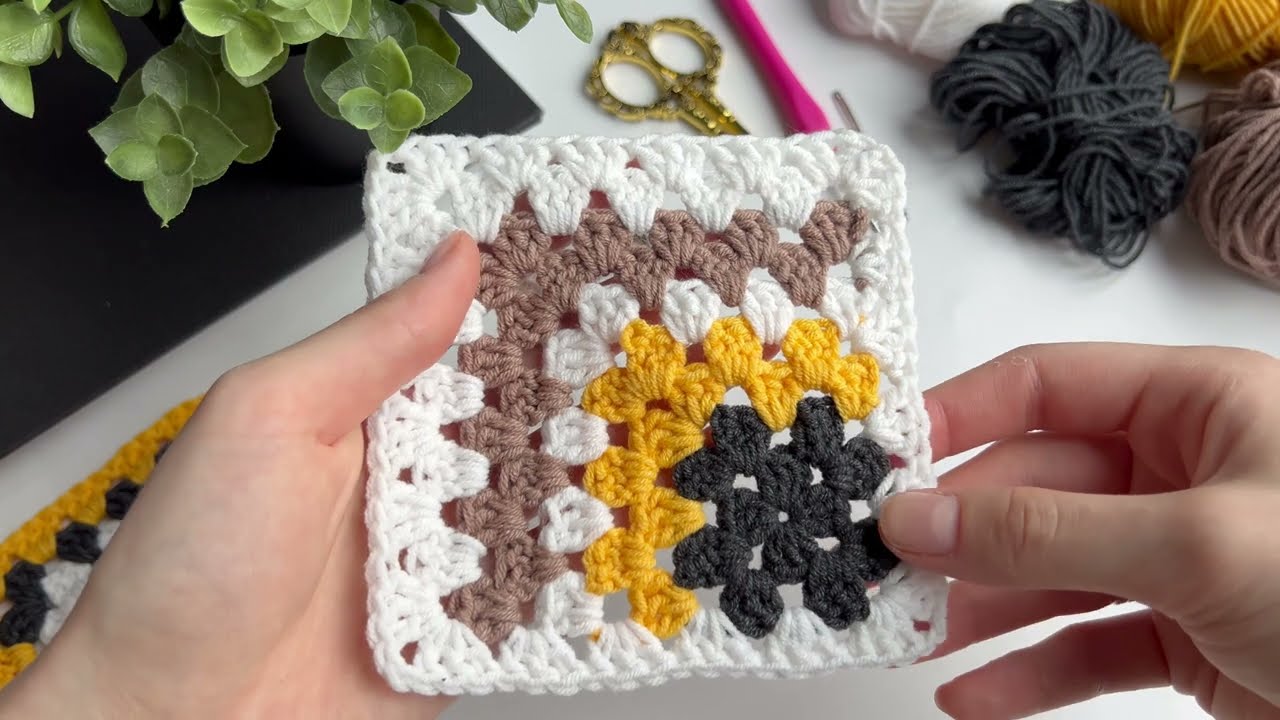
Finishing Your Granny Square
- Weave in the Ends: Use a tapestry needle to neatly weave all the loose yarn ends into the back of your work. This secures your stitches and gives the square a clean look.
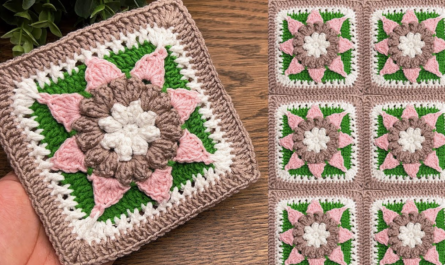
- Blocking (Optional): If you’re joining multiple squares, blocking them helps them all become a uniform size and shape. Simply pin the square to a flat, padded surface, mist it with water, and let it dry completely.
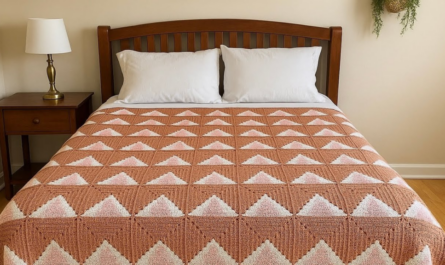
Now you have a completed granny square! You can make many more and stitch them together to create a wide variety of colorful and creative projects.