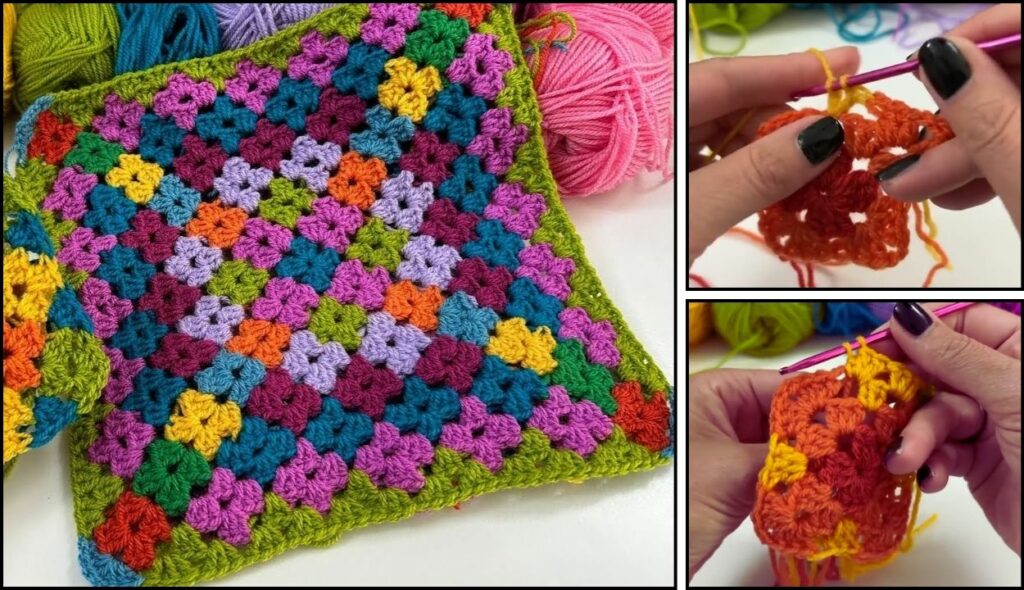
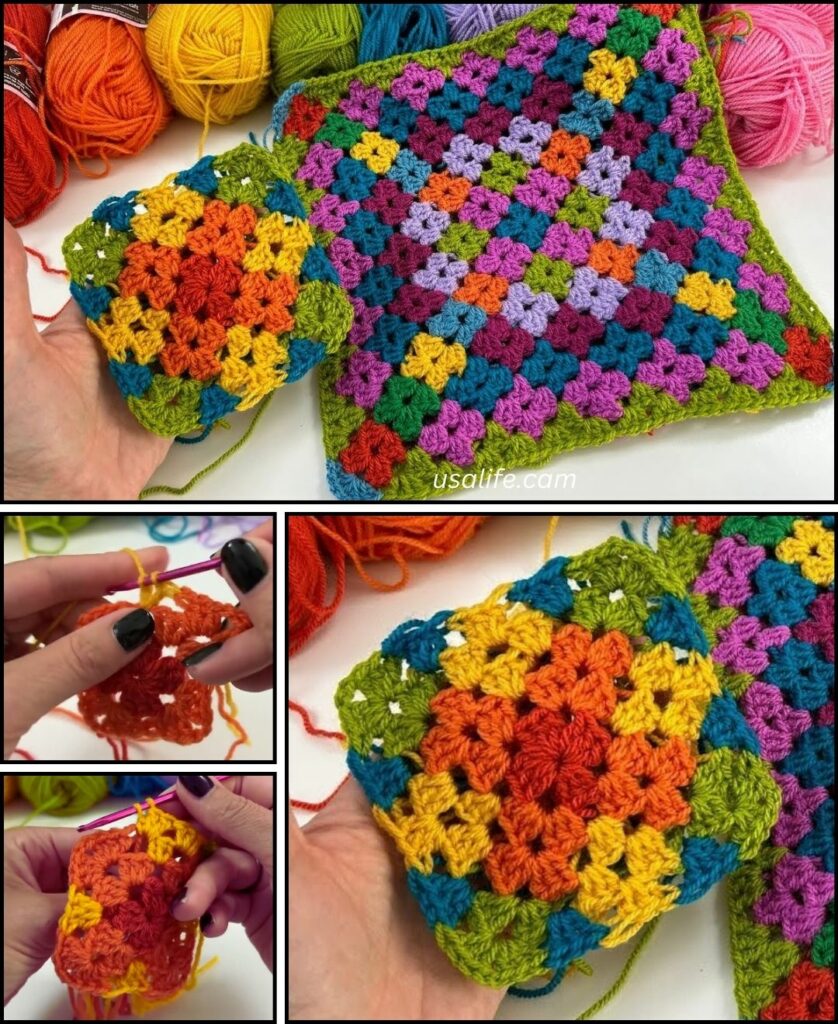
A classic granny square is a perfect project for anyone learning to crochet. It’s also a great way to practice changing colors. This guide will walk you through creating a simple granny square using four different colors.
Materials
- Four yarn colors: Choose a medium-weight yarn for best results.
- Crochet hook: Match the hook size to your yarn. The recommended size is usually on the yarn label.
- Scissors: For cutting yarn.
- Tapestry needle: To weave in the ends.

Abbreviations
- ch: chain
- sl st: slip stitch
- dc: double crochet
- sp: space
- rnd: round
Instructions
Round 1: Color 1
- Make a slip knot and ch 4. Join with a sl st to the first chain to form a ring. Alternatively, you can use a magic ring.
- ch 3 (this counts as your first dc).
- Work 2 dc into the ring.
- ch 2 (this creates your first corner space).
- Repeat
[3 dc, ch 2]three more times inside the ring. - You should now have four groups of 3 dc separated by four ch-2 spaces.
- Join with a sl st to the top of the beginning ch 3. Cut the yarn and tie off.

Round 2: Color 2
- Join your new color in any of the ch-2 corner spaces.
- ch 3 (counts as a dc).
- Work 2 dc into the same corner space.
- ch 2 (corner space).
- Work 3 dc into the same corner space. This completes your first corner
(3 dc, ch 2, 3 dc). - ch 1 (this creates the side space between corners).
- Move to the next corner space and work
(3 dc, ch 2, 3 dc). - ch 1.
- Repeat steps 7 and 8 two more times.
- Join with a sl st to the top of the beginning ch 3. Cut the yarn and tie off.

Round 3: Color 3
- Join your new color in any ch-2 corner space.
- ch 3 (counts as a dc).
- Work 2 dc into the same corner space.
- ch 2 (corner space).
- Work 3 dc into the same corner space.
- ch 1.
- Find the
ch-1side space from the previous round. Work 3 dc into this space. - ch 1.
- Move to the next corner space and work
(3 dc, ch 2, 3 dc). - ch 1.
- Repeat steps 7-10 two more times.
- Join with a sl st to the top of the beginning ch 3. Cut the yarn and tie off.

Round 4: Color 4
- Join your new color in any ch-2 corner space.
- ch 3 (counts as a dc).
- Work 2 dc into the same corner space.
- ch 2 (corner space).
- Work 3 dc into the same corner space.
- ch 1.
- Work 3 dc into the next
ch-1side space. - ch 1.
- Work 3 dc into the next
ch-1side space. - ch 1.
- Move to the next corner space and work
(3 dc, ch 2, 3 dc). - ch 1.
- Repeat steps 7-12 two more times.
- Join with a sl st to the top of the beginning ch 3. Cut the yarn and tie off.

Finishing
- Use a tapestry needle to weave in all the loose ends. This will secure your stitches and give your square a clean, finished look.
- For a flatter, more defined shape, you can block your square. Simply pin it to a flat, padded surface and mist it with water, then let it dry completely.
Now you have a completed multicolor granny square! You can make more and join them to create blankets, bags, scarves, and many other projects.


