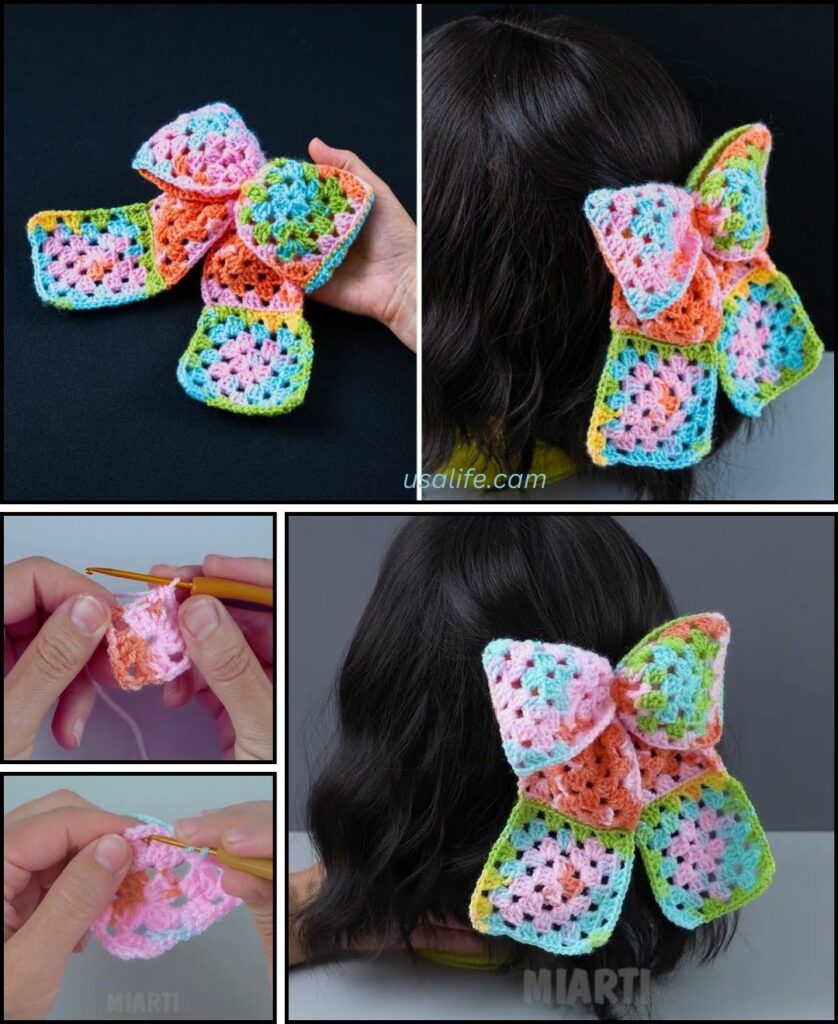
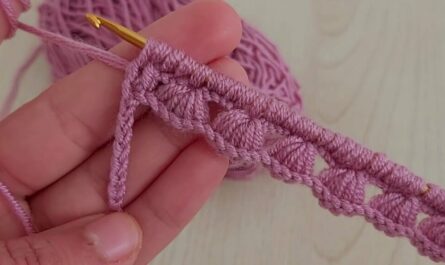
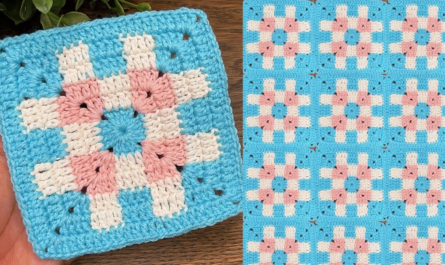
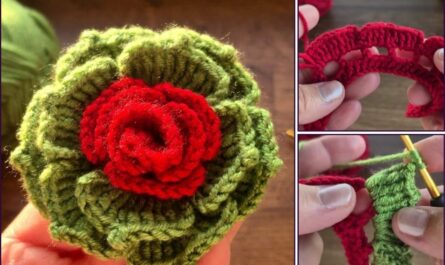
To make a crochet bow, you can use the structure of a granny square to create a flat, rectangular piece that is then cinched in the middle. This is a very easy and clever way to make a bow, perfect for beginners, as it doesn’t require any complex shaping. The granny stitch—a cluster of three double crochets—gives the bow a beautiful, textured look.
Here is a detailed guide on how to crochet a granny square bow easily.

Materials Needed
- Yarn: Any weight of yarn will work, but a medium-weight yarn (worsted) is a great choice. You can use a single color or multiple colors for a striped effect.
- Crochet Hook: The size that matches your yarn.
- Scissors: For cutting yarn.
- Tapestry Needle: For weaving in ends and shaping the bow.

Abbreviations
- ch: chain
- sl st: slip stitch
- dc: double crochet
- sp: space
- st(s): stitch(es)

Part 1: The Granny Stitch Rectangle
This piece will form the main body of the bow. You can make it any size you like by adjusting the number of stitches and rows.
- Foundation Chain:
ch 14. This will be the height of your bow. For a wider bow, simply add more chains in multiples of three. - Row 1: Work a granny cluster (
3 dc) into the fourthchfrom the hook.skthe next 2 chains, and work another granny cluster (3 dc) into the nextch. Repeat this across the row. You will end with a singledcin the lastch. You should have 4 granny clusters.ch 3and turn. - Row 2: Work a granny cluster (
3 dc) into the firstch-3space from the previous row. Repeat this in eachch-3space across the row. Work a singledcinto the top of the turning chain from the previous row.ch 3and turn. - Repeat Row 2 for 4-5 rows, or until your rectangle is the desired size. The longer your rectangle is, the wider your finished bow will be.
- Fasten off, leaving a long tail for assembly.

Part 2: Shaping the Bow
This is where your granny stitch rectangle transforms into a bow.
- Fold the Rectangle: Lay your rectangle flat. Fold it in half like an accordion.
- Cinch the Center: Using your long yarn tail and a tapestry needle, wrap the yarn tightly around the center of the folded rectangle. Pull it as tight as you can to create a defined center for the bow.
- Secure the Center: Continue wrapping the yarn around the center to create a clean, uniform look. When you’re happy with the shape, use the tapestry needle to sew through the cinched center a few times to secure it firmly. Weave in the end on the back of the bow.

Part 3: The Center Wrap and Finishing
For a professional and polished look, you can add a small strip of crochet to cover the cinched center.
- Crochet the Strip:
ch 5.scin the secondchfrom the hook and in eachchacross.ch 1and turn.scin each stitch across for 3-4 rows, or until your strip is long enough to wrap around the center of your bow. - Attach the Strip: Wrap the small strip around the cinched center of the bow. Use a tapestry needle to sew the ends together on the back of the bow.
You can now use your crochet bow as a hair accessory, an embellishment for a bag or hat, or a decorative piece for a gift.
Video tutorial


