 by
by To create an Extraordinary Earbuds Pouch, we need to move away from a simple “sock” design and create a structured, reinforced pocket that prevents your cords from tangling and protects the delicate tech inside.
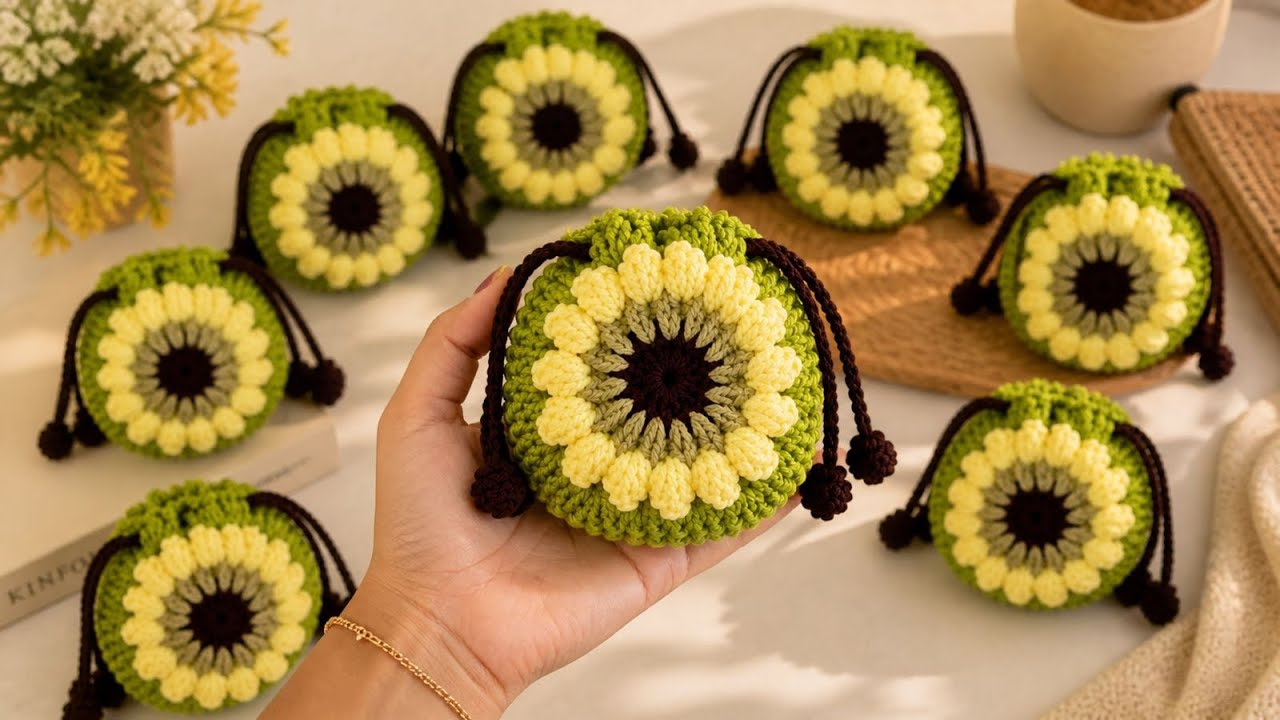
This pattern is for the “Spiral Shell Pouch,” which uses a circular construction and a “ribbed” texture to provide natural cushioning.

I. Technical Specifications
- The Design: A circular pouch with a reinforced “lip” and a secure toggle closure.
- Yarn: 100% Mercerized Cotton (Worsted or DK weight). Cotton is non-stretch, which ensures the pouch won’t sag over time.
- Hook: 3.25mm (D). Using a hook slightly smaller than recommended for the yarn creates a “stiff” fabric that acts as a protective shell.
- Skill Level: Advanced Beginner (uses Front Post stitches for texture).
II. The Pattern (Step-by-Step)
Part 1: The Circular Base (Make 2)
We make two disks: one for the front and one for the back.
- Round 1: Start with a Magic Ring. Ch 2 (counts as hdc), work 9 hdc into the ring. Sl st to join. (10 sts).
- Round 2: Ch 2. Work 1 FPDC (Front Post Double Crochet) around the same st, then 1 dc into the top of the same st. Repeat around. (20 sts).
- Detail: The FPDC creates a “spiral” ridge that provides extra thickness to protect your earbuds.
- Round 3: 1 dc, 2 dc in next st. Repeat around. (30 sts).
- Round 4:2 dc, 2 sc in next st. Repeat around. (40 sts).
- Note: Measure this against your earbuds. If you use a larger case (like the Pro models), add one more round of 3 dc, 2 dc in next st.

Part 2: The “Wall” & Depth
If you are storing wired earbuds, you need depth so they aren’t crushed.
- Take the Back Disk. Do not fasten off.
- Round 5: sc in the Back Loop Only (BLO) of every stitch around.
- Round 6:sc in every stitch around.
- Detail: The BLO row creates a 90-degree “wall,” turning your flat circle into a shallow bowl.
Part 3: The Assembly & “Easy-Access” Slit
- Place the Front Disk on top of the Back Bowl.
- Joining: Use a tapestry needle or your hook to sl st the two pieces together through the outer loops.
- The Opening: Join only 2/3 of the way around. This leaves a wide “mouth” for the earbuds to slide in easily.
III. “Detail and Detail”: Extraordinary Features
1. The “Tangle-Free” Interior
To make this truly extraordinary, we add a Central Pillar:
- Before sewing the two disks together, crochet a tiny cylinder (Ch 4, join, work 3 rounds of sc).
- Sew this to the inside center of the back disk.
- The Utility: You can wrap your wired earbuds around this pillar before closing the pouch. This prevents the “spaghetti knot” nightmare.

2. The Security Closure
Don’t use a zipper (metal zippers can scratch your tech).
- The Loop: On the front disk, ch 8 to create a loop.
- The Button: Sew a large wooden button or a “crocheted ball” (sc 6 in Magic Ring, inc to 12, dec back to 6) to the back disk.
- Benefit: This allows you to open the pouch with one hand while walking.
3. The Keyring “Ear”
- Ch 6. Work 10 sc into the chain loop to create a thick, durable ring.
- Attach this to the side of the pouch. Now you can clip your earbuds to your house keys or backpack so they never get lost at the bottom of your bag.

IV. Summary for Planning
| Feature | The Designer Choice |
| Material | Cotton (Resists dust and lint). |
| Texture | Front-post stitches (Added “shock absorption”). |
| Closure | Loop and Button (No-scratch technology). |
| Extra Detail | Internal Pillar (For cable management). |
V. Final Flourish: Blocking
Since this pouch is a 3D object, it needs “Stuff-Blocking”:
- Stuff the finished pouch with tissue paper until it is firm and round.
- Lightly mist it with water.
- Let it dry for 24 hours.
- The Result: The pouch will hold its “shell” shape even when it’s empty, giving it a professional, high-end boutique look.

Are you making this for wired earbuds or a wireless charging case? I can adjust the depth measurements based on your specific model.