by
by 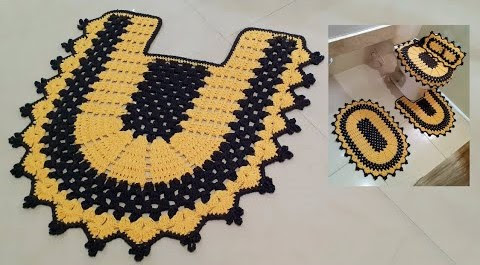
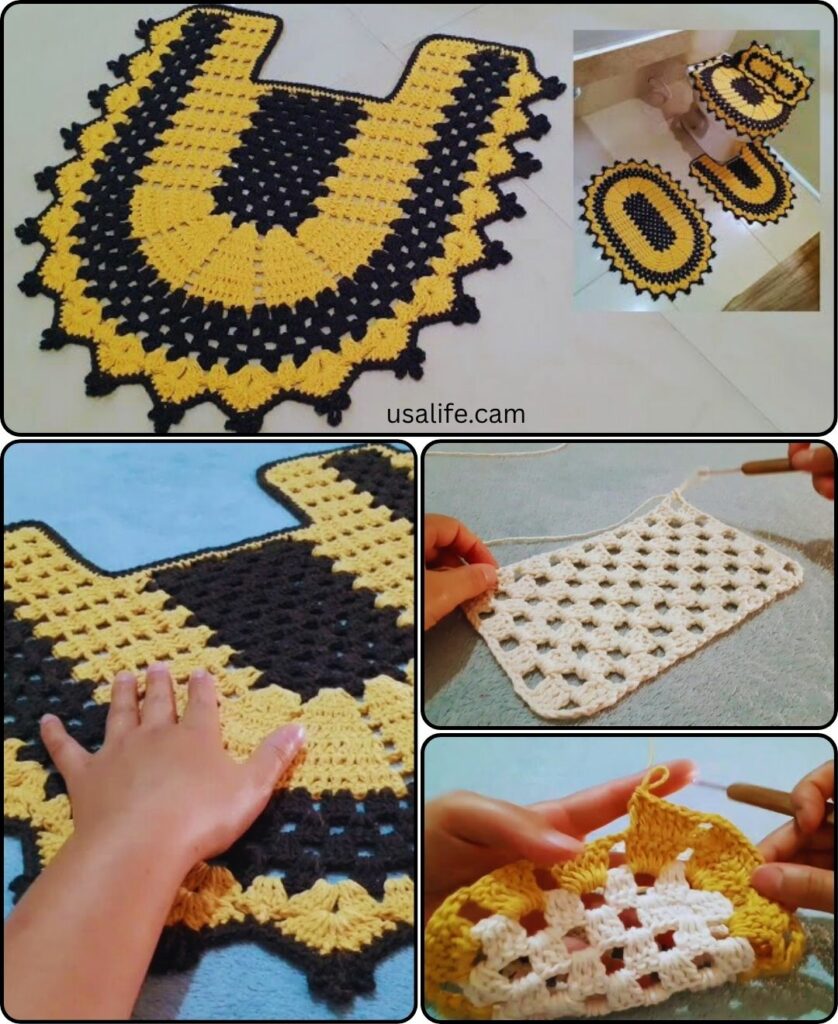
Ah, the bathroom rug. Often overlooked, yet silently holding the fort against soggy toes and runaway shampoo bottles. But why settle for store-bought blandness when you can unleash your inner crochet warrior and whip up a MEGA ECONOMIC masterpiece? That’s right, folks, we’re talking budget-friendly, functional art for your floor!
Gather your yarn-slinging arsenal:
- Yarn: Time to raid your stash! This project is perfect for leftover skeins or budget-friendly acrylic. Think classic cotton for absorbency or chunky wool for luxurious softness. You’ll need around 300-500 meters, depending on your desired size.
- Hook: Grab your hook-fu friend! A size 5mm-8mm hook is a good starting point. Adjust based on your yarn weight and desired stitch tightness.
- Optional extras: Slip-resistant backing (available online or at fabric stores), stitch markers, tapestry needle (for weaving in ends), and a healthy dose of bathroom-themed cheer.

The Battle Plan:
- Choose your stitchery: Simple stitches like single crochet (US) or double crochet (UK) are your budget-friendly BFFs. They work up quickly, use minimal yarn, and create a satisfyingly textured surface. You can mix and match for added visual interest!
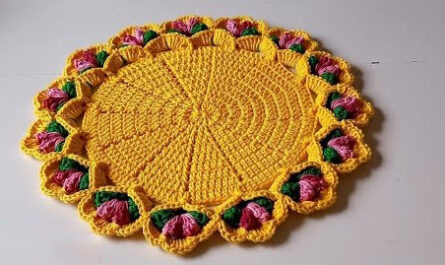
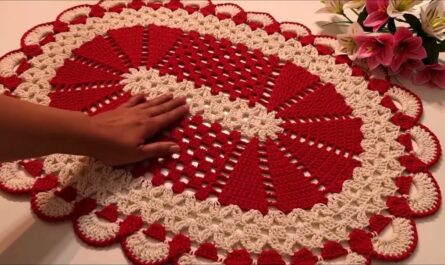
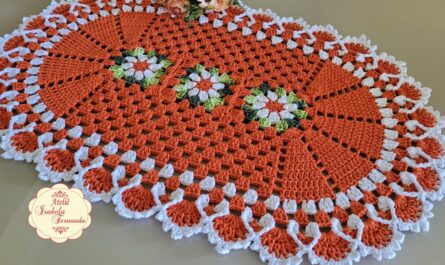
- Shape up: Let’s talk geometry! Rectangles are easiest for beginners, while ovals or hexagons add a touch of flair. For maximum floor coverage, go round! Just measure your desired rug size and chain accordingly.
- Crochet like a champion: Follow your chosen stitch pattern, row by row, building your bathtime battlemat. Remember, consistency is key for an even and absorbent rug. Don’t forget to chain stitch at the beginning and end of each row.
- The finishing touches: Weave in those pesky ends like a ninja – nobody likes a yarn tail ambush! Add slip-resistant backing for extra bathroom safety, if desired. Customize your creation with pom-poms, tassels, or appliques for a splash of personality.

Victory Lap:
Behold, your MEGA ECONOMIC masterpiece! Not only did you save some serious bath-budget bucks, but you also crafted a unique and functional work of art. Now, stand proudly on your throne of yarn and revel in the knowledge that you’ve conquered the bathroom battlefield!
Bonus Tips:

- Double up your yarn: For extra absorbency and a thicker rug, crochet with two strands held together.
- Experiment with color: Stripes, blocks, or even a textured ombré effect can take your rug to the next level.
- Get creative with the border: A simple chain stitch border might be efficient, but a fancy picot edge or a contrasting border can add a touch of elegance.
- Wash with care: Hand-washing is best for your crochet rug. Use gentle detergent and lay flat to dry.
So, what are you waiting for? Grab your hook, unleash your creativity, and crochet yourself a bathroom rug that’s as unique as you are! Remember, it’s not just about saving money, it’s about conquering the mundane with the magic of handmade. Happy crocheting, brave crafters!
P.S. Share your MEGA ECONOMIC bathroom rug creations on social media and tag me! I’d love to see your yarn-tastic throne rooms!
Video tutorial