 by
by To create a Floral Square Motif, you must blend organic, soft elements (the flower) with a rigid, geometric framework (the square). A beautifully drafted floral square allows you to build a dense, flat surface for a Table Runner or an open, breathable lattice for a Trendy Blouse.
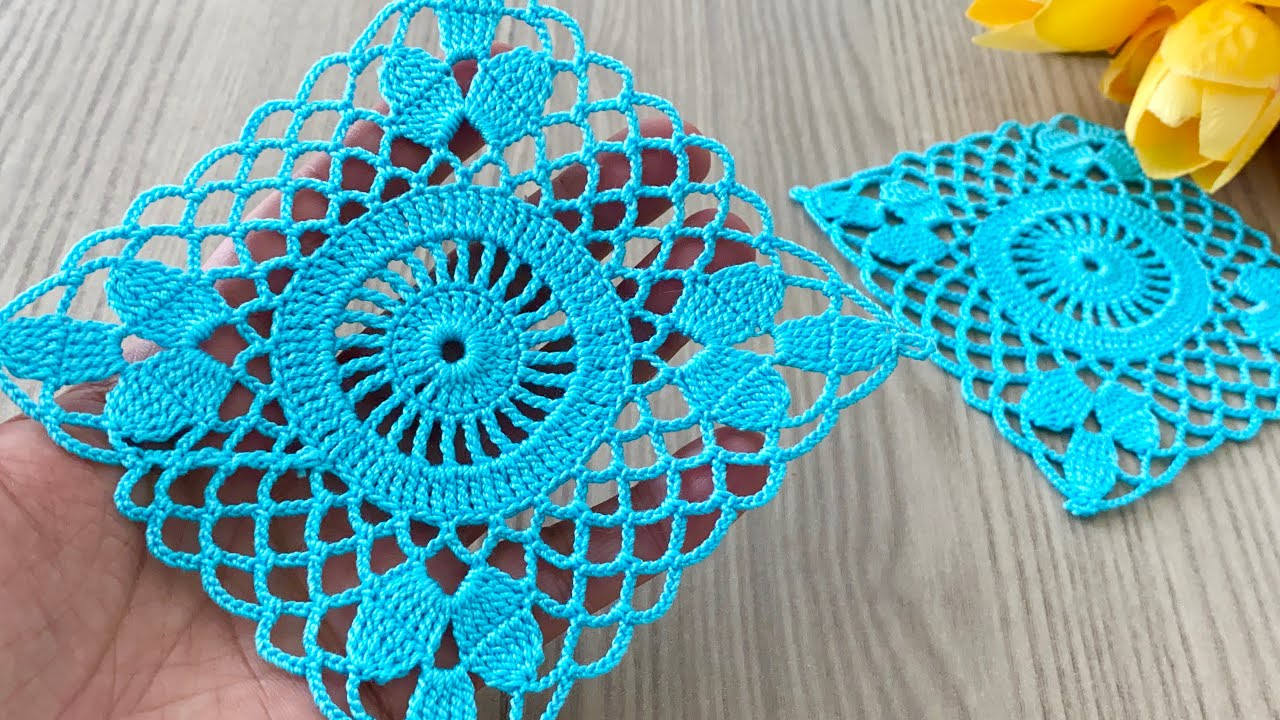
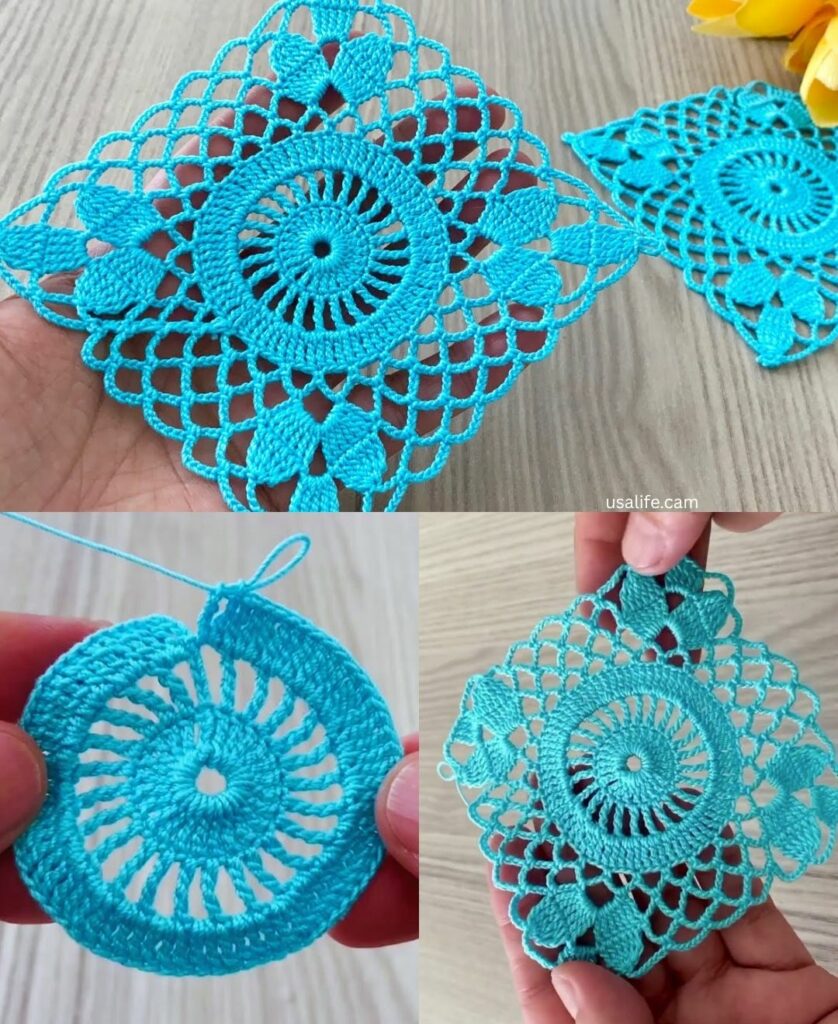
This pattern is for the “Blossoming Dahlia Square.” It features a multi-layered, 3D floral center that bursts from a tight circle into a flat, geometric lace frame.
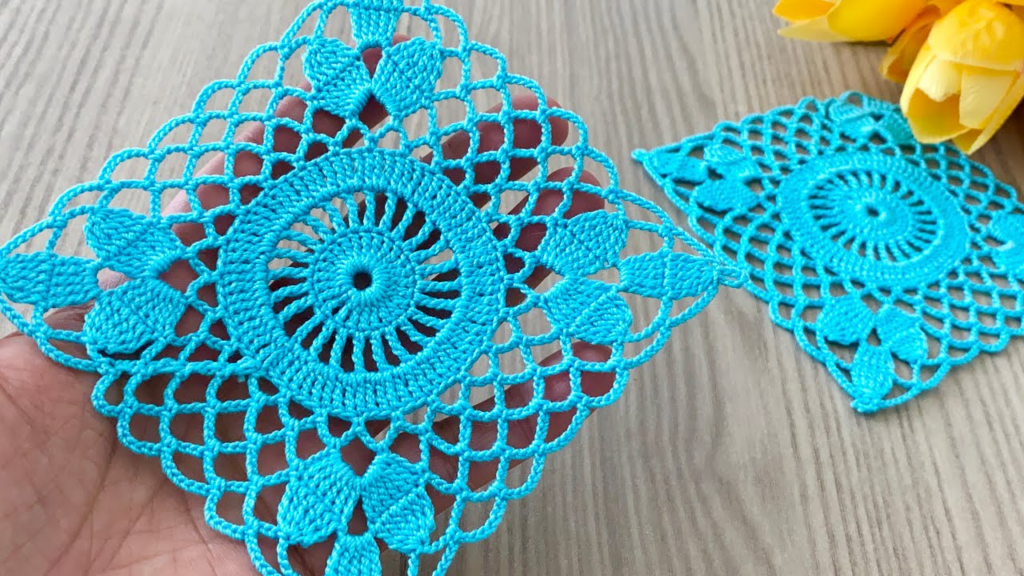
I. Technical Blueprint & Sizing
1. The Fiber Selection
- For the Runner: 100% Mercerized Cotton (DK weight). This creates a crisp, sturdy tile with a slight sheen that keeps centerpieces completely stable.
- For the Blouse: A Bamboo-Cotton blend or sport-weight Linen. These fibers possess an elegant, heavy drape that flows naturally with body movement.
2. Hook & Tension Rules
- Runner Hook: 3.25mm (D). Keep your tension firm so the corners stay sharp at exactly 90 degrees.
- Blouse Hook: 4.0mm (G). Work with relaxed tension to maximize the spacing of the lace border.
II. The Blossoming Dahlia Square (US Terms)
Round 1: The Floral Pistil Core
- Magic Ring: Ch 2 (counts as hdc), work 11 hdc into the ring.
- Sl st to the top of the beginning ch-2 to close the circle. (12 hdc total).
- Detail: Pull the yarn tail firmly until the center hole completely vanishes.

Round 2: The Inner Petal Base
We use the Popcorn Stitch here to make the center of the flower lift dramatically off the fabric.
- Ch 3. In the same stitch, work 3 dc. Drop the loop from your hook. Insert your hook from front to back into the top of the beginning ch-3, grab the dropped loop, and pull it through. Ch 2. (First Popcorn made).
- In the next stitch, work a Popcorn Stitch (4 dc in same st, drop loop, insert hook into 1st dc, pull loop through) then ch 2.
- Repeat from * to * in every stitch around.
- Sl st to the back of the first popcorn to join. (12 Popcorns, 12 ch-2 spaces).
Round 3: The Expanding Petals
- Sl st into the first ch-2 space. Ch 3, 2 dc in the same space. Ch 1.
- Work 3 dc into the next ch-2 space, ch 1.
- Repeat from * to * around in every space.
- Sl st to the top of the starting ch-3 to join. (12 3-dc groups, 12 ch-1 spaces).

Round 4: Squaring the Flower
This is the architectural transformation round where we use a steep stitch-height gradient to square off the round dahlia.
- Sl st across into the first ch-1 space.
- Corner 1: Ch 4 (counts as tr). In the same space, work (2 tr, ch 3, 3 tr).
- Side 1:
- Ch 1. In the next ch-1 space, work 3 dc.
- Ch 1. In the next ch-1 space, work 3 hdc (this drops the height in the center of the flat edge).
- Ch 1. In the next ch-1 space, work 3 dc.
- Ch 1.
- Corner 2: In the next ch-1 space, work (3 tr, ch 3, 3 tr).
- Repeat the side and corner sequence around to complete the square. Sl st to the top of the starting ch-4 to join.
Round 5: The “Lace Framing” Border
- Sl st to the corner ch-3 space. Ch 1, (2 sc, ch 2, 2 sc) in the corner.
- Side: Ch 3, skip the tr cluster, sc into the ch-1 space, ch 3, skip the dc cluster, sc into the ch-1 space, ch 3, skip the hdc cluster, sc into the ch-1 space, ch 3, skip the dc cluster, sc into the ch-1 space, ch 3.
- Corner: Repeat (2 sc, ch 2, 2 sc) in the corner space.
- Repeat the sequence around. Sl st to join. Fasten off with a long tail.
III. “Detail and Detail” Project Assembly
         THE SLING RUNNER GRID                      THE BOXY BLOUSE MAP
             [F][F][F][F][F]                            [F][F]  [F][F] < Shoulders
             [F][F][F][F][F]                            [F][F][F][F][F]
             [F][F][F][F][F]                            [F][F][F][F][F]
          (Straight edge-to-edge)                       [F][F][F][F][F]
                                                    (Leave open space for head/arms)
1. The Multipurpose Table Runner
- The Blueprint: A standard dining runner requires about 24 to 30 motifs arranged in a $3 \times 10$ block grid.
- The Join: Place the squares right-sides facing together. Use a tapestry needle to sew the motifs using the Mattress Stitch through the back loops only. This forces the floral frames to lock flat against each other, eliminating gaps so tableware won’t tilt.
- The Luxury Border: Attach yarn to any outer corner and work a solid round of double crochet, placing 5 dc in each ch-3 side loop. This seals the runner with a clean, structural frame.

2. The Trendy Floral Blouse
- The Blueprint: Create two identical rectangular panels (Front and Back). A classic medium size typically takes a grid of 4 squares wide by 4 squares high per panel.
- The Join: Use the Join-As-You-Go (JAYG) method on Round 5. When working the side ch-3 loops, substitute the middle chain with a slip stitch into the corresponding loop of the neighboring square (i.e., ch 1, sl st into adjacent loop, ch 1).
- The Advantage: This creates an elastic, mesh-like network between the flowers that stretches naturally over the bust and hips without distorting the garment shape.
IV. Design & Maintenance Matrix
| Detail Element | Table Runner | Trendy Blouse |
| Joining Style | Rigid, flat, flush seams | Flexible, open mesh lattice |
| Yarn Palette | Monochromatic (Ivory, Cream, Flax) | High Contrast (e.g., Black core with Cream frame) |
| Blocking Polish | Liquid starch spray + firm iron | Delicate garment steam setting |
V. Final Expert Tip: The Floral Popcorn Press
Because Round 2 uses highly dimensional Popcorn Stitches, the flower center will naturally want to pouch out.
- When blocking for a Runner: Pin the motif flat and use a warm iron over a damp pressing cloth to flatten the petals into clean, crisp coins.
- When blocking for a Blouse: Avoid pressing completely. Hover a steam iron 1 inch above the square. This leaves the petals round, soft, and beautifully 3D against the body.
Are you planning to make this all in a single color to focus on the stitch shadows, or will you change colors on Round 4 to make the flower stand out from the frame?