by
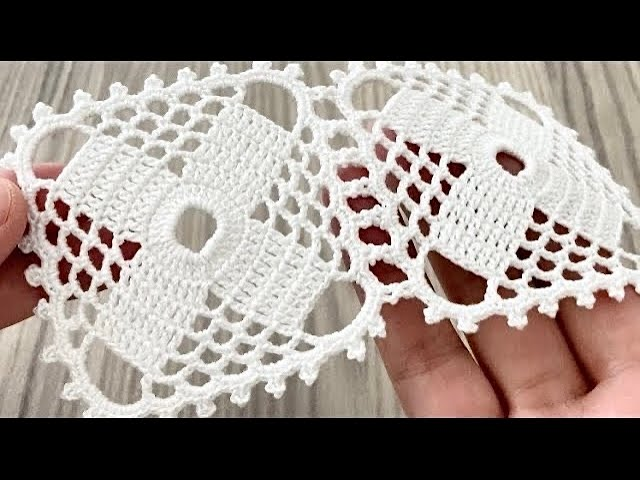
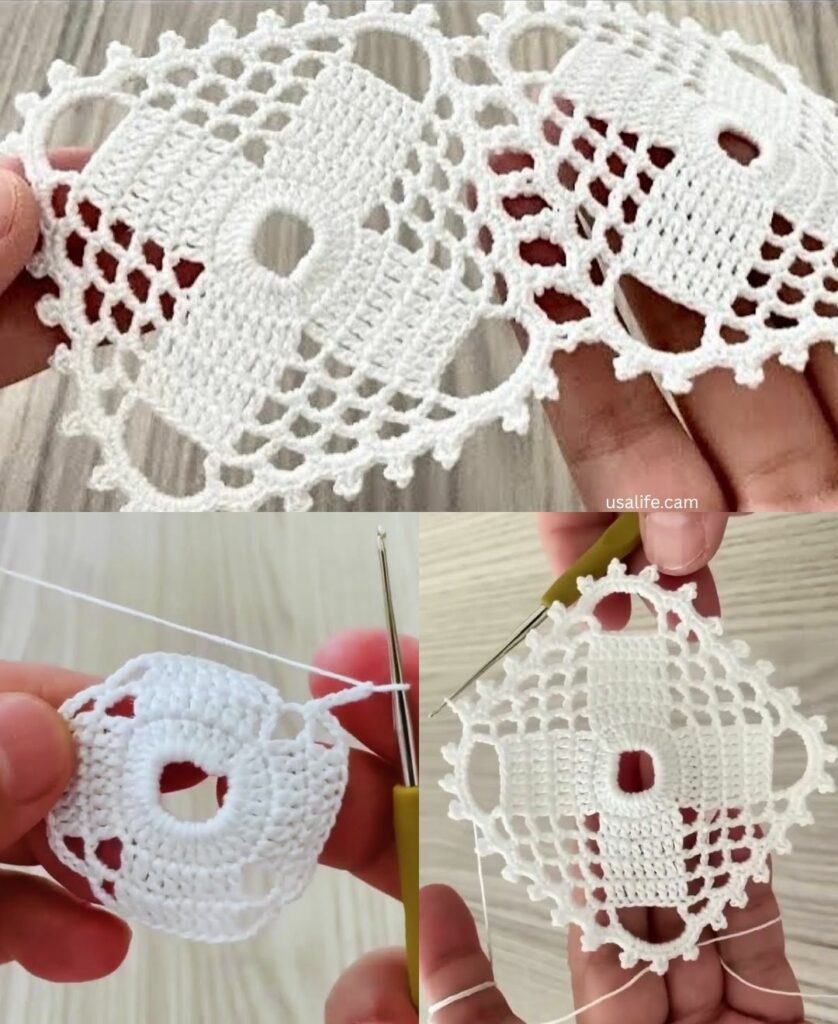
by To create a Simple and Quick Square Motif, the key is maximizing visual impact while minimizing complex transitions. A classic designer shortcut to achieve this is using the “Solid-Corner Granny Grid.”
Unlike traditional granny squares that can look messy or hole-heavy, this variation concentrates solid stitches at the corners and leaves open windows on the sides. It works up in just 3 rounds, making it incredibly fast to mass-produce for a large Table Runner or a trendy Boxy Blouse.
I. Technical Blueprint & Sizing
- The Design: A 3-round geometric square that can be stitched in under 5 minutes.
- The Material Choice:
- For a Runner: Use 100% Mercerized Cotton (Worsted Weight/4) with a 4.0mm hook. This gives you a stiff, dense tile that sits flat immediately without curling.
- For a Blouse: Use a Bamboo or Acrylic blend (DK Weight/3) with a 5.0mm hook. An oversized hook makes this simple pattern spread out into a fluid, slouchy mesh.
II. The 3-Round Blueprint Pattern (US Terms)
  SQUARE GEOMETRY VISUALIZATION:
  Round 1: [Circle Core] ----> 12 dc stitches
  Round 2: [The Squaring] ---> Corners get (2dc, ch 2, 2dc) / Sides get ch 1
  Round 3: [The Solid Rim] --> Pure dc across to lock the shape
Round 1: The Twelve-Stitch Core
- Magic Ring: Ch 3 (counts as your first dc).
- Work 11 dc into the ring.
- Sl st to the top of the beginning ch-3 to close. (12 dc total).
- Detail: Pull the tail firmly to close the center completely. Because this project is quick, a tight core keeps it looking clean.

Round 2: The Squaring Round
This is the structural round that instantly shifts the circle into a 90-degree square using easy spatial grouping.
- Corner 1: Ch 3 (counts as dc). In the exact same stitch, work (1 dc, ch 2, 2 dc).
- Side 1: Ch 1, skip 2 stitches.
- Corner 2: In the next stitch, work (2 dc, ch 2, 2 dc).
- Repeat: Repeat the Side and Corner sequence around. After the last ch-1, sl st to the top of the starting ch-3 to join. (4 crisp corners made).
Round 3: The Solid Framing Rim
To make this motif durable for apparel or table settings, we seal the edges with a solid row of double crochet.
- Sl st into the next dc, and sl st into the corner ch-2 space.
- Corner: Ch 3 (counts as dc), work (1 dc, ch 2, 2 dc) directly into the corner space.
- Side:
- Work 1 dc into each of the next 2 dc stitches along the side.
- Work 1 dc directly inside the ch-1 window space.
- Work 1 dc into each of the next 2 dc stitches.
- Next Corner: In the corner ch-2 space, work (2 dc, ch 2, 2 dc).
- Repeat this sequence completely around the square. Sl st to join. Fasten off.

III. “Detail and Detail” Production Assembly
Because these motifs are so fast to make, your assembly method dictates how the final project behaves:
1. The 1-Weekend Table Runner
- The Layout: Crochet 20 squares. Arrange them in a long $2 \times 10$ grid.
- The Speed-Join: Place the squares right-sides together and single crochet (sc) them together through the back loops only. This creates a raised, decorative ridge on the back but leaves the front completely flat so your home decor sits evenly on the table.
2. The Quick Boxy Blouse
- The Layout: Create two large matching panels. For a standard medium size, a grid of $4 \times 4$ squares (16 total per panel) creates a beautifully relaxed, oversized summer top.
- The Speed-Join: Use a tapestry needle and raw yarn to sew them together using a Zig-Zag Slip Stitch or a simple Whipstitch. This keeps the seams highly elastic so the blouse pulls over your head comfortably.

IV. Efficiency & Finish Checklist
| Detail Step | The Quick Method | The Expert Result |
| Weaving Ends | Crochet over your yarn tails during Round 3. | Eliminates the need to use a sewing needle at the end. |
| Tension | Keep corner chains tight. | Keeps the square points sharp without sagging. |
| Blocking | Stack 5 squares on top of each other and steam them all at once. | Saves hours of time while ensuring every tile matches perfectly. |
V. Final Styling Trick for Beginners
To give this simple motif a “boutique” appearance without adding extra production time, use a variegated (self-striping) yarn for Round 1 and 2, and switch to a solid neutral color (like Cream or charcoal black) for Round 3.
The color changes happen automatically in the center, but the solid frame ties the whole project together instantly!
Are you looking to make this a quick stash-buster project using leftover scrap yarn, or do you have a specific color theme in mind?