 by
by To create a truly breathtaking Flower Motif, you must master the art of layering and stitch gradation. A beautifully designed flower motif can transition from a flat, interlocking tile for a Table Runner to a fluid, breathable lace lattice for a Trendy Blouse.
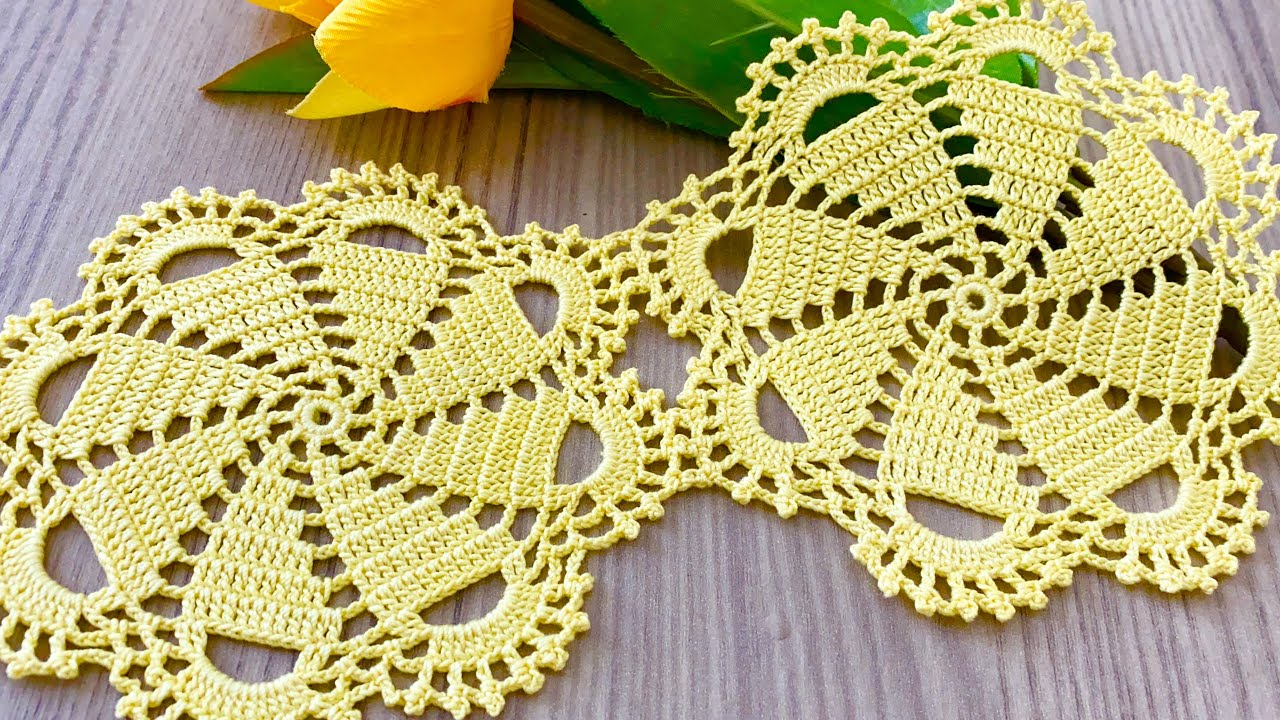
This pattern is for the “Victorian Lotus Blossom.” It features a dense, 3D textured center that unfurls into open, airy petals, finished with a structural geometric border.
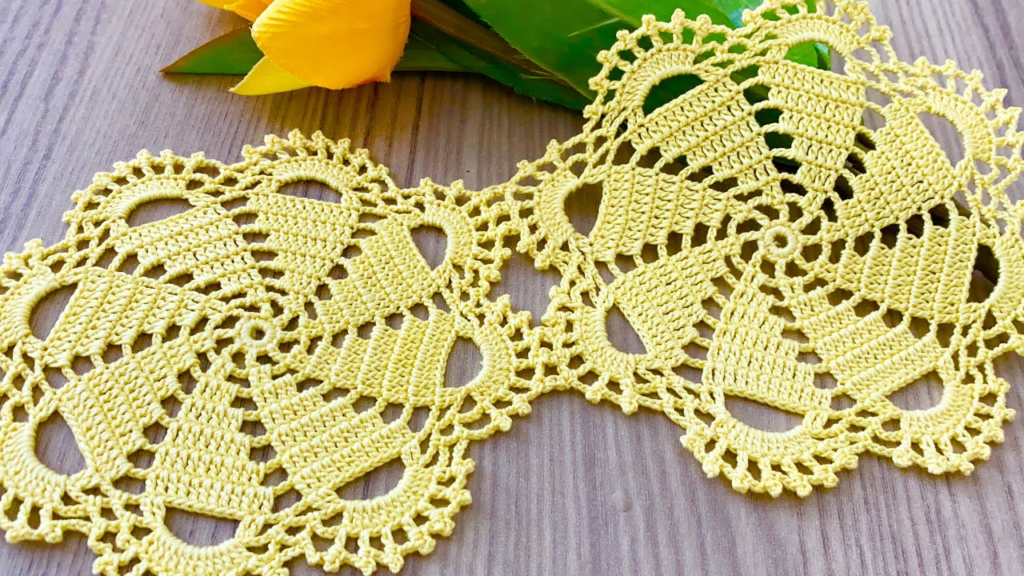
I. Technical Blueprint & Materials
- The Design: A 5-round floral motif that balances dimensional depth with a flat perimeter.
- The Material Choice:
- For a Runner: Use 100% Mercerized Cotton (DK weight) with a 3.25mm (D) hook. This fiber has a polished glaze that highlights stitch definitions and keeps table settings completely stable.
- For a Blouse: Use a soft Bamboo or Linen blend (Sport weight) with a 4.0mm (G) hook. This allows the lace petals to stretch and drape beautifully over body contours.
- Color Strategy: A single monochromatic shade (like Ivory or Steel Blue) creates sophisticated, sculptural shadows. Alternatively, use three shades: dark for the core, bright for the petals, and a soft neutral for the border.
II. The Victorian Lotus Pattern (US Terms)
  FLORAL GEOMETRY LAYER-BY-LAYER:
  Round 1: [The Seed Core] ---> 12 tight sc stitches
  Round 2: [The Inner Bud] ---> 12 dimensional puff stitches
  Round 3: [The Open Bloom] --> Extended dc loops with ch-3 arches
  Round 4 & 5: [The Framework] -> Transforming the circle into a joinable motif
Round 1: The Seed Core
- Magic Ring: Ch 1 (does not count as a stitch). Work 12 sc into the ring.
- Sl st to the first sc to join. (12 sc).
- Detail: Pull the tail firmly until the central hole completely vanishes. A solid center anchors the flower.

Round 2: The Inner Bud (3D Layer)
We use the Puff Stitch here to mimic the dense, raised pollen center of a real flower.
- Ch 1. Pull your hook loop up to the height of a hdc.
- Puff Stitch: [YO, insert hook into the stitch, pull up a loop to the height of your ch-1] 3 times into the same stitch. YO, pull through all loops on hook. Ch 1 to close the puff.
- Repeat the Puff Stitch + Ch 1 in every single stitch around.
- Sl st to the top of the first puff to join. Fasten off if changing colors. (12 Puffs, 12 ch-1 spaces).
Round 3: The Open Bloom
- Join your petal color in any ch-1 space. Ch 3 (counts as dc).
- Work 2 dc into that same space. Ch 3.
- Skip the next puff. Work 3 dc into the next ch-1 space, ch 3.
- Repeat from * to * around. Sl st to the top of the starting ch-3 to join. (12 petal groups, 12 ch-3 loops).

Round 4: Squaring the Flower (For Runners and Blouses)
This is the architectural transformation round where we use a steep height gradient to turn the round blossom into a joinable square.
- Sl st across into the first ch-3 loop space.
- Corner 1: Ch 4 (counts as tr). In the same loop space, work (2 tr, ch 3, 3 tr).
- Side 1:
- Ch 1. In the next ch-3 space, work 3 dc.
- Ch 1. In the next ch-3 space, work 3 hdc (this dips the side down to flatten the edge).
- Ch 1. In the next ch-3 space, work 3 dc.
- Ch 1.
- Corner 2: In the next ch-3 space, work (3 tr, ch 3, 3 tr).
- Repeat the side and corner sequence around to finish the square layout. Sl st to join.

Round 5: The Crisp Border
- Ch 1. Work 1 sc in every stitch and exactly 1 sc inside every side ch-1 space.
- In the ch-3 corners, work (2 sc, ch 2, 2 sc).
- Sl st to join. Fasten off, leaving a long 12-inch tail for structural assembly.
III. “Detail and Detail” Project Assembly
        THE MULTIPURPOSE RUNNER                   THE TRENDY BLOUSE MAP
        [F][F][F][F][F][F][F][F]                     [F][F]     [F][F] < Shoulders
        [F][F][F][F][F][F][F][F]                     [F][F][F][F][F][F]
        [F][F][F][F][F][F][F][F]                     [F][F][F][F][F][F]
     (Joined with flat mattress stitch)          (Joined with airy Join-As-You-Go)
1. The Multipurpose Table Runner Assembly
- The Layout: Arrange your floral squares into a 3×10 block grid.
- The Flat-Surface Seam: Place the squares right-sides facing together. Use a tapestry needle to sew the motifs using the Mattress Stitch through the back loops only. This forces the frames to sit perfectly flush against each other, eliminating bulky ridges so cups or plates won’t rock or tip.
- The Finish: Block strictly with a liquid starch spray to give the fabric a smooth, tabletop rigidity.
2. The Trendy Floral Blouse Assembly
- The Layout: Construct two main panels (Front and Back). A standard medium size requires a grid of 4 squares wide by 4 squares high per panel.
- The Draping Seam: Use the Join-As-You-Go (JAYG) method on Round 5. Instead of working a full ch-2 in the corners, work ch 1, slip stitch into the corner loop of your neighboring square, ch 1. Do the same for the side stitches.
- The Advantage: This creates an elastic, lace-like network between the flowers that allows the garment to stretch naturally over the bust and move comfortably with your body.
IV. Design & Maintenance Matrix
| Detail Element | Table Runner Approach | Trendy Blouse Approach |
|---|---|---|
| Edge Frame | Add a final border of solid sc around the entire perimeter to seal the runner. | Leave the edges unmodified to showcase the natural, romantic scalloped petals. |
| Blocking Method | Hard-blocking: Press with a warm iron over a damp cloth to flatten the flower. | Soft-blocking: Hover a steam iron 1 inch above the motif to keep the puff stitches round and 3D. |
| Visual Texture | Stiff, orderly, clean lines. | Fluid, slouchy, bohemian lace. |
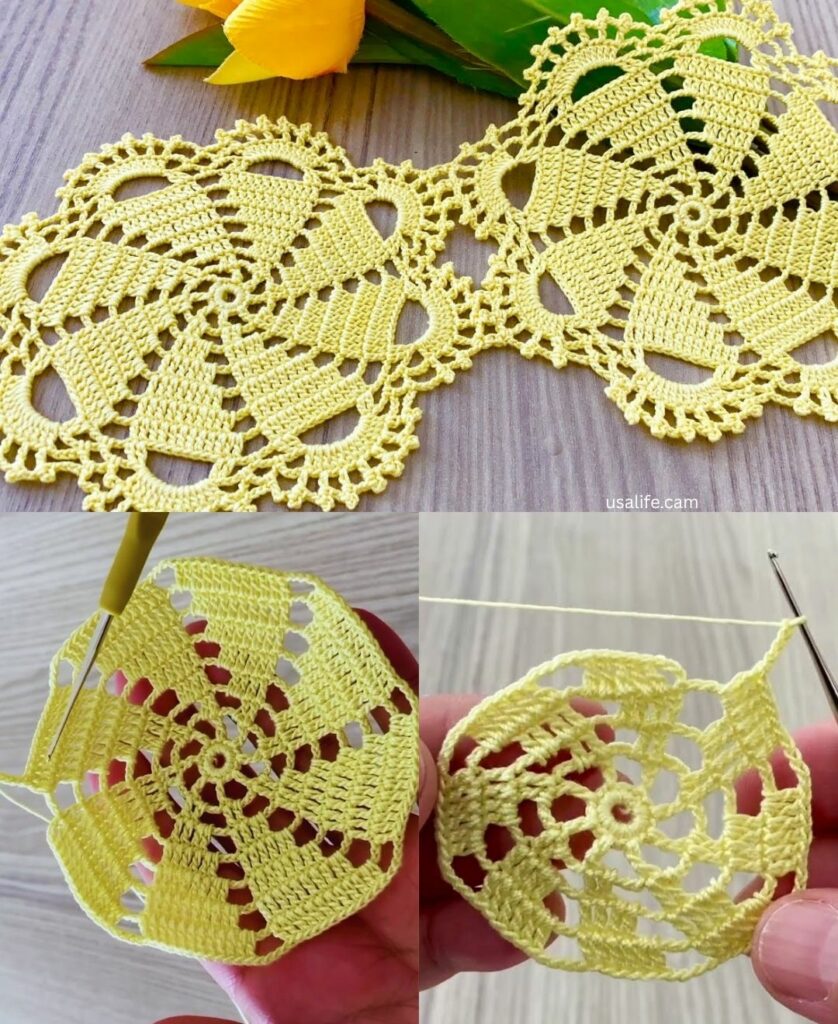
V. Final Expert Tip: The Invisible Finish
Never tie off your final round with a clumsy knot. Cut your yarn, pull the loop straight up out of the stitch, and thread it onto a needle.
Pass the needle under both loops of the second stitch of the round, then bring it back down directly into the center of the very last stitch you made. This creates a faux stitch loop that makes your border entirely continuous and flawless.
Are you planning to make this motif all in one solid color for a modern minimalist look, or will you change colors to make the 3D flower center pop out from the frame?