 by
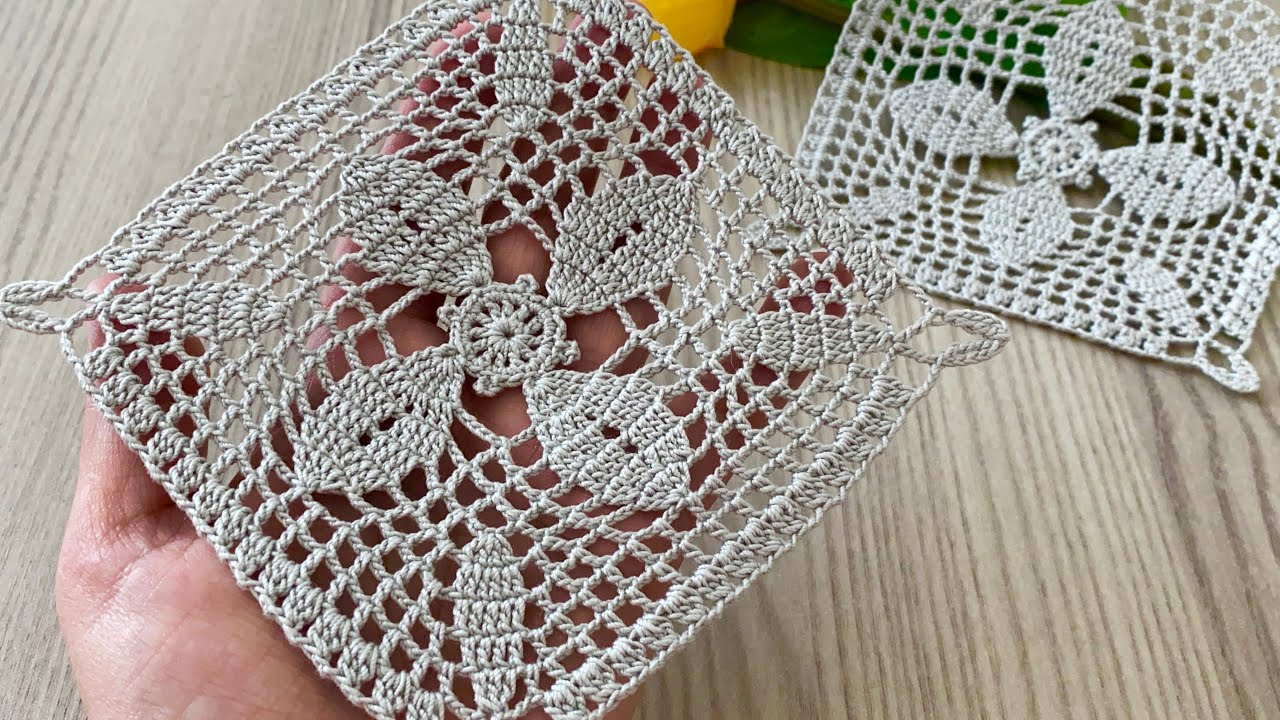
by To create a Square Motif that successfully transitions from a flat, structural Table Runner to a fluid, draping Blouse or a sweeping Shawl, you need a motif with an identical stitch count on all four sides and an open, lace-like perimeter.
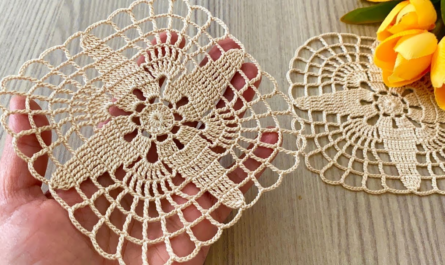
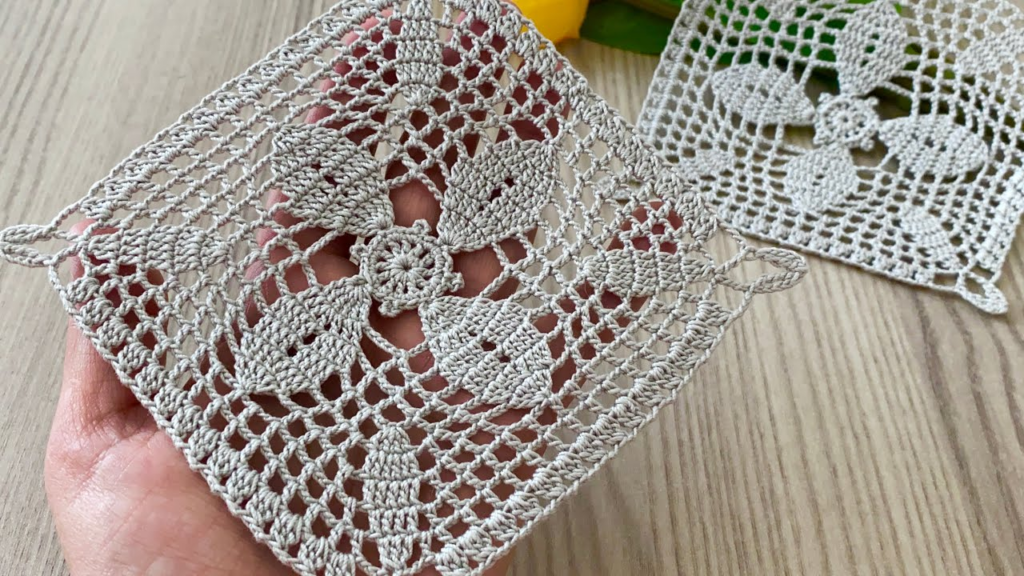
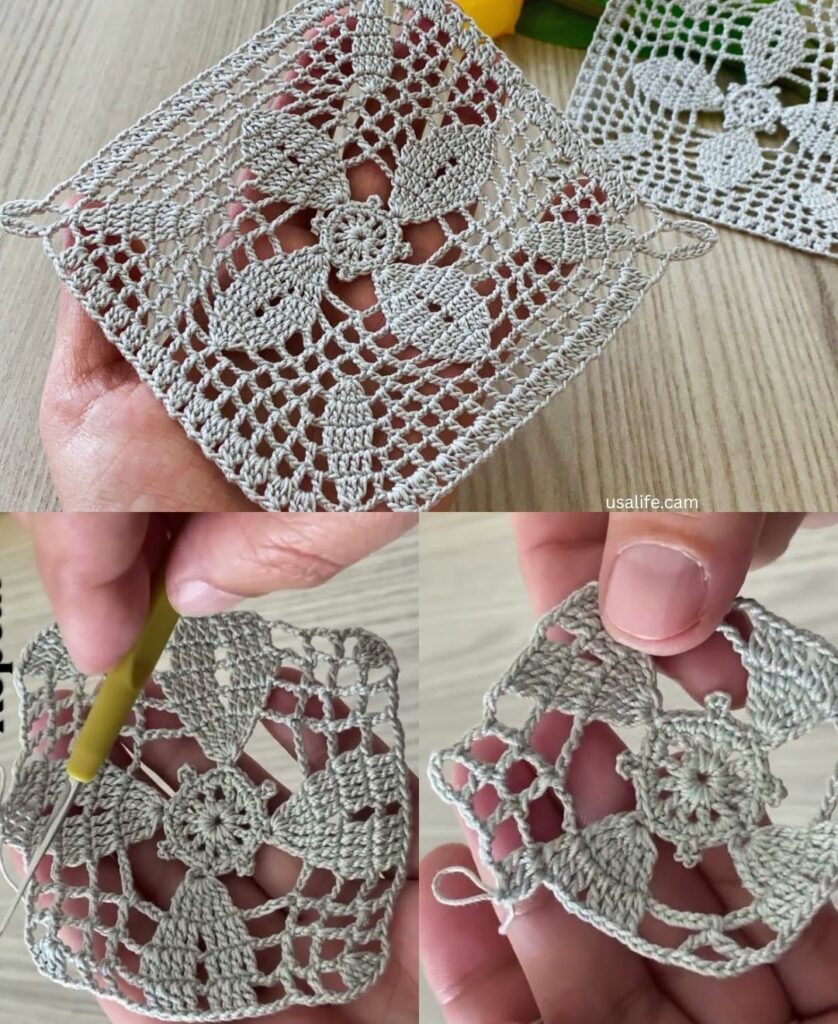
This design features the “Infinity Lattice Square.” It begins with a tight, circular sunburst core to give the motif architectural stability, then uses rapid stitch gradients to square off into an airy grid. This grid acts as a natural hinge when joined, allowing the fabric to drape gracefully over the body or sit completely flush on a tabletop.
I. Technical Blueprint & Materials
1. The Fiber Selection by Project
- For the Table Runner: 100% Mercerized Cotton (DK weight) with a 3.25mm (D) hook. This fiber has a polished glaze that holds crisp geometry and keeps glasses or plates stable.
- For the Blouse or Tunic: A Bamboo or Linen blend (Sport weight) with a 4.0mm (G) hook. This ensures maximum breathability and horizontal elasticity.
- For the Shawl: A Fingering weight Alpaca, Silk, or Merino wool with an oversized 4.5mm hook. This creates a highly delicate, cloud-like lace stitch with dramatic, fluid drape.
2. Motif Dimensions
- Using DK Cotton: Approx. 4.5 inches (11.5 cm) per square.
- Using Fingering Wool/Oversized Hook: Approx. 5.5 inches (14 cm) per square.
II. The Infinity Lattice Square Pattern (US Terms)
  SQUARE MESH ARCHITECTURE:
  Round 1: [Core Circle] --------> 16 double crochet stitches
  Round 2: [The Floating Ring] --> 16 dc stitches separated by ch-1 windows
  Round 3: [The Squaring] -------> Corners get (3 tr, ch 3, 3 tr) / Sides drop down
  Round 4: [The Final Frame] ----> Pure sc and ch-3 spaces to create a flat mesh
Round 1: The Core Circle
- Magic Ring: Ch 3 (counts as your first dc).
- Work 15 dc into the loop.
- Sl st to the top of the beginning ch-3 to close the circle. Pull the tail firmly until the center hole completely vanishes. (16 dc total).
Round 2: The Floating Ring
- Ch 4 (counts as 1 dc + ch 1).
- Work 1 dc in the next stitch, ch 1.
- Repeat from * to * in every single stitch around.
- Sl st into the 3rd chain of your starting ch-4 to join. (16 dc, 16 ch-1 spaces).

Round 3: Squaring the Orbit
This is the architectural transformation round where we use a steep height gradient to turn the round loop into a sharp 90-degree square layout.
- Sl st into the first ch-1 space.
- Corner 1: Ch 4 (counts as tr). In the exact same space, work (2 tr, ch 3, 3 tr).
- Side 1:
- Ch 1, skip the next ch-1 space.
- Work 3 dc inside the next ch-1 space.
- Ch 1, skip the next ch-1 space.
- Work 3 hdc inside the next ch-1 space (this dips the stitch height down to keep the side flat).
- Ch 1, skip the next ch-1 space.
- Work 3 dc inside the next ch-1 space.
- Ch 1, skip the next ch-1 space.
- Corner 2: In the next ch-1 space, work (3 tr, ch 3, 3 tr).
- Repeat the side and corner sequence completely around to complete the square layout. Sl st to join.
Round 4: The Final Connecting Frame
- Sl st across into the corner ch-3 space. Ch 1, (2 sc, ch 2, 2 sc) inside the corner.
- Sides: Ch 3, sc into the next ch-1 space. Repeat this step across the side to create 4 open window loops.
- Next Corner: Work (2 sc, ch 2, 2 sc) into the corner ch-3 space.
- Repeat the sequence around. Sl st to join. Fasten off with a long tail.
III. “Detail and Detail” Project Assembly Layouts
The beauty of a universal square motif is how changing the layout configurations completely transforms the final object.
1. The Multipurpose Table Runner
- The Grid Blueprint: Arrange your squares in a long, narrow grid that is 3 squares wide by 12 squares long (36 motifs total).
- The Assembly Seam: Place the squares right-sides facing together. Use a tapestry needle and the Flat Mattress Stitch through the back loops only. This eliminates bulky ridges, ensuring the runner functions as a completely smooth tabletop surface.

2. The Trendy Boxy Blouse
- The Grid Blueprint: Construct two identical rectangular panels (Front and Back). A standard medium size typically requires a grid of 4 squares wide by 4 squares high per panel (32 motifs total).
- The Assembly Seam: Use the Join-As-You-Go (JAYG) method on Round 4. When working the side ch-3 loops, replace the middle chain stitch with a slip stitch hooked directly into the corresponding loop of the neighboring square (ch 1, sl st into adjacent loop, ch 1).
- The Silhouette: Leave the top center two squares unjoined to create a clean boatneck line. Join the sides from the bottom up, leaving the top 2 squares open for wide armholes.
3. The Breathable Triangular Shawl
- The Grid Blueprint: Arrange the squares in a staggered pyramid layout to create a triangular shawl. Start with 1 square at the bottom point, adding an extra square to each row as you build upward until you reach 8 to 10 squares across the top edge.
- The Assembly Seam: Use the JAYG mesh connection method to maximize the stretch and flexibility of the shawl so it wraps comfortably around the shoulders.
       THE RUNNER GRID                 THE BLOUSE MESH               THE TRIANGULAR SHAWL
       [S][S][S][S][S]                 [S][S]  [S][S] < Shoulders    [S][S][S][S][S][S][S]
       [S][S][S][S][S]                 [S][S][S][S][S]                  [S][S][S][S][S]
       [S][S][S][S][S]                 [S][S][S][S][S]                     [S][S][S]
    (Edge-to-Edge Grid)                [S][S][S][S][S]                        [S]
                                    (Leave neck space open)             (Pyramid Layout)
IV. Design & Maintenance Matrix
| Detail Element | Table Runner | Trendy Blouse | Elegant Shawl |
|---|---|---|---|
| Edge Finish | Add a solid dc row border to frame the piece. | Leave edges raw to highlight natural scalloped motifs. | Add a 10-inch fringe or tassels to the lower triangle points. |
| Seam Feel | Rigid, flat, flush joints. | Elastic, open-mesh lattice. | Highly flexible, flowing lace. |
| Blocking Polish | Spray heavily with liquid starch; iron on low. | Lightly steam with garment setting; do not iron flat. | Pin aggressively on a grid mat; mist heavily with water to stretch. |
V. Final Finish: The Needle Join Secret
Never finish your final border round with a knotted slip stitch, as it leaves a bump on your pristine corners. Use the Invisible Needle Join:
- Cut your yarn tail at 6 inches and pull the loop straight up out of the final stitch without chaining.
- Thread the tail onto a tapestry needle.
- Pass the needle completely under both loops of the second stitch of the round, then bring it back down straight into the center of the very last stitch you made.
- Pull gently until the yarn forms a clean “faux loop” that mirrors the surrounding stitches. Tuck the tail into the back loops to secure it.
Are you going to build this project using a single continuous color for a clean, modern aesthetic, or do you want to experiment with a multi-color scheme to make the circular cores contrast against the square frames?