 by
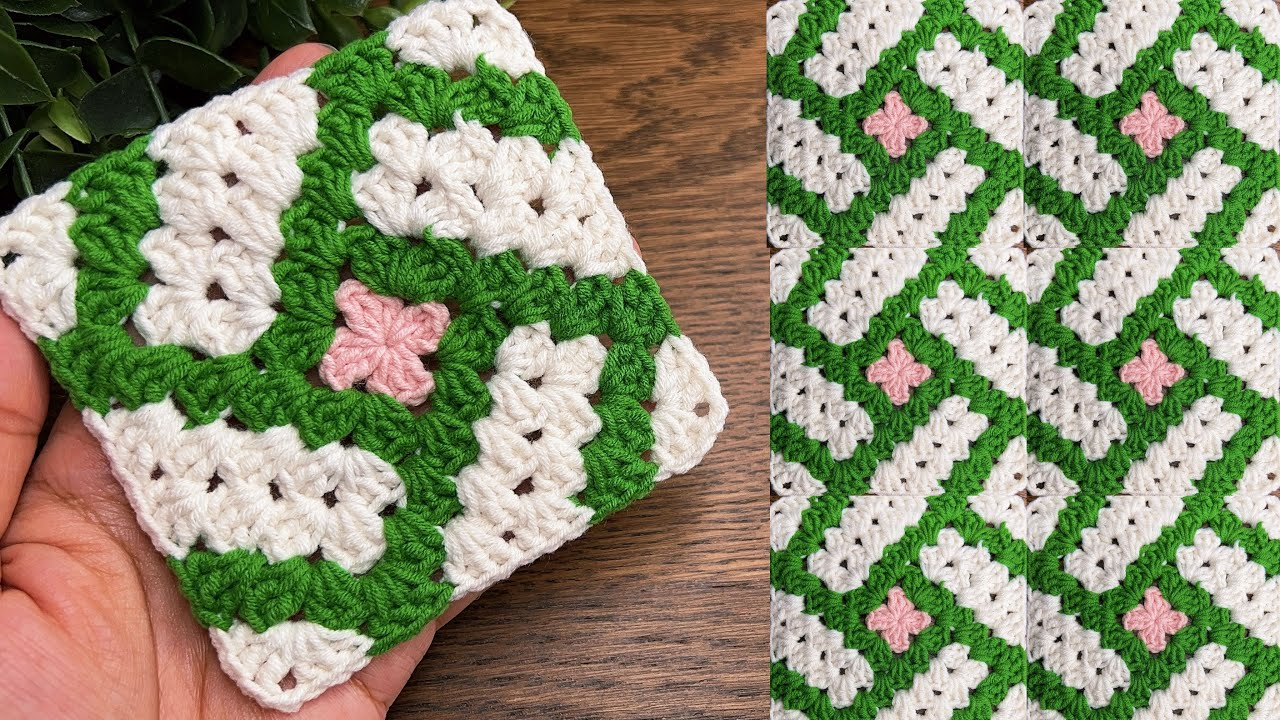
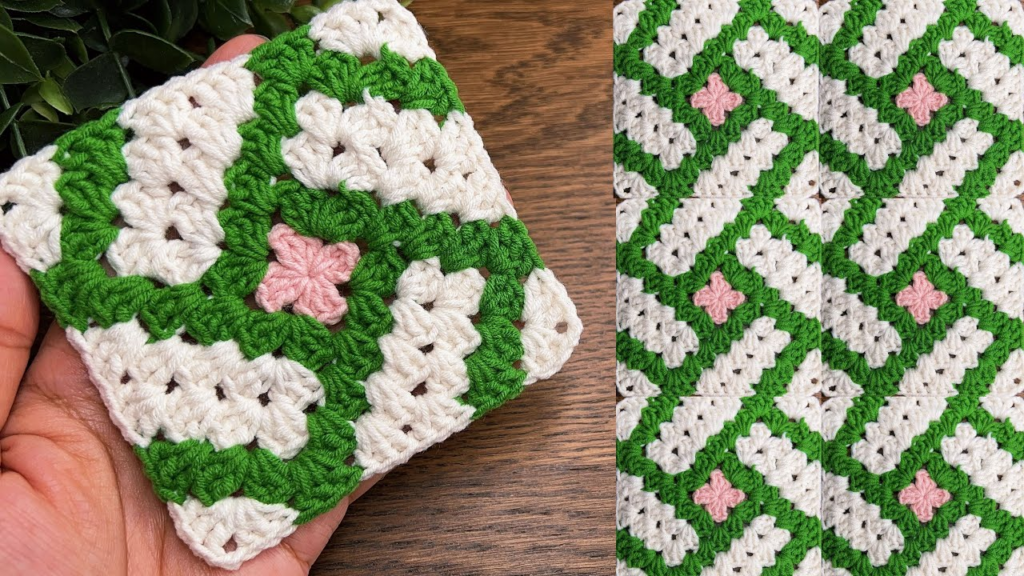
by To crochet a beautiful, versatile square motif, the best approach is to start with a “Solid Foundation” technique. Unlike the traditional “holey” granny square, a solid square provides a more modern, architectural look that is perfect for garments, runners, and textured home decor.
Here is your detailed, step-by-step guide to creating a professional-quality, solid square motif.
🧶 The Designer’s Toolkit
| Material | Recommendation | Why? |
| Yarn | Mercerized Cotton (DK/Sport) | Provides the best stitch definition for textured or geometric designs. |
| Hook | 3.5 mm (E/4) | A tighter gauge prevents “gapping” and gives a high-end, woven feel. |
| Extras | 4 Stitch Markers | Used to mark corners so you don’t lose your place. |
Stitch Key (US Terms)
- ch / sl st: Chain / Slip Stitch.
- dc: Double Crochet.
- fpdc (Front Post Double Crochet): Work a dc around the post of the stitch from the row below, pulling the stitch forward to create a raised texture.
🛠 Step-by-Step: The Solid Architectural Square
Round 1: The Core
- Start: Make a Magic Ring.
- Stitches: ch 3 (counts as dc). Work 11 dc into the ring (12 dc total).
- Join: sl st to the top of the starting ch 3. Pull the tail tight to close the center completely.

Round 2: Establishing the Corners
- Corner Prep: ch 3 (counts as dc). In the same stitch, work 1 dc.
- Side: Work 1 dc in the next 2 stitches.
- Corner: In the next stitch, work (2 dc, ch 2, 2 dc).
- Repeat: Work 2 dc in the next 2 stitches, then a corner in the next stitch. Repeat 3 times total.
- Join: sl st to the top of the ch 3.
Round 3: Building Texture
- Pattern: Work 1 dc into every stitch along the sides.
- Corners: In every ch-2 corner space, work (2 dc, ch 2, 2 dc).
- The “Pop” Detail: To add the 3D texture you enjoy, work your dc stitches in the Back Loops Only (BLO). This creates a subtle ridge that makes the square look like a hand-woven tile.

Round 4: The Finishing Frame
- Final Round: Repeat the pattern of Round 3.
- Edge: If you want a more structured edge for a runner or bag, work the final round in Single Crochet (sc) instead of Double Crochet (dc). This gives the square a firm, non-stretchy perimeter that is very easy to join.
📐 The “Pro” Finishing Process
Professional crochet motifs are rarely finished the moment you put down the hook. These two steps are essential for the “Stunning” look you are aiming for:
1. The Invisible Join
Avoid the bulky knot of a standard slip-stitch join. Once you finish your final round, cut the yarn, pull the tail through, and use a tapestry needle to thread the yarn tail under the top two loops of the very first stitch of the round. Then, pass the needle back into the center of the last stitch. This creates a “faux” stitch that makes the round look infinite.

2. The Blocking Ritual
This is the single most important step for geometric motifs.
- Pin: Pin your finished square to a foam board (or a towel on a flat surface) using rust-proof T-pins. Ensure the four corners are at perfect $90^\circ$ angles.
- Steam: Use a handheld steamer to hover over the square. Do not touch the iron to the yarn. The heat will relax the fibers.
- Dry: Let it dry for 24 hours. This “locks” the square into shape, ensuring all your squares match perfectly when you go to join them.
💡 Creative Variations for Your Projects
- For Blouses: Leave the center of the square “open” (skip the Magic Ring instructions and start with ch 8 joined in a circle) to create a lace-like, airy motif that is perfect for summer apparel.
- For 3D Designs: Replace the standard dc stitches in the center of the square with Popcorn Stitches or Puff Stitches to create the “floral” or “textured” center you enjoy.
- For Table Runners: Join your squares using a Flat Slip Stitch Join. It creates a recessed, professional-looking seam that allows your runner to lie perfectly flat on your dining table.
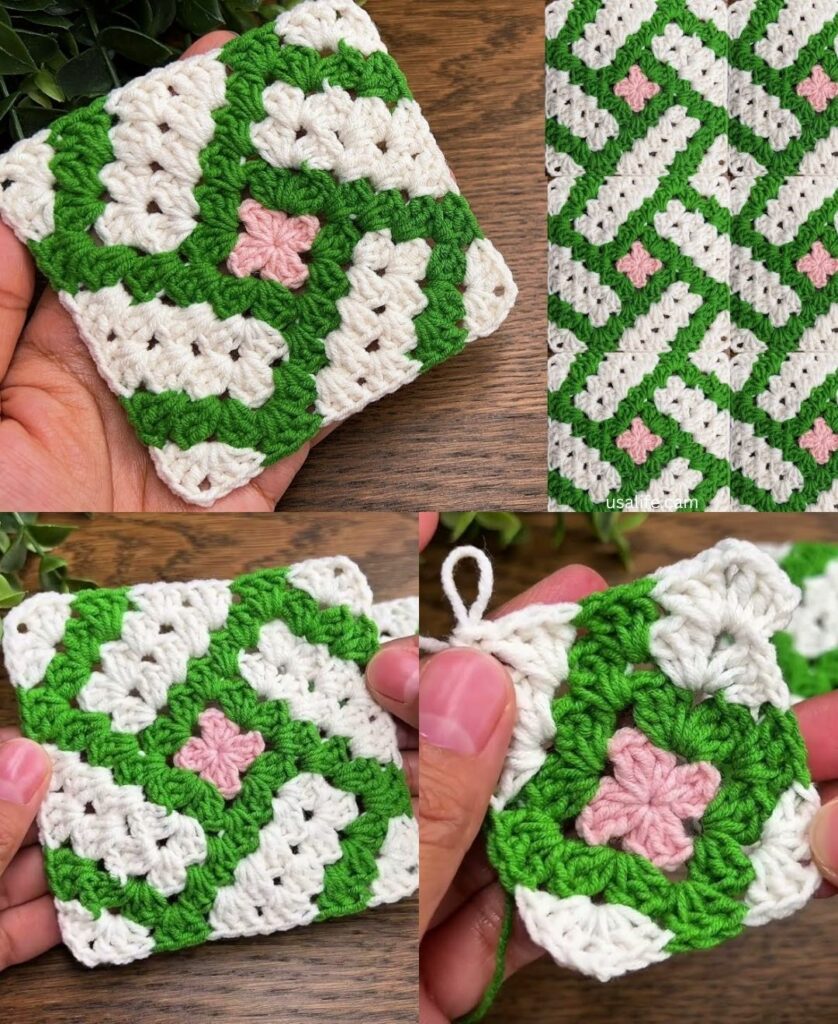
Which of these variations would you like to explore first for your upcoming project?