 by
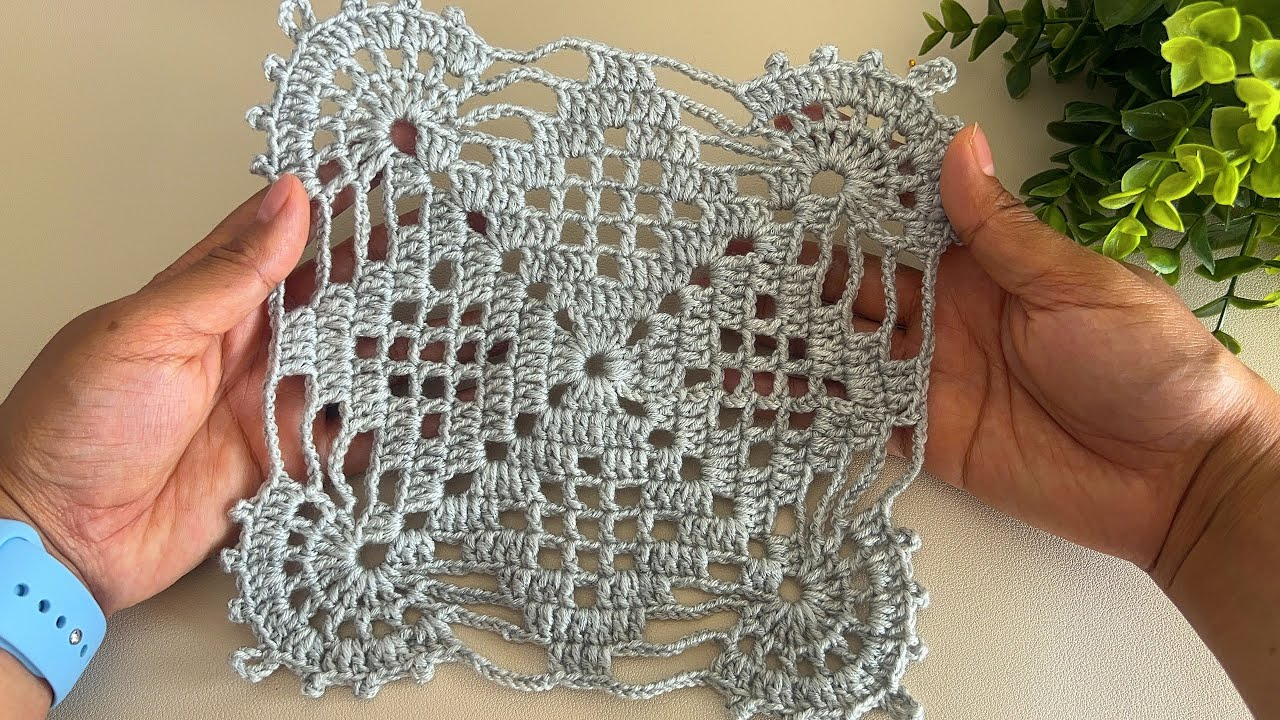
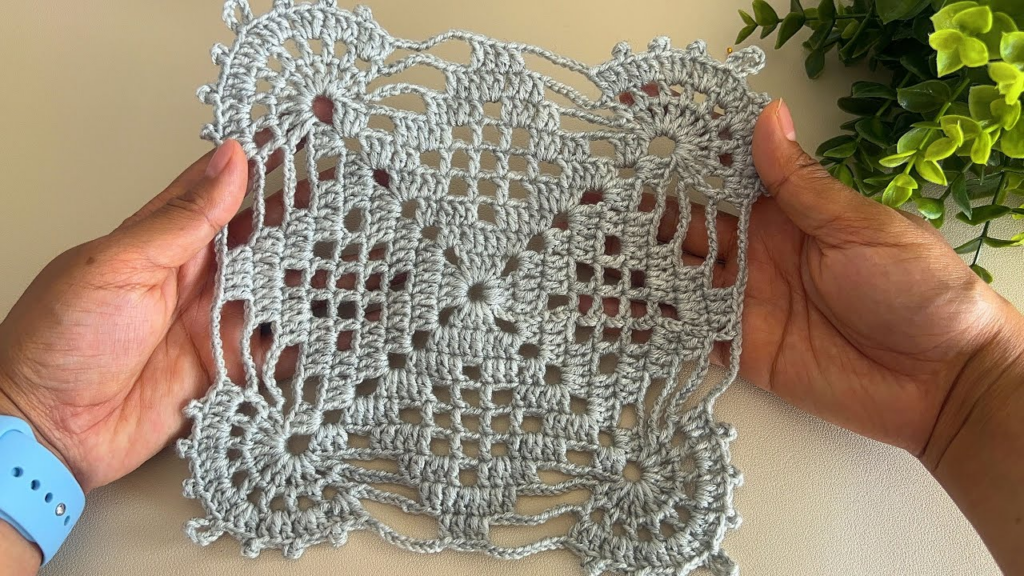
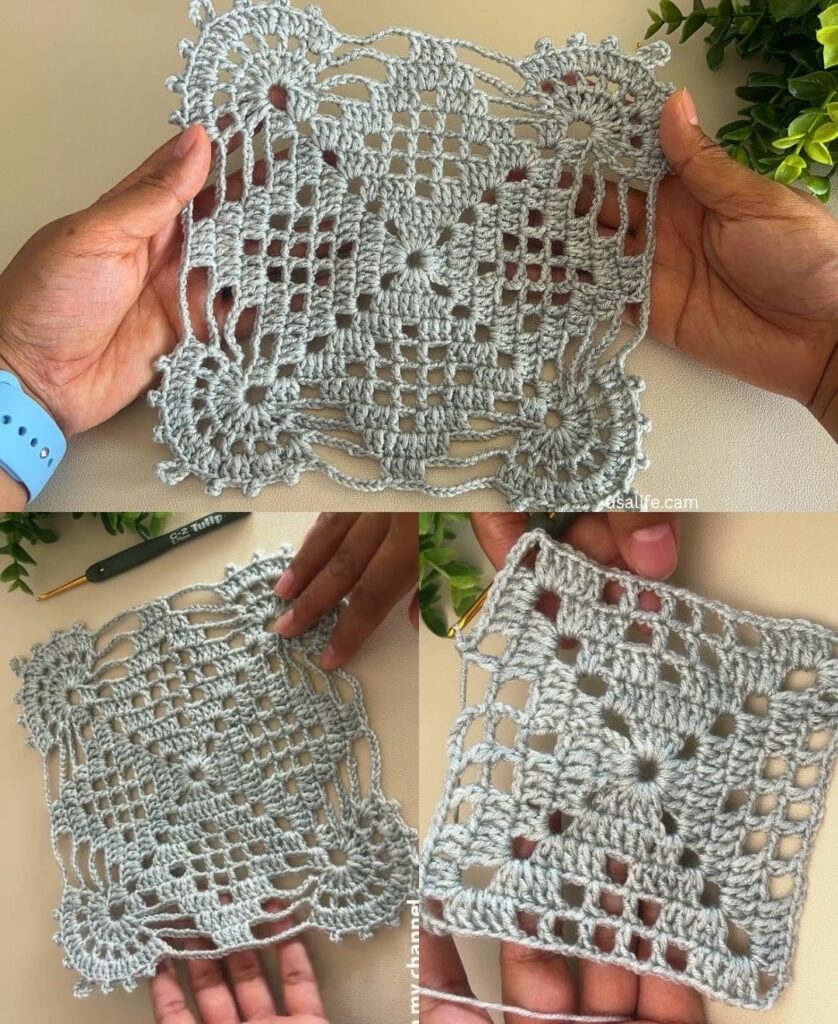
by If you are a beginner looking to move beyond the basic granny square, the Solid Square Motif is the perfect next step. It is “solid” (no gaps), which makes it look much more professional and modern, and it is significantly easier to join together for blankets, runners, or pillows.
This pattern uses only two stitches: the Chain and the Double Crochet.
🧶 Your Beginner Toolkit
| Tool | Recommendation |
| Yarn | Worsted Weight (Size 4) Acrylic or Cotton |
| Hook | 5.0 mm (H/8) |
| Markers | 4 Stitch markers (or scrap yarn) to mark your corners |
Stitch Key (US Terms)
- ch: Chain
- dc: Double Crochet
- sl st: Slip Stitch
🛠 Step-by-Step: The Beginner Solid Square
Round 1: The Core
- Start: ch 4. Insert hook into the first chain and sl st to form a small ring.
- The Start: ch 3 (this counts as your first dc).
- The Work: Work 2 dc into the ring. ch 2 (this creates the corner).
- The Pattern: [Work 3 dc into the ring, ch 2] three more times.
- Join: sl st into the top of the initial ch 3.

Result: You have a small square with 4 corners.
Round 2: Growing the Square
- Travel: sl st into the next 2 stitches and into the corner space.
- First Corner: ch 3 (counts as dc), 2 dc, ch 2, 3 dc (all in the same corner space).
- The Side: ch 1.
- The Corner: In the next corner space, work (3 dc, ch 2, 3 dc).
- Repeat: Repeat this for all remaining corners.
- Join: sl st into the top of the ch 3.
Round 3: The Solid Frame (The “Pro” Look)
- Travel: sl st into the corner space.
- First Corner: ch 3, 2 dc, ch 2, 3 dc (all in the same space).
- The Side: Work 1 dc into every stitch along the side.
- The Corner: Work (3 dc, ch 2, 3 dc) in the corner space.
- Repeat: Follow this pattern around. By working 1 dc into every stitch, you eliminate the “holes” found in traditional granny squares.
- Join: sl st to the top of the ch 3.
📐 3 Beginner Secrets for a Stunning Result
1. The “Corner” Cheat Code
If your square starts to look like a circle, your corners are too tight. If it starts to look “wavy” or ruffled, your corners are too loose. The Fix: If it ruffles, reduce the corner chain from ch 2 to ch 1. If it curls, increase it to ch 3.
2. The “Invisible” Weave
Beginners often leave long tails of yarn dangling. As you finish a round, use your tapestry needle to weave the tail under the stitches of the previous round. Do this for about 2–3 cm, then cut the excess. This keeps your square looking clean from day one.

3. The Magic of “Blocking”
This is the secret that makes a “beginner” square look like a “designer” square.
- After finishing, pin your square to a clean towel or foam board.
- Stretch it into a perfect, sharp-cornered square.
- Spritz it with a little water and let it dry.
- When you unpin it, the square will be perfectly flat and uniform. This makes joining them together later infinitely easier.
💡 How to Join Them
Once you have made 4 or more squares, you can join them for a runner or a small pillow. Use the “Single Crochet Join”:
- Hold two squares together with the wrong sides facing each other.
- Insert your hook through the back loops of both squares.
- Pull up a loop of yarn and Single Crochet all the way across.
- This creates a beautiful, raised “ridge” join that looks like a professional seam.
Would you like to know how to calculate how many of these squares you need to make a full-sized blanket?