 by
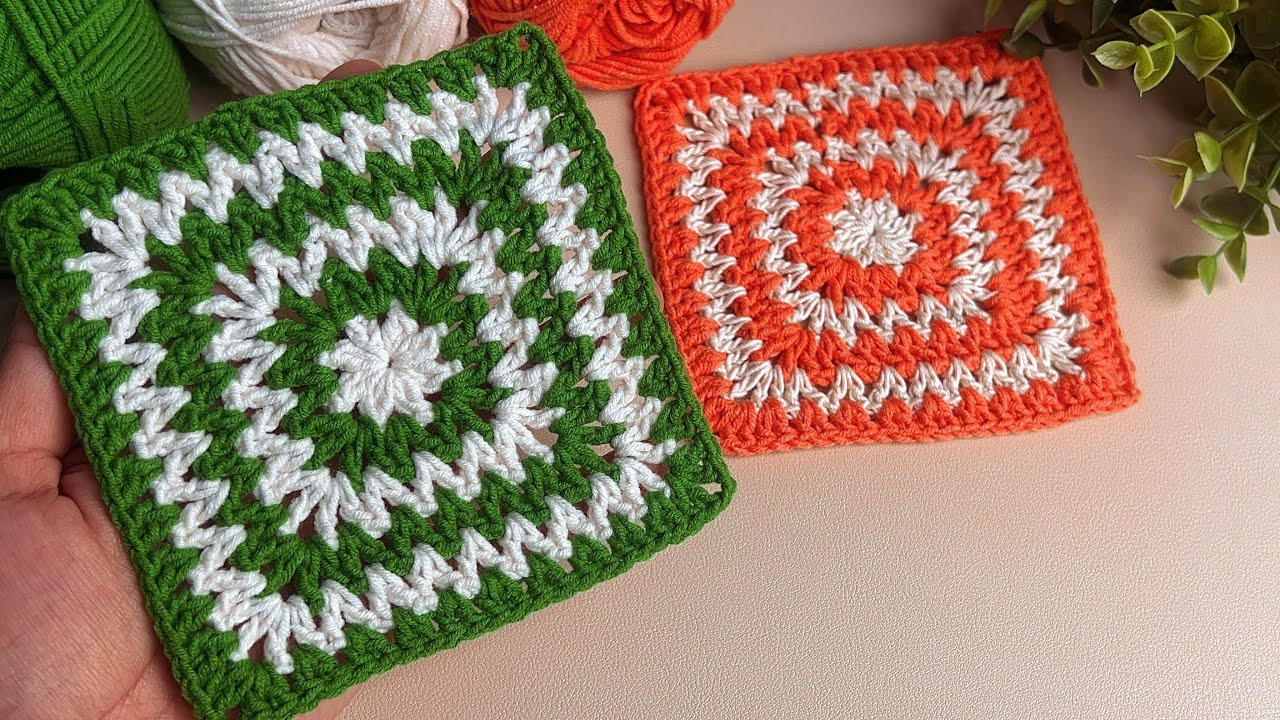
by To crochet a professional-quality square motif—the kind used for high-end runners, textured garments, or heirloom blankets—you need to move beyond the loose, “holey” granny square. The secret lies in stitch density and blocking.
Here is your detailed, step-by-step masterclass on creating a solid, architectural square motif.
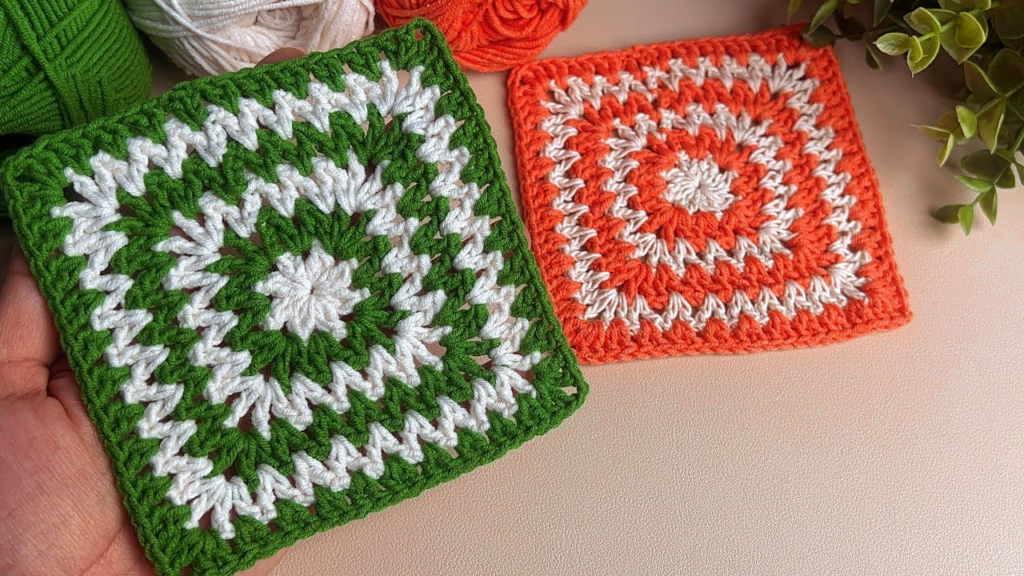
🧶 The Motif Builder’s Toolkit
To achieve a “stunning” look, your choice of tools is the foundation.
| Item | Recommendation | Why? |
| Yarn | Mercerized Cotton (DK/Sport) | Provides the crisp stitch definition required for geometric designs. |
| Hook | 3.5 mm (E/4) | A smaller hook creates a tighter, more “woven” fabric. |
| Extras | 4 Stitch Markers | Essential for marking corners so you don’t lose your geometry. |
🛠 Stitch Key (US Terms)
- ch: Chain
- sl st: Slip Stitch
- dc: Double Crochet
- fpdc (Front Post Double Crochet): Insert hook from front-to-back around the post of the stitch below, yarn over, and pull up a loop to complete a normal dc. This creates the raised ridge.
🚀 Step-by-Step: The Solid “Architectural” Square
Round 1: The Foundation
- Start: Make a Magic Ring.
- Stitches: ch 3 (counts as dc). Work 11 dc into the ring (12 dc total).
- Join: sl st to the top of the ch 3. Tighten the ring completely so there is no hole.
Round 2: Establishing the Corners
- Corner Prep: ch 3 (counts as dc), 1 dc in the same stitch.
- Side: Work 1 dc in each of the next 2 stitches.
- Corner: In the next stitch, work (2 dc, ch 2, 2 dc).
- Repeat: Work 2 dc in the next 2 stitches, then a corner. Repeat this pattern 3 more times.
- Join: sl st to the top of the ch 3.

Round 3: Building the “3D” Texture
- Pattern: Work 1 dc into every stitch along the side.
- Corners: In every ch-2 corner space, work (2 dc, ch 2, 2 dc).
- The Texture: On every 3rd stitch of the side, work an fpdc instead of a regular dc. This creates a vertical, raised ridge that adds the architectural look you enjoy.
Round 4: The Finishing Frame
- Pattern: Work 1 dc in every stitch around.
- Corners: Work (2 dc, ch 2, 2 dc) in every corner space.
- Join: Use an Invisible Join: cut the yarn, pull the tail through, and use a tapestry needle to thread the tail under the first stitch of the round, creating a seamless loop.
📐 The “Pro” Finishing Process
Professional crochet motifs are rarely finished the moment you put down the hook. These two steps make the difference between “homemade” and “high-end.”
1. The Blocking Ritual
This is mandatory for geometric motifs.
- Pin: Pin your finished square to a foam board (or a towel on a flat surface) using rust-proof pins, ensuring the four corners form perfect $90^\circ$ angles.
- Steam: Use a handheld steamer to hover over the square. Do not touch the iron to the yarn. The heat relaxes the fibers and “locks” the shape.
- Dry: Let it dry for 24 hours. This ensures that when you join your squares, they will be perfectly uniform in size.

2. Consistency Strategy
If you are making multiple squares for a runner or blouse, crochet in batches of five. Trying to make 20 squares in one go often results in “tension creep” (your hand gets tighter as you go), leading to squares of different sizes. Batching ensures your tension—and your square size—remains identical throughout the project.
💡 How to Arrange Your Motifs
- For Runners: Use the Flat Slip Stitch Join through the Back Loops Only (BLO). It creates a recessed seam that mimics the look of high-end quilting.
- For Blouses: Use a simple Whip Stitch through the back loops only. This provides a slight amount of “give” or stretch, which makes the garment move naturally with your body.
Would you like me to create a “joining map” showing how to arrange these squares into a T-shape for a garment, or a long-rectangle for a table runner?