by
by Creating an easy yet unique crochet square motif is a great way to elevate your projects beyond the classic granny square. This design often involves combining simple stitches in a novel way or adding an unexpected central element.
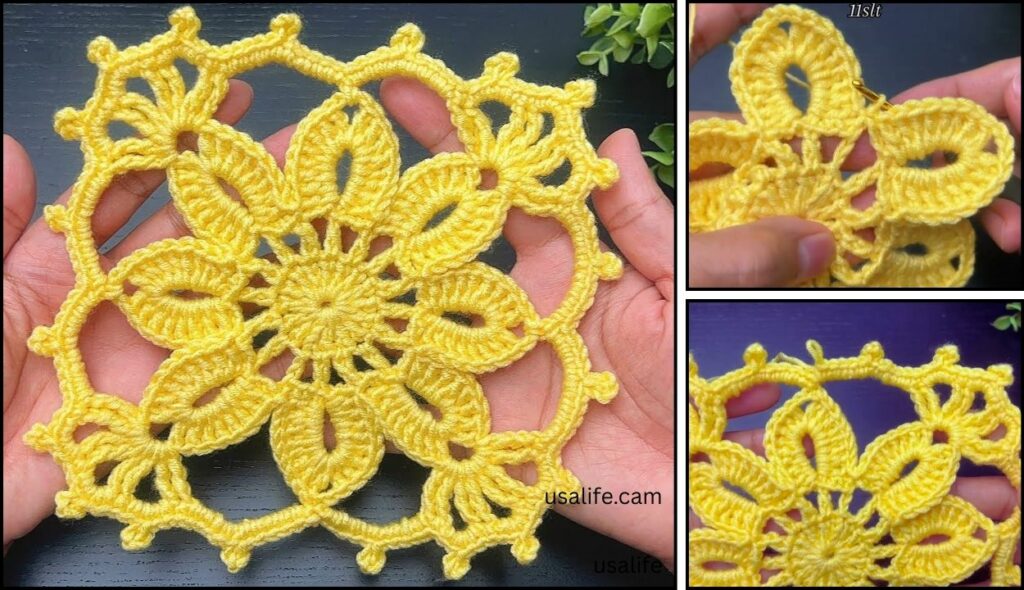
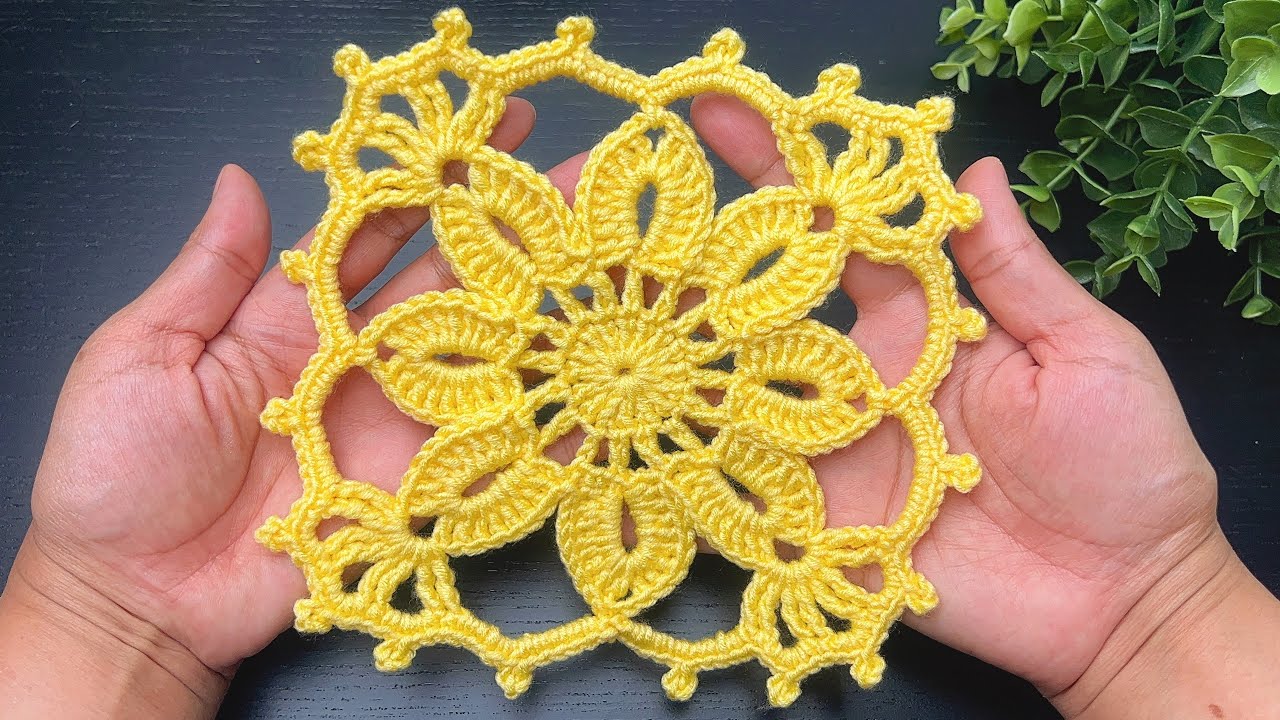
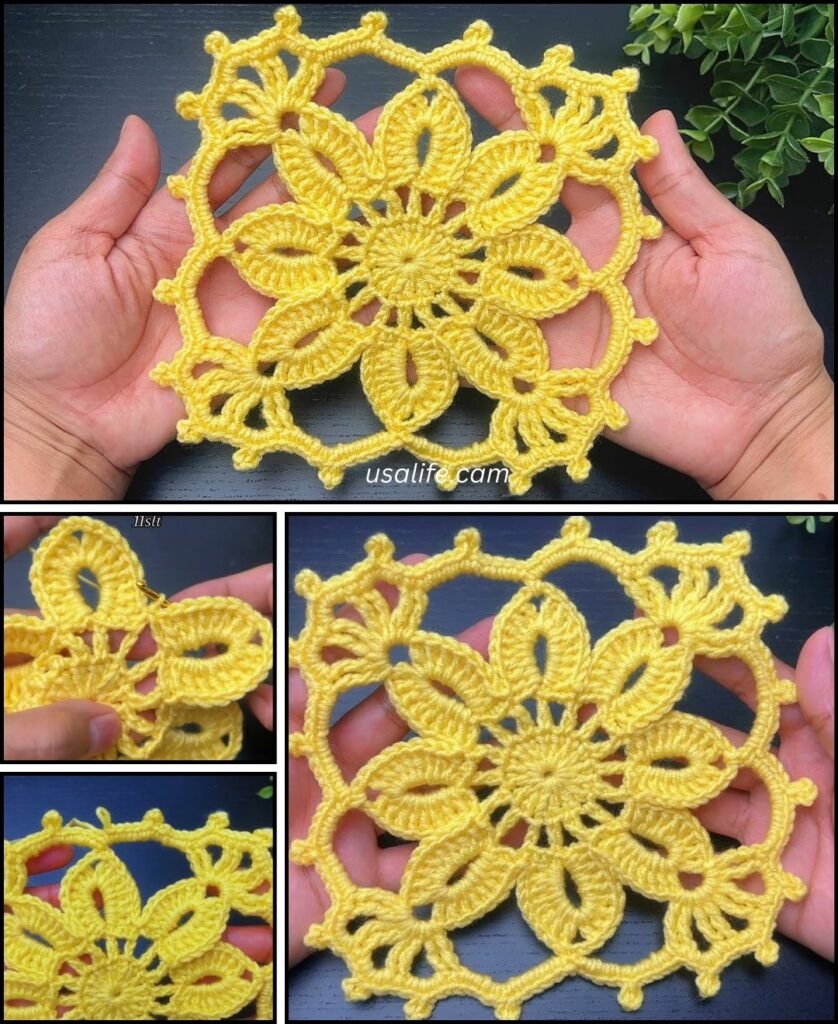
Here is a detailed guide for an “Easy Floral Burst Square,” which is both simple to crochet and visually unique. It uses basic stitches but arranges them to create a lovely, stylized burst or small flower in the center.
Materials Needed
- Yarn: Two contrasting colors of medium-weight yarn (Color A for the center/flower, Color B for the background/square).
- Crochet Hook: The size recommended for your yarn.
- Scissors: For cutting yarn.
- Tapestry Needle: For weaving in ends.
Abbreviations
- ch: chain
- sl st: slip stitch
- sc: single crochet
- dc: double crochet
- tr: treble crochet (or triple crochet)
- st(s): stitch(es)
- sp: space
- Cluster: A group of stitches worked together (e.g., 3 dc).

The Easy Floral Burst Square Motif
This square is worked in rounds. The first three rounds create the unique floral center, and the remaining rounds square off the shape.
Round 1: The Center Burst (Color A)
- Start with a magic ring.
ch 3(counts as firstdc). Work 11 dc into the ring. (12 sts total).- Pull the tail to close the ring tightly. Join with a sl st to the top of the beginning
ch 3. - Fasten off Color A.

Round 2: Defining the Petals (Color B)
- Join Color B in any stitch from Round 1.
ch 1(does not count as a stitch). Work sc in the same stitch.ch 3. sk the next stitch.- Repeat
[sc in the next st, ch 3, sk 1]five more times. You should have 6ch-3loops. - Join with a sl st to the first
sc.
Round 3: The Burst Cluster (Color B)
sl stinto the firstch-3space.ch 3(counts as firstdc). Work 4 dc into the samech-3space. This is your first 5-dc petal cluster.ch 1(separating chain).- Work 5 dc into the next
ch-3space.ch 1. - Repeat [5 dc, ch 1] in each of the remaining four
ch-3spaces. - Join with a sl st to the top of the beginning
ch 3. (6 petal clusters and 6ch-1spaces).
Round 4: Creating the Corners
This round transforms the hexagon-like shape into a square by creating the four corners using tall stitches (tr).
sl stinto the next two stitches.ch 1. Work sc in the same stitch (the middle stitch of the 5-dc cluster).- Corner Setup: Work
hdcin the next two stitches. In thech-1space, work [2 dc, 2 tr, ch 2, 2 tr, 2 dc]. (This is the full corner) - Side: Work
hdcin the next two stitches. sc in the next stitch (the middle of the 5-dc cluster). Workhdcin the next two stitches. - Repeat Corner: In the next
ch-1space, work [2 dc, 2 tr, ch 2, 2 tr, 2 dc]. - Continue repeating the Side and Corner sequence two more times.
- Join with a sl st to the first
sc.
Round 5: Standard Granny Square Round
This final round uses the classic granny stitch to finish the square shape and cover the previous corner stitches.
sl stinto the next stitch, and sl st into the next cornerch-2space.- Corner:
ch 3(counts asdc), work 2 dc, ch 2, 3 dc into the same corner space. - Side:
ch 1. Work 3 dc into the next available side space/gap. Repeat working 3 dc clusters and ch 1 between them until you reach the next corner. - Next Corner: Work 3 dc, ch 2, 3 dc into the corner space.
- Repeat the Side and Corner sequence two more times.
- Join with a sl st to the top of the beginning
ch 3.
Finishing
- Weave in Ends: Fasten off and use your tapestry needle to securely weave in all loose ends on the back of the motif.
- Blocking: For a professional finish, wet or steam block your square. This will open up the lace details and ensure a perfectly sharp corner-to-corner measurement for joining.
Video tutorial: