 by
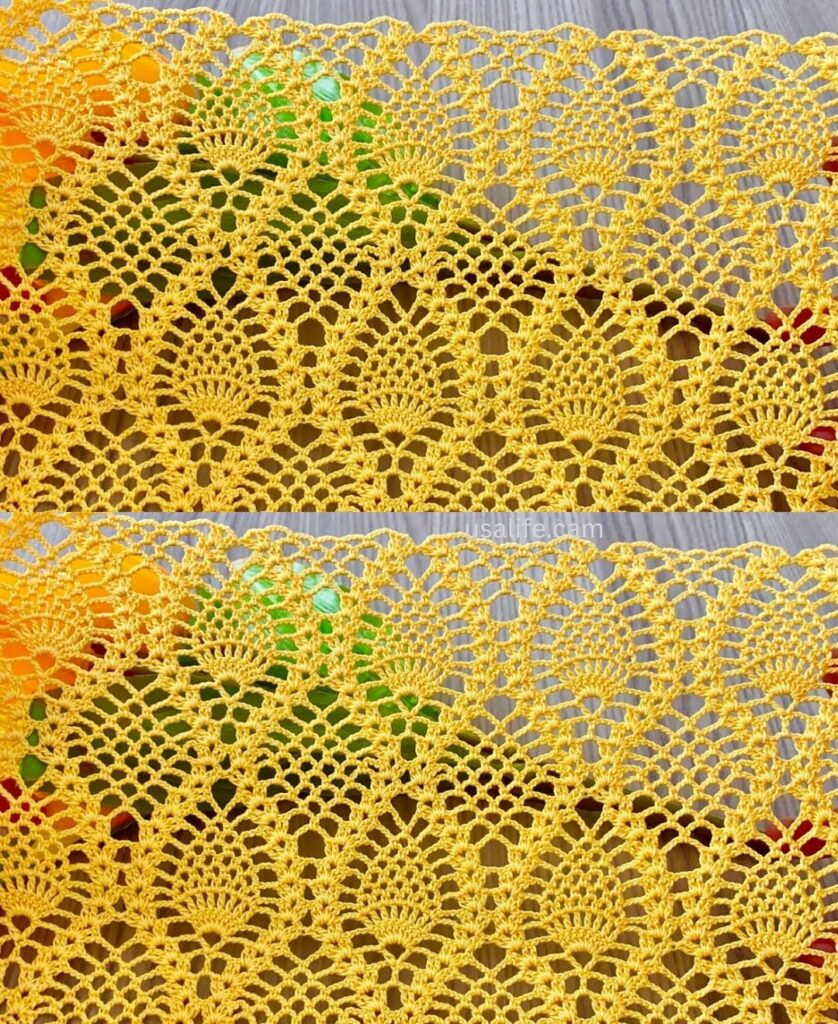
by That is a magnificent and ambitious project! Combining the Diamond Mesh and the Pineapple Lace is a classic choice for a stunning crochet blouse, as the combination provides a beautiful mix of structured geometric shapes and delicate, flowing lace.
I will detail the pattern for a single Diamond and Pineapple Motif that can be easily joined, followed by a guide on assembling these motifs into a simple blouse structure.
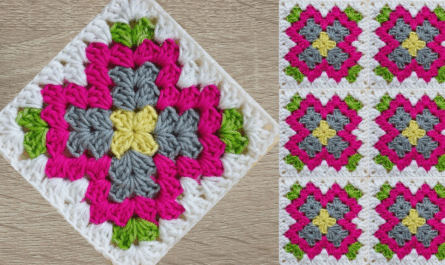
💎🍍 Diamond and Pineapple Blouse Motif Tutorial
This motif begins with a solid diamond shape and then transitions into the airy, tapered pineapple fan, making it ideal for the yoke or body of a blouse.
Materials You’ll Need
- Yarn/Thread: Soft, light-weight yarn is crucial for a comfortable blouse. Use Sport Weight (Size 2) or DK Weight (Size 3) cotton or a cotton blend for excellent drape.
- Crochet Hook: The size appropriate for your yarn (e.g., 3.5 mm – 4.0 mm).
- Scissors, Tapestry Needle, Stitch Markers.
Key Crochet Terms
| Abbreviation | Stitch Name |
| ch | Chain |
| sl st | Slip Stitch |
| sc | Single Crochet |
| dc | Double Crochet |
| tr | Treble Crochet |
| Cluster | 3 dc worked into the same space |
Part 1: Crocheting the Motif (The Diamond Base)
Round 1: Foundation
- Start: Make a Magic Ring. ch 3 (counts as dc). Work [Cluster (3 dc), ch 2] 4 times into the ring.
- Finish: Pull the tail tight. Join with a sl st to the top of the ch 3. (4 Clusters, 4 ch-2 corners).

Round 2: Setting the Diamond Shape
- sl st to the first ch-2 corner. ch 3. Work (2 dc, ch 2, 3 dc) into the same corner (Corner Shell).
- Side: ch 3 (This is a long chain space that will open up the diamond).
- Repeat: Work [Corner Shell (3 dc, ch 2, 3 dc) in the next ch-2 space, ch 3] 3 more times.
- Finish: Join with a sl st to the top of the ch 3.
Round 3: Building the First Pineapple Fan (Pineapple Base)
We work the foundation for the lace fan into the ch-3 space.
- sl st to the ch-2 corner. ch 3. Work (2 dc, ch 2, 3 dc) into the corner.
- Side Anchor: ch 1. Work 8 dc into the ch-3 space (this is the base of the fan). ch 1.
- Repeat: Continue the sequence [Corner Shell, ch 1, 8 dc into the ch-3 space, ch 1] 3 more times.
- Finish: Join with a sl st to the top of the ch 3.

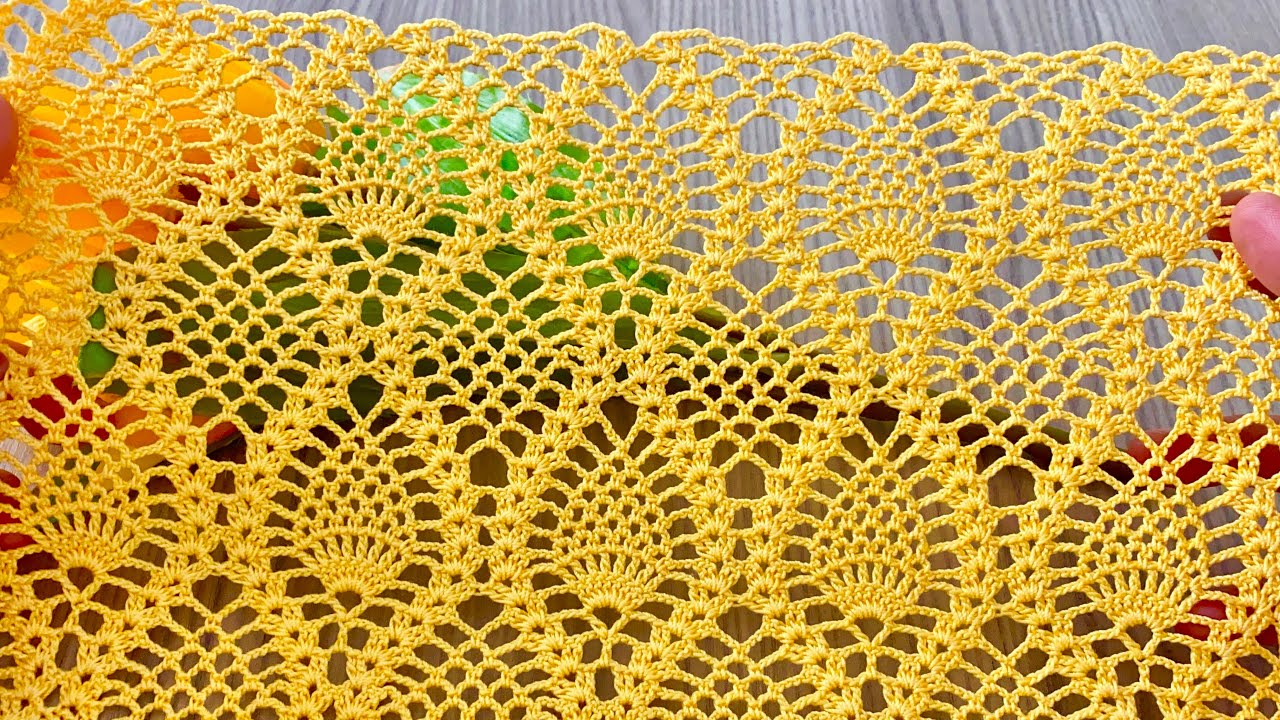
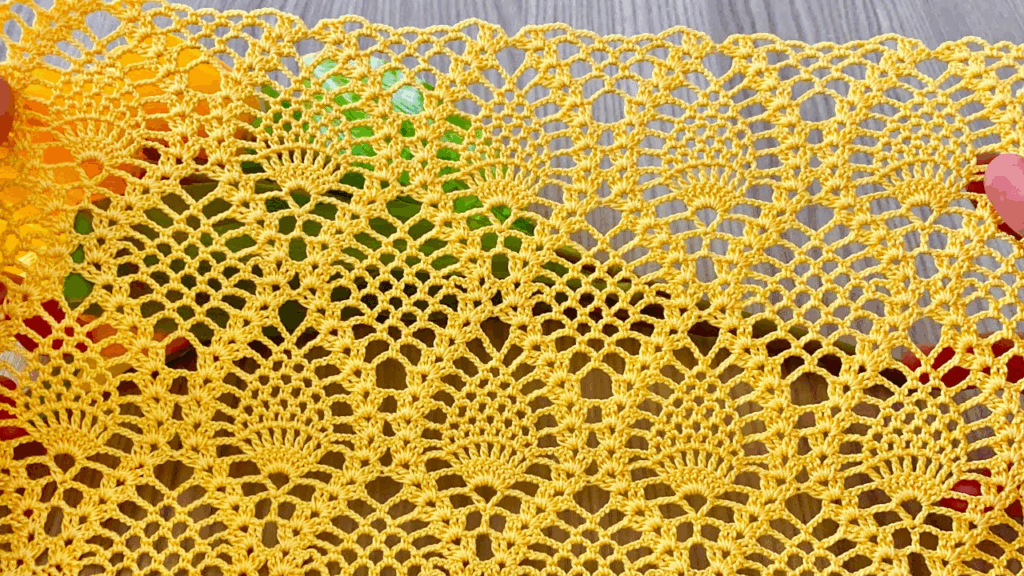
Part 2: Forming the Pineapple Lace
Round 4: Beginning the Pineapple Netting
This round starts the open lace netting characteristic of the pineapple shape.
- sl st to the ch-2 corner. ch 3. Work (2 dc, ch 2, 3 dc) into the corner.
- Side Anchor: ch 1. Work sc into the next ch-1 space.
- Netting: ch 3. Skip 1 dc. Work sc into the next dc.
- Repeat: [ch 3, skip 1 dc, sc in the next dc] 3 more times. (4 ch-3 loops created across the fan).
- Side Anchor: ch 1. Work sc into the next ch-1 space.
- Repeat: Continue the sequence [Corner Shell, ch 1, sc in ch-1 sp, (ch 3, skip 1 dc, sc in next dc) 4 times, ch 1, sc in ch-1 sp] 3 more times.
- Finish: Join with a sl st to the top of the ch 3.
Round 5: Tapering the Pineapple
We decrease the chain loops to narrow the pineapple shape.
- sl st to the ch-2 corner. ch 3. Work (2 dc, ch 2, 3 dc) into the corner.
- Side Anchor: ch 1. Work sc into the next ch-1 space. ch 3.
- Netting: Work sc into the next ch-3 loop. ch 3.
- Repeat: [sc in the next ch-3 loop, ch 3] 2 more times. (3 ch-3 loops created across the fan).
- Side Anchor: sc in the next sc anchor. ch 1.
- Finish: Repeat the sequence around and join with a sl st to the top of the ch 3. Fasten off.
(You now have a square motif with a flowing pineapple fan on each of the four sides.)

Part 3: Blouse Assembly Guide
1. Determining Sizing and Shape
The most common shape for a motif blouse is a simple T-shape or a Yoke-Down construction.
- Bust Measurement: Determine how many motifs wide the front and back panels need to be to comfortably fit around your bust.
- Example: If your motif is 6 inches wide and your bust is 36 inches, you need 6 motifs wide (3 front, 3 back).
- Armhole: The top corners of the motif will form the shoulder and necklines.
2. Joining the Motifs
Use the Join-as-You-Go (JAYG) method while working the final round of the motif, or use a clean Slip Stitch Join through the back loops of the finished motifs.
3. Assembly Plan (T-Shape Blouse)
- Front Panel: Join your motifs into a large rectangular panel.
- Back Panel: Join an identical rectangular panel.
- Shoulders: Join the top edges of the Front and Back panels together, leaving a wide, central gap for the neckline.
- Side Seams: Join the side edges together, leaving a space open for the armholes (ensure the armhole opening is comfortable and large enough).
- Sleeves (Optional): Attach motifs in the round directly to the armhole opening to build a simple sleeve, tapering the motifs as you go down the arm.
4. Finishing Touches
- Neckline/Armholes/Hem: Finish all open edges with 2-3 rounds of single crochet (sc) or Moss Stitch (sc, ch 1) to stabilize the garment and prevent stretching.
5. Final Blocking
Blocking is absolutely crucial for a lace blouse. Wet the finished garment and gently pin it to your body measurements, opening up the pineapple lace. This process defines the lace and ensures the blouse has the beautiful drape necessary for an elegant fit.
Video tutorial: