by
by That is a wonderful request! Designing a single motif versatile enough for delicate items like a Napkin (as a coaster or trim), a sophisticated Runner, and a flowing Blouse requires a balance of fine lace and structural integrity.
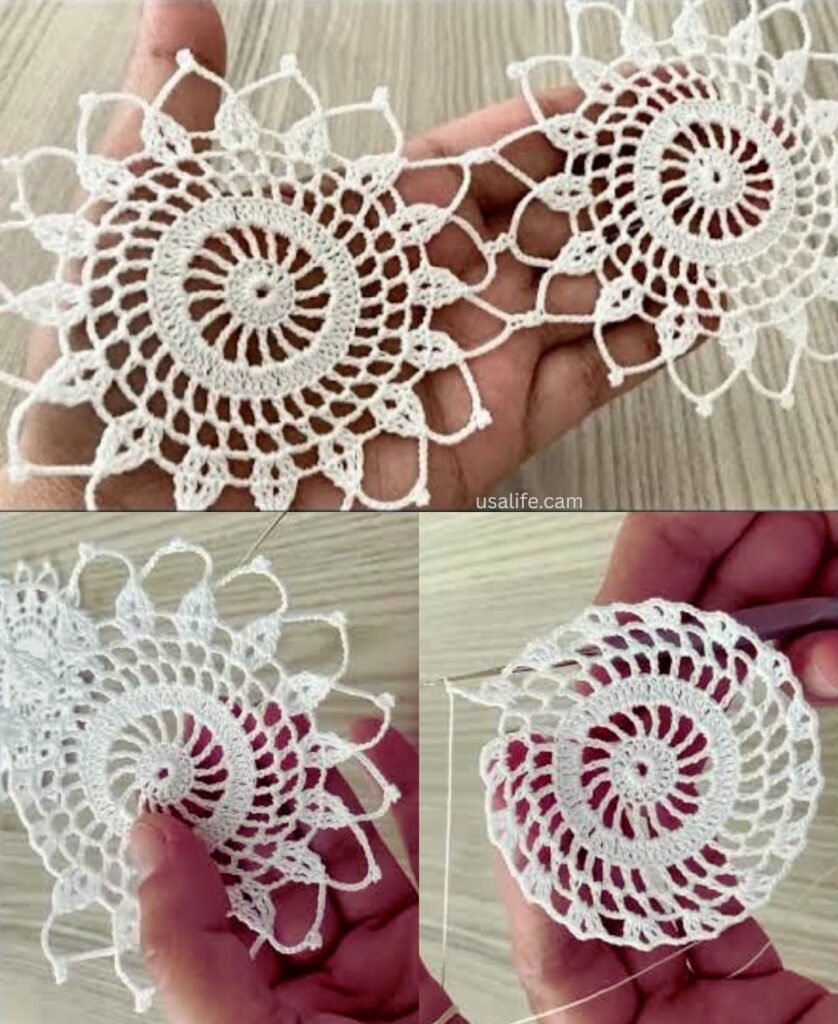
I will detail the pattern for the “Victorian Star-Flower Motif,” which is beautifully intricate and uses open space and picots for a classic lace look.
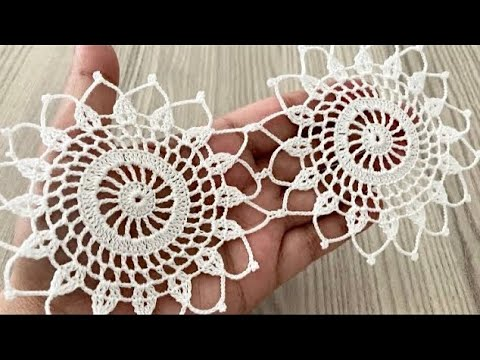
⭐️ Victorian Star-Flower Lace Motif Tutorial
This pattern is designed to be delicate, using taller stitches and chain spaces to create a sharp, defined floral shape that is easily adaptable for joining.
Materials You’ll Need
- Thread/Yarn:
- For Napkins/Runner: Size 10 or 20 Mercerized Cotton Thread (for a crisp finish).
- For a Blouse: Fingering (Size 1) or Sport (Size 2) cotton blend (for drape).
- Crochet Hook: A Steel Crochet Hook (1.5 mm – 2.5 mm) for thread, or a standard hook (3.0 mm – 3.5 mm) for fine yarn.
- Scissors, Tapestry Needle, Blocking Pins.
Key Crochet Terms
| Abbreviation | Stitch Name |
| ch | Chain |
| sl st | Slip Stitch |
| sc | Single Crochet |
| dc | Double Crochet |
| tr | Treble Crochet (Triple Crochet) |
| Picot | ch 3, sl st into the first ch |
Part 1: Crocheting the Motif
Round 1: Foundation (Center)
- Start: Make a Magic Ring. ch 4 (counts as tr). Work 11 tr into the ring.
- Finish: Pull the tail tight. Join with a sl st to the top of the ch 4. (12 tr).

Round 2: Creating the Star Points
- ch 1. Work sc in the same st.
- Point Loop: ch 5. Skip 1 stitch.
- Repeat: [sc in the next st, ch 5, skip 1 st] 5 more times. (6 ch-5 loops).
- Finish: Join with a sl st to the first sc.
Round 3: Building the Petal/Star Structure
- sl st into the first ch-5 loop. ch 3 (counts as dc). Work (3 dc, ch 3, 4 dc) into the same ch-5 loop (First Petal Shell).
- Anchor: Work sc into the next sc anchor.
- Repeat: Work [Shell (4 dc, ch 3, 4 dc) into the next ch-5 loop, sc into the next sc anchor] 5 more times. (6 Petal Shells).
- Finish: Join with a sl st to the top of the beginning ch 3.
Round 4: Final Lace Edging and Picot Joining Points
This round is crucial for the lace aesthetic and establishing clean joining points.
- sl st over the first 3 dc to reach the center of the shell.
- Petal Tip: Work (sc, Picot, sc) into the ch-3 peak of the shell.
- Side Mesh: ch 6. Work sc into the sc anchor between the shells. ch 6.
- Repeat: Continue the sequence [(sc, Picot, sc) in the ch-3 peak, ch 6, sc in anchor, ch 6] 5 more times.
- Finish: Join with a sl st to the first sc. Fasten off.

Part 2: Multipurpose Assembly Guide
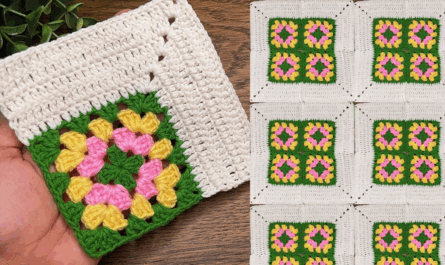
1. Joining the Motifs
The open framework makes the Join-as-You-Go (JAYG) method highly effective using the ch-6 loops and Picot peaks. When working the final round of the second motif:
- Picot Peak Join: Instead of the regular Picot (ch 3, sl st), work
ch 1, sl st into the Picot peak of the finished motif, ch 1, sl st into the first ch of the current Picot. - Side Loop Join: Replace the
ch 6withch 3, sl st into the corresponding ch-6 loop of the finished motif, ch 3.
2. Project Layouts
| Project | Shape/Layout | Finishing Notes |
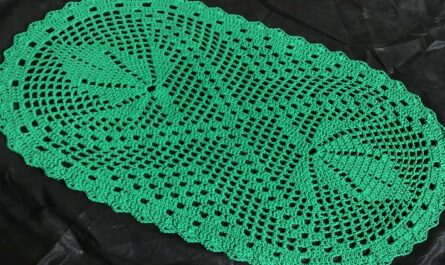
| Napkin/Coaster | Use the single motif as is, or join 4-6 motifs in a circular arrangement (starburst shape) for a larger doily/centerpiece. | Stiffen and block aggressively to hold the sharp points. |
| Table Runner | Shape: A long, narrow strip (e.g., 2 motifs wide by 10 motifs long). | Edging: Add a clean border of 1-2 rounds of sc around the entire perimeter to stabilize the edges. |
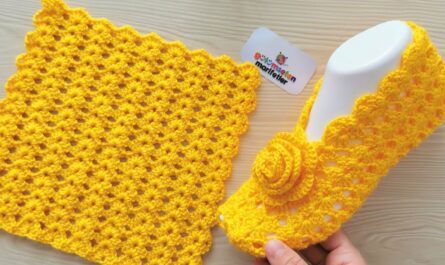
| Lace Blouse | Construction: Join motifs into a network to form two large rectangular panels (front/back) or a top-down yoke. | Drape: Use a soft cotton blend. The airy lace makes assembly flexible. Use a small half-motif (worked in rows) to fill in the gaps at the shoulder or bottom hem for a straighter line. |
3. Final Blocking (Essential)
Blocking is absolutely necessary for fine lace work. Wet the finished piece, pin out every single Picot and point sharply, and allow it to dry completely. This step opens up the lace, defines the star shape, and ensures the finished textile lies flat and elegantly.
Would you like a brief explanation of how to start a Half-Motif to create a straight edge for the blouse hem?
Video tutorial: