 by
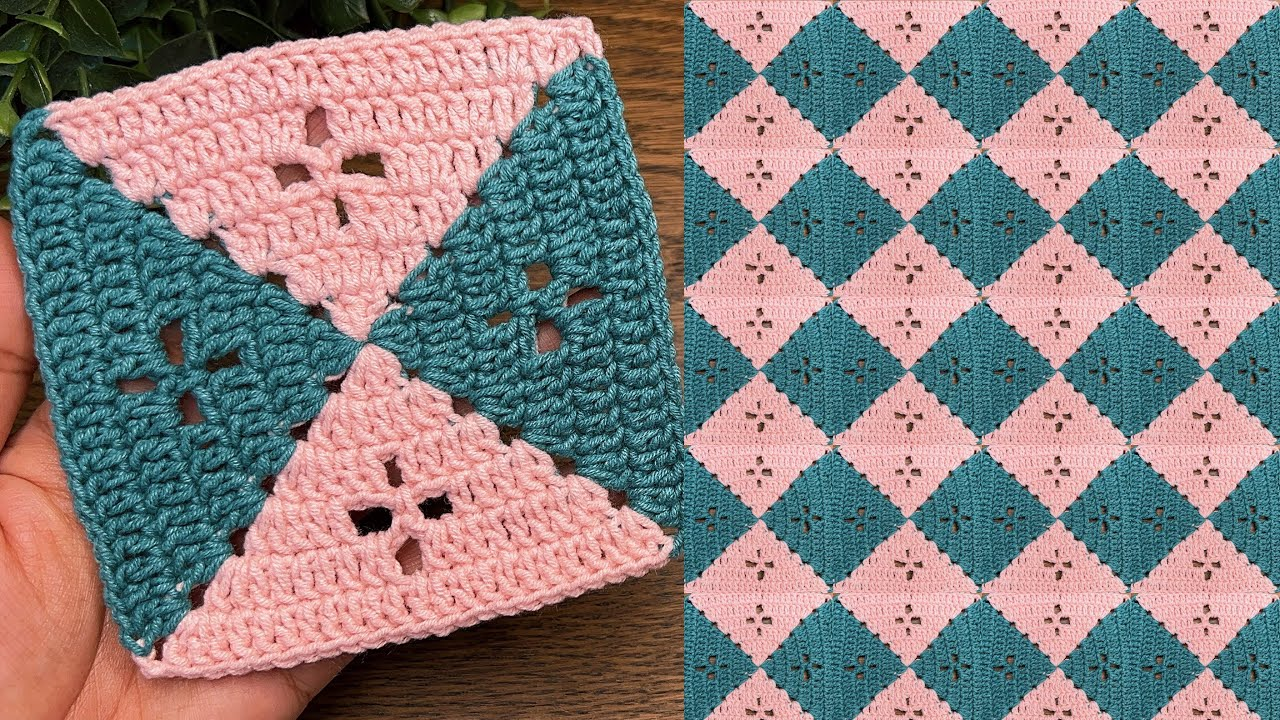
by The Classic Granny Square is the ultimate building block of crochet. It is modular, portable, and iconic. By mastering this single motif, you open the door to creating blankets, bags, cardigans, and home decor.
Here is a detailed guide to crafting the perfect, professional-looking Granny Square.
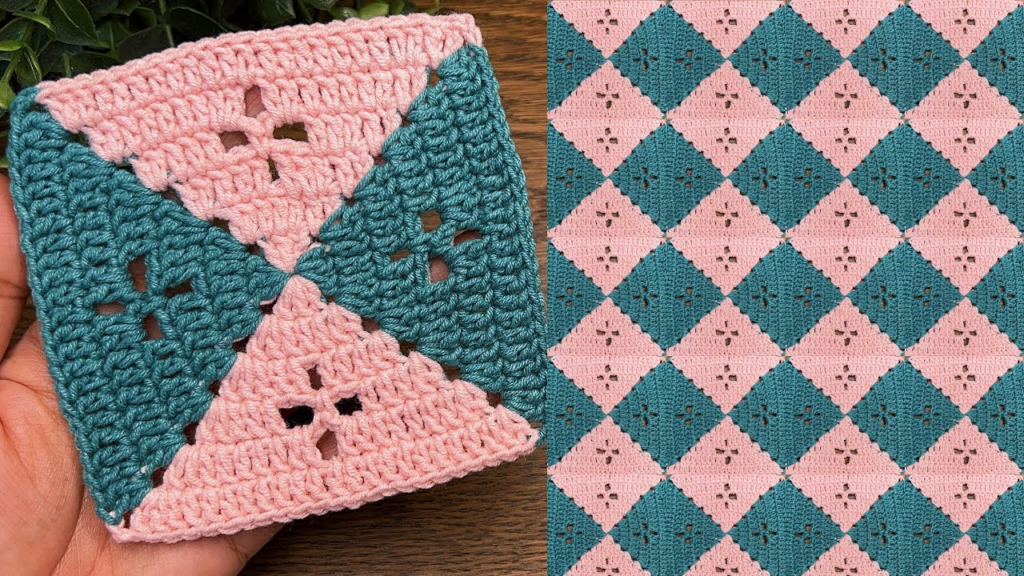
🧶 The Granny Square Toolkit
| Item | Recommendation | Why? |
| Yarn | Worsted Weight (Size 4) Acrylic or Wool | Provides structure and makes stitches easy to see. |
| Hook | 5.0 mm (H/8) | The “Goldilocks” size for standard yarn tension. |
| Extras | Scissors & Tapestry Needle | Necessary for finishing your project cleanly. |
Essential Stitch Key (US Terms)
- ch (Chain): The base stitch.
- sl st (Slip Stitch): Used to join rounds and transition to new spaces.
- dc (Double Crochet): The workhorse stitch of this motif.
- Cluster: A group of 3 dc worked into the same space.
- Corner Space: The “gap” created by the chain stitches at the corners.
🛠 Step-by-Step Instructions
Round 1: The Foundation
- Start: ch 4. Join with a sl st into the first chain to form a small ring.
- The Start: ch 3 (counts as your first dc). Work 2 dc into the center of the ring.
- The Corner: ch 2.
- The Pattern: [Work 3 dc into the ring, ch 2] three more times.
- Join: sl st into the top of the initial ch 3.

Result: You now have a small square with 4 clusters and 4 corners.
Round 2: Growing the Square
- Travel: sl st across the next 2 stitches and into the first corner space.
- First Corner: ch 3 (counts as dc), 2 dc, ch 2, 3 dc (all in that same corner space).
- The Side: ch 1.
- The Corner: In the next corner space, work (3 dc, ch 2, 3 dc).
- Repeat: Repeat this pattern in every corner space around the square.
- Join: sl st into the top of the ch 3.

Round 3: The Expanding Frame
- Travel: sl st into the nearest corner space.
- First Corner: ch 3, 2 dc, ch 2, 3 dc (all in the same space).
- The Side: ch 1, work a cluster (3 dc) into the side space (the hole created by the ch 1 of the previous round). ch 1.
- The Corner: Work (3 dc, ch 2, 3 dc) in the corner.
- Repeat: Work 3 dc in all side spaces, and full corner clusters in every corner space.
- Join: sl st to the top of the ch 3. Fasten off.
📐 Pro-Tips for a Stunning Square
1. The “Turning” Secret
To keep your square from twisting or spiraling, turn your work over after every round. This keeps the stitches perfectly vertical and ensures the corners remain razor-sharp.

2. Weave As You Go
If you are changing colors, you will end up with many loose ends. Weave them in with a tapestry needle as you finish each round. This ensures that when you are done, your square is already finished.
3. The Power of Blocking
A freshly finished granny square often looks slightly “wobbly.” Blocking is the magic final step:
- Pin your square to a foam board (or a towel on a bed) using rust-proof pins.
- Stretch it into a perfect 90-degree square.
- Lightly mist with water or use a handheld steamer.
- Let it dry completely. This sets the fibers, ensuring the square stays perfectly flat forever.
💡 Troubleshooting
- If it’s curling (like a bowl): Your tension is too tight, or you aren’t adding enough chain stitches in the corners. Try moving up to a larger hook or adding an extra chain to your corners.
- If it’s ruffling (wavy edges): You are adding too many stitches. Ensure you are only putting ch 1 between side clusters and ch 2 in the corners.
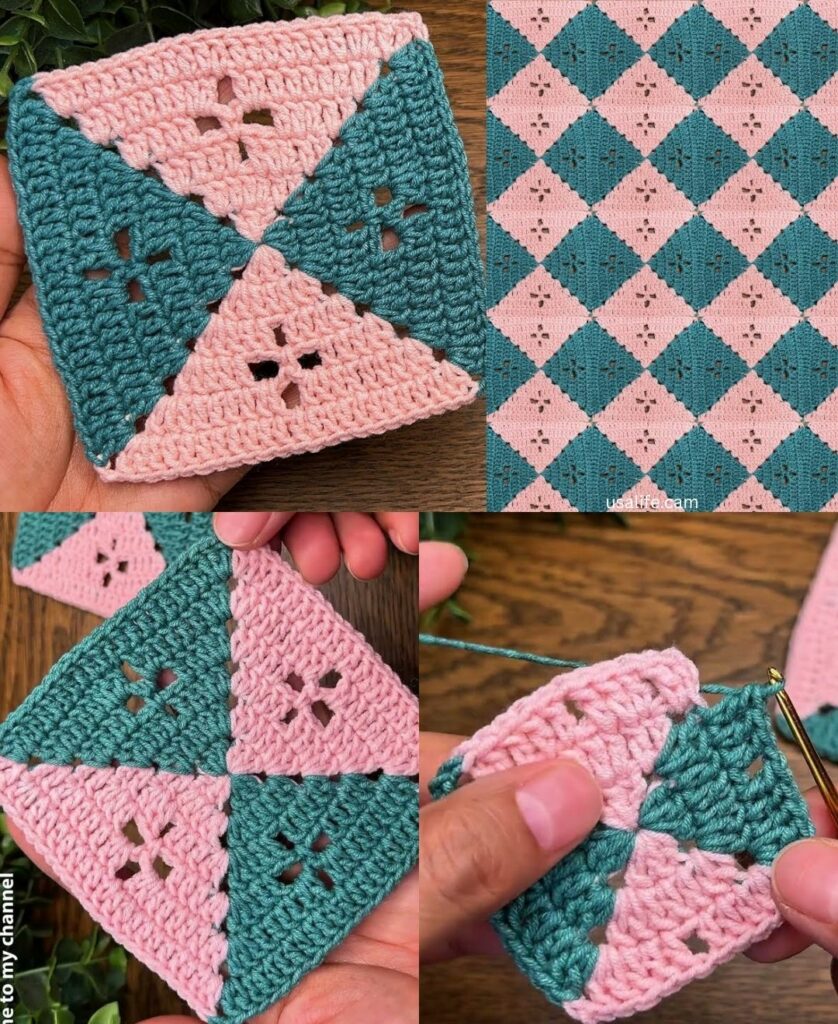
Would you like me to show you how to join these squares together using the “Flat Slip Stitch” method for a seamless, professional look?