 by
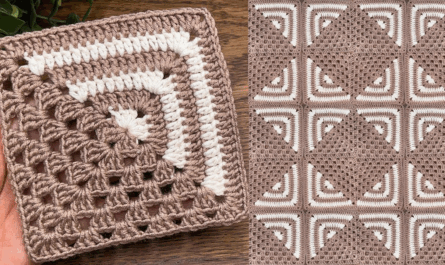
by To crochet a clean, professional-looking square motif that is versatile enough for clothing, runners, or blankets, the best method is the Solid Architectural Square. Unlike the traditional “holey” granny square, this design uses solid stitches, making it perfect for projects where you want a refined, woven aesthetic.
Here is your detailed, step-by-step masterclass.
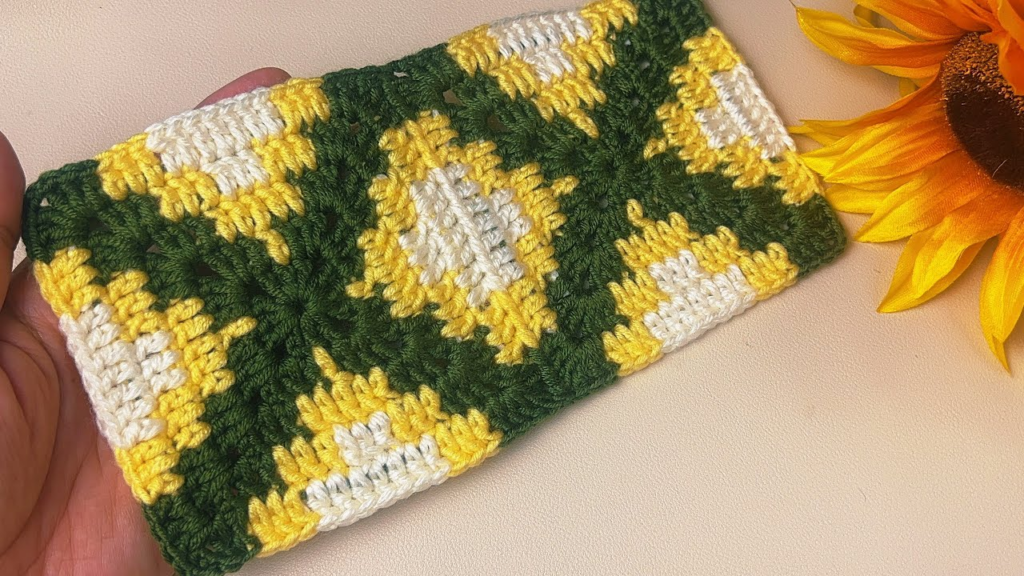
🧶 The Motif Builder’s Toolkit
| Tool | Recommendation | Why? |
| Yarn | Mercerized Cotton (DK/Sport) | Provides the best stitch definition and resists fuzz. |
| Hook | 3.5 mm (E/4) | A smaller hook ensures dense, architectural stitches. |
| Extras | Stitch Markers | Used to clearly mark your 4 corners. |
Stitch Key (US Terms):
- ch: Chain
- sl st: Slip Stitch
- dc: Double Crochet
- Corner: (2 dc, ch 2, 2 dc) in the same space.
🛠 Step-by-Step: The Solid Architectural Square
Round 1: The Foundation
- Start: Make a Magic Ring.
- Stitches: ch 3 (counts as your first dc). Work 11 dc into the ring (12 stitches total).
- Join: sl st into the top of the initial ch 3. Pull the tail tight to close the center hole completely.
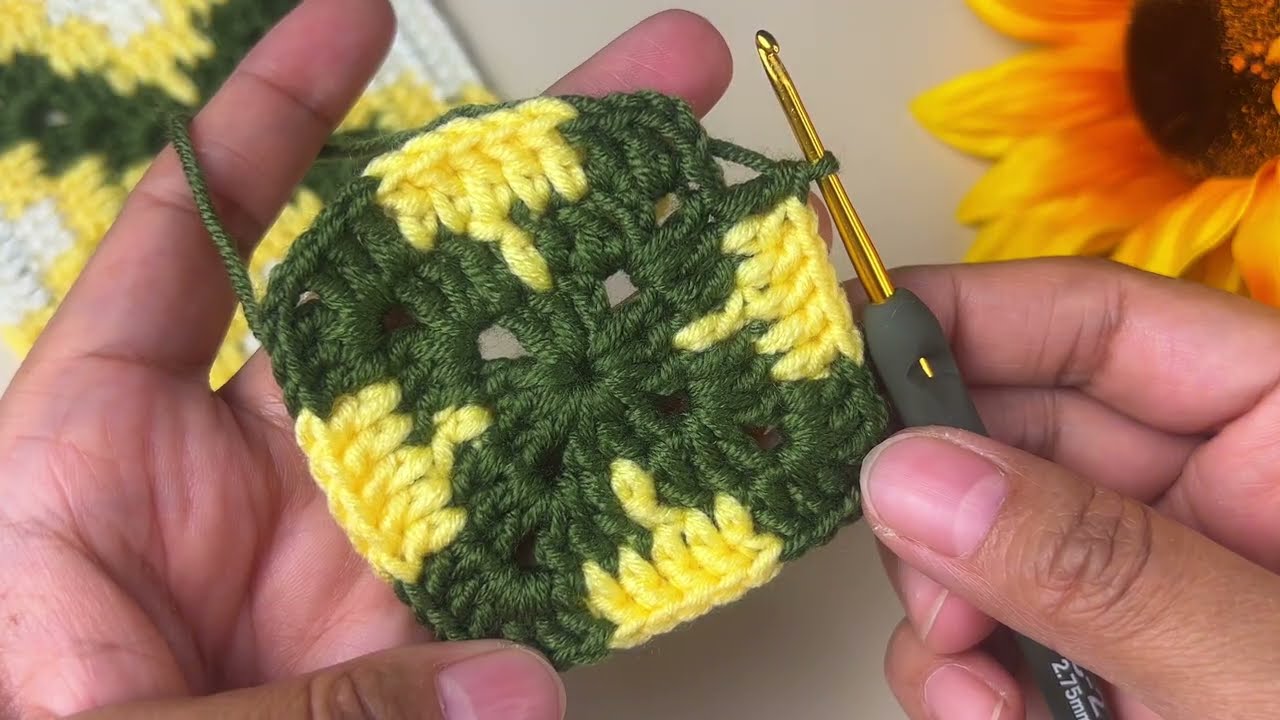
Round 2: Establishing the Corners
- Corner Prep: ch 3 (counts as dc). In the same stitch, work 1 dc.
- Side: Work 1 dc in each of the next 2 stitches.
- Corner: In the next stitch, work (2 dc, ch 2, 2 dc).
- Repeat: Work 2 dc in the next 2 stitches, then a corner in the next stitch. Repeat 3 times total.
- Join: sl st to the top of the ch 3.
Round 3: Building the Solid Texture
- Pattern: Work 1 dc into every stitch along the sides.
- Corners: In every ch-2 corner space, work (2 dc, ch 2, 2 dc).
- The Texture Tip: Work your dc stitches in the Back Loop Only (BLO). This creates a subtle, raised ridge on every round, which gives the square its architectural, “tiled” look.
Round 4: The Finishing Frame
- Pattern: Repeat the pattern of Round 3 until the square is the desired size.
- The Edge: If you want a firm edge for a bag or runner, work your final round in Single Crochet (sc) instead of Double Crochet. This locks the shape and prevents stretching.
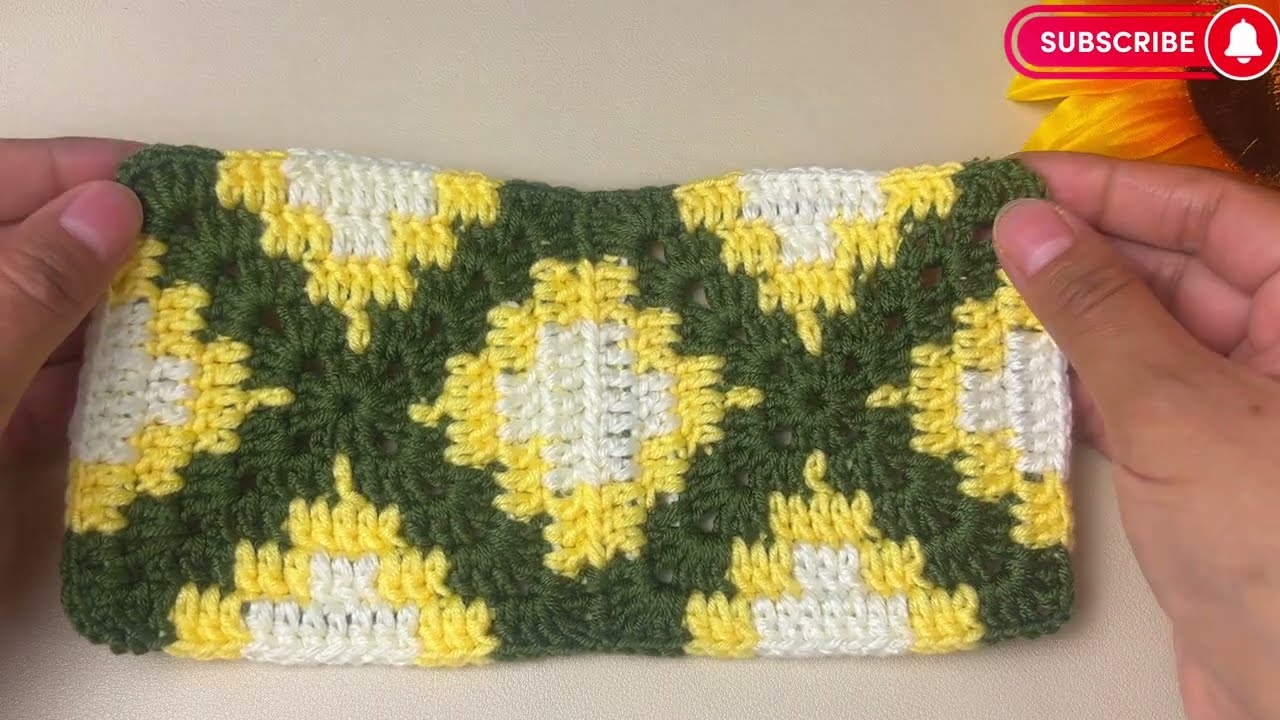
📐 The “Pro” Finishing Process
A professional square is made in the finishing. Do not skip these steps:
- The Invisible Join: Instead of a bulky slip stitch, cut your yarn, pull the tail through, and use a tapestry needle to “sew” the tail under the first stitch of the round. This mimics the shape of a “V” and makes the seam invisible.
- Blocking is Mandatory: This is what makes a square look designer.
- Pin: Pin your square to a foam board (or a towel on a bed) using rust-proof pins, pulling the corners into a perfect $90^\circ$ angle.
- Steam: Use a handheld steamer (do not touch the iron to the yarn!). The heat relaxes the fibers and “locks” the architecture.
- Dry: Let it dry for 24 hours. This ensures all your squares are identical in size before you join them.
💡 How to Arrange Them
- For Table Runners: Join your squares using the Flat Slip Stitch Join through the Back Loops Only (BLO). It creates a beautiful, recessed seam that lays perfectly flat on a table.
- For Blouses: Use the Whip Stitch through the back loops only. This provides a tiny amount of “give” in the fabric, allowing the garment to move naturally with your body.
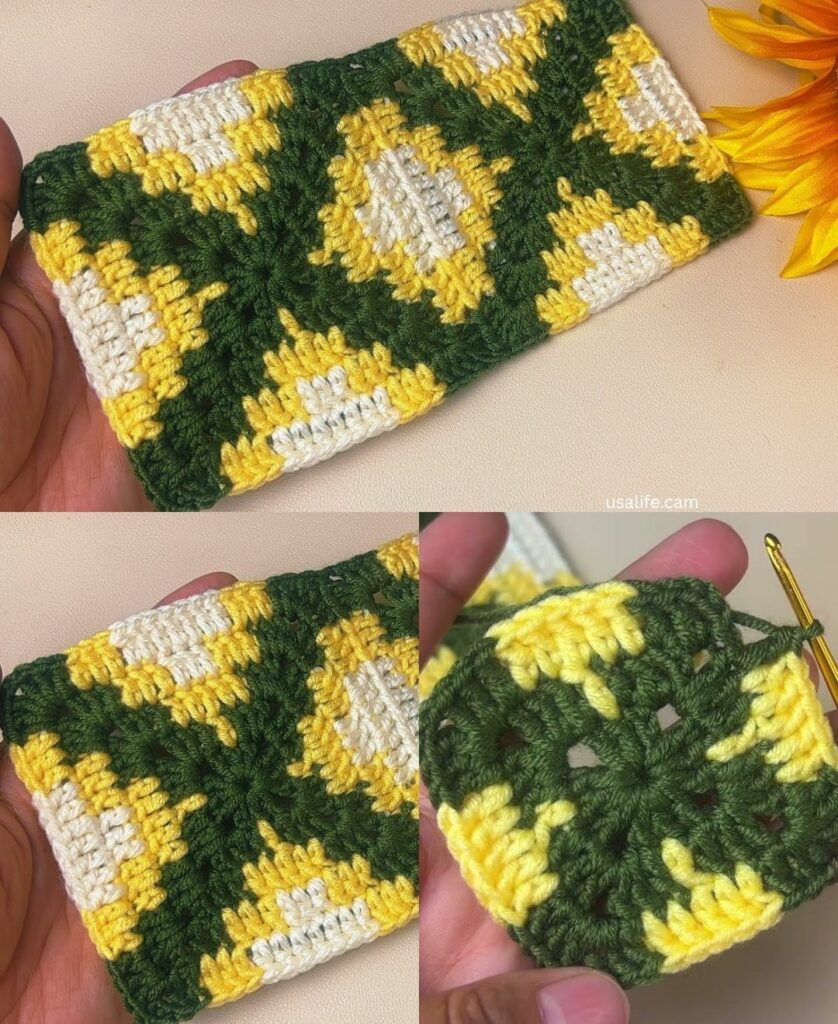
Would you like me to create a “joining map” showing how to arrange these squares specifically for a blouse or a table runner?