 by
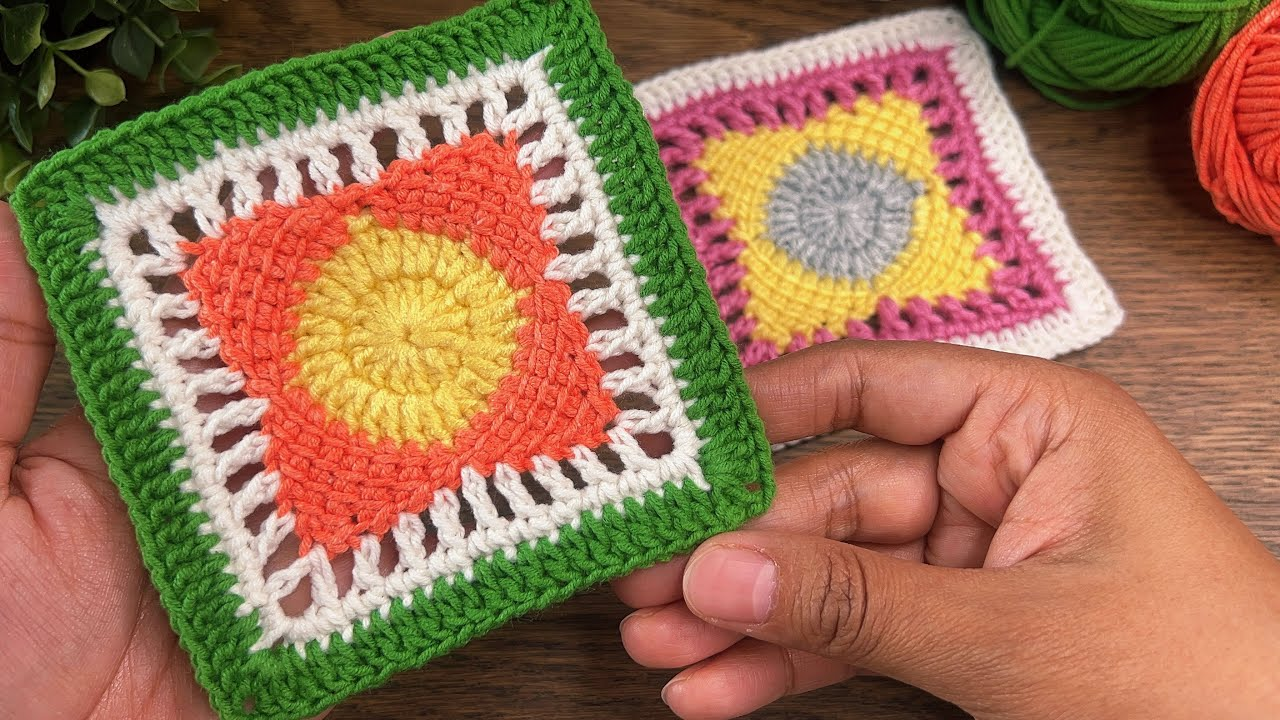
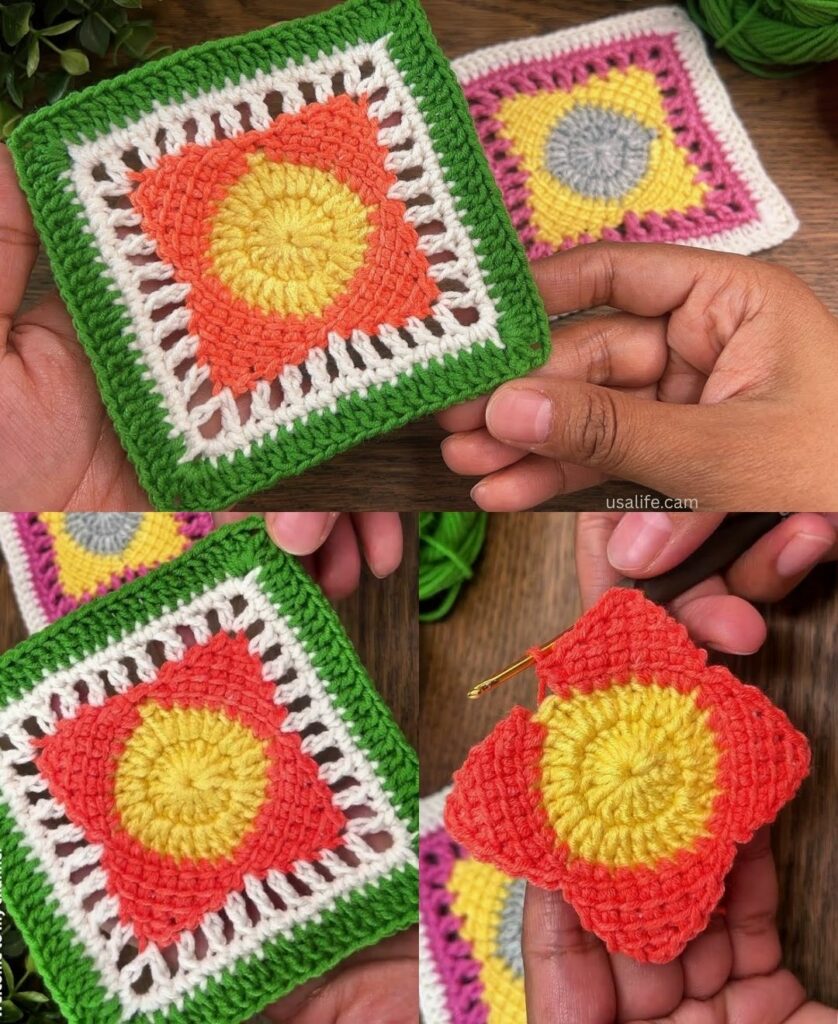
by If you are looking for the absolute easiest way to start making square motifs, the Simple Solid Square is your best friend. It is much easier to manage than the traditional granny square because you don’t have to worry about finding holes in the middle of your work—you just follow a simple rhythm of “corners” and “sides.”

Here is your beginner-friendly, step-by-step guide.
🧶 The Beginner Toolkit
| Tool | Recommendation |
| Yarn | Worsted Weight (Size 4) – Acrylic is best for beginners. |
| Hook | 5.0 mm (H/8) – A comfortable, standard size. |
| Extras | Scissors and a tapestry needle. |
Stitch Key (US Terms):
- ch: Chain
- sl st: Slip Stitch
- dc: Double Crochet
- Corner: (2 dc, ch 2, 2 dc) in the same space.

🛠 The Step-by-Step “Very Easy” Square
Round 1: The Foundation
- Start:
ch 4. Insert your hook into the first chain andsl stto form a small ring. - The Start:
ch 3(counts as your first dc). - The Work: Work 2 dc into the ring.
ch 2(corner). - The Pattern: Work a cluster of 3 dc into the ring, then
ch 2. Repeat this 3 times total. - Join:
sl stto the top of the initialch 3.
Result: You have a small center with 4 corners.
Round 2: Growing the Square
- Travel:
sl stacross the next 2 stitches and into the nearest corner space. - First Corner:
ch 3(counts as dc),2 dc,ch 2,3 dc(all in the same corner space). - The Side:
ch 1. - The Corners: In each of the remaining 3 corner spaces, work (3 dc, ch 2, 3 dc). Remember to
ch 1between each corner group. - Join:
sl stto the top of the initialch 3.

Round 3: The Solid Frame (Easiest Method)
- Travel:
sl stinto the corner space. - First Corner:
ch 3, 2 dc,ch 2, 3 dc (all in the corner space). - The Side: Work 1 dc into every stitch along the side.
- The Corner: Work
(3 dc, ch 2, 3 dc)in the next corner space. - Join:
sl stto the top of the initialch 3.
📐 3 Simple Secrets for Success
- Don’t Stress the Yarn Ends: As a beginner, don’t worry about trying to hide your yarn ends perfectly yet. Just tie them securely in a knot on the back of the square and trim them. You can learn the “professional” way to weave them in later!
- Count Your Corners: The most common beginner mistake is accidentally skipping a corner. If your square looks more like a circle or a triangle, stop and count: you should always have exactly 4 corners.
- The Power of “Blocking”: If your finished square looks a little uneven or “wobbly,” don’t worry—that is normal! Pin your square to a flat surface (like a couch cushion or a towel on your bed) using pins, and pull the corners until it looks like a nice, crisp square. Leave it there for a few hours. This “blocking” makes it look much more professional than it actually is!
💡 What to do with your squares?
Once you have made 4 to 6 of these, you can lay them out in a row and sew them together (using a tapestry needle and a piece of yarn) to make a beautiful Table Runner or a Small Pouch.
Would you like me to explain how to sew these squares together, or would you like to try a slightly more advanced “textured” square next?