by
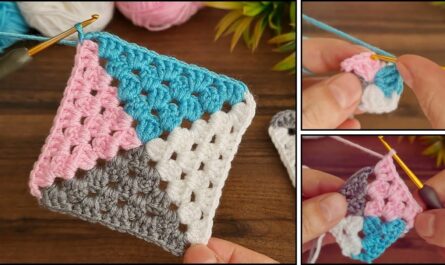
by The Granny Square is the ultimate beginner project because it teaches you the three core elements of crochet: building a foundation, working in rounds, and managing corners.
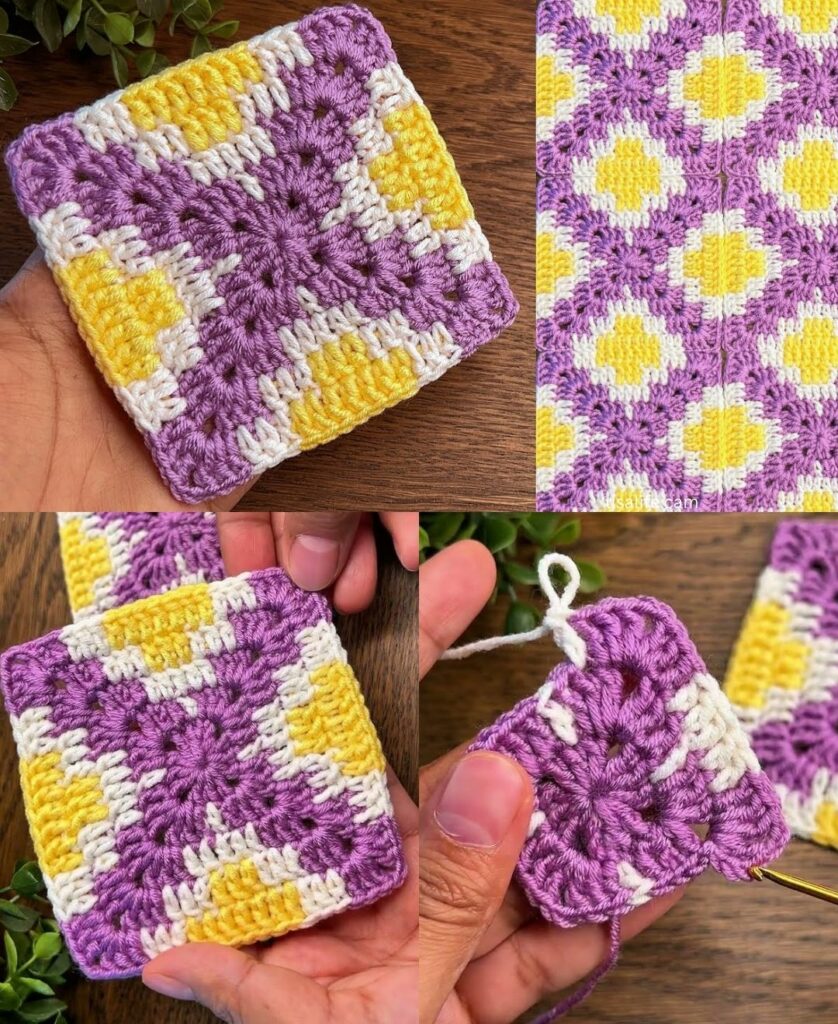
Here is your detailed, step-by-step masterclass to mastering the classic Granny Square.
🧶 The Beginner’s Toolkit
| Item | Recommendation | Why? |
| Yarn | Worsted Weight (Size 4) | Medium thickness is easiest for beginners to see. |
| Hook | 5.0 mm (H/8) | A standard size that matches most worsted yarns. |
| Extras | Scissors & Tapestry Needle | For cutting yarn and hiding your loose ends. |
Stitch Key (US Terms):
- ch (Chain): Yarn over, pull through loop.
- sl st (Slip Stitch): Insert hook, yarn over, pull through stitch and loop.
- dc (Double Crochet): Yarn over, insert hook, pull up a loop, yarn over and pull through 2 loops twice.
- Cluster: A set of 3 double crochets (3 dc) worked into the same space.
🛠 The Step-by-Step Tutorial
Round 1: The Foundation
- Start:
ch 4. Join with asl stinto the first chain to form a small ring. - The Start:
ch 3(this counts as your first dc). - The Work: Work 2 dc into the center of the ring.
ch 2(this creates your first corner). - The Pattern: Work a cluster of 3 dc into the ring, then
ch 2. Repeat this two more times. - Join:
sl stinto the top of the initialch 3.

Result: You now have 4 clusters and 4 corners. Pull the starting yarn tail tight to close the center hole.
Round 2: Expanding the Square
- Travel:
sl stacross the tops of the next 2 stitches and into the nearest corner space. - First Corner:
ch 3(counts as dc),2 dc,ch 2,3 dc(all in the same corner space). - The Transition:
ch 1. - Remaining Corners: In each of the next 3 corners, work
(3 dc, ch 2, 3 dc). Remember toch 1between each corner cluster. - Join:
sl stto the top of the initialch 3.
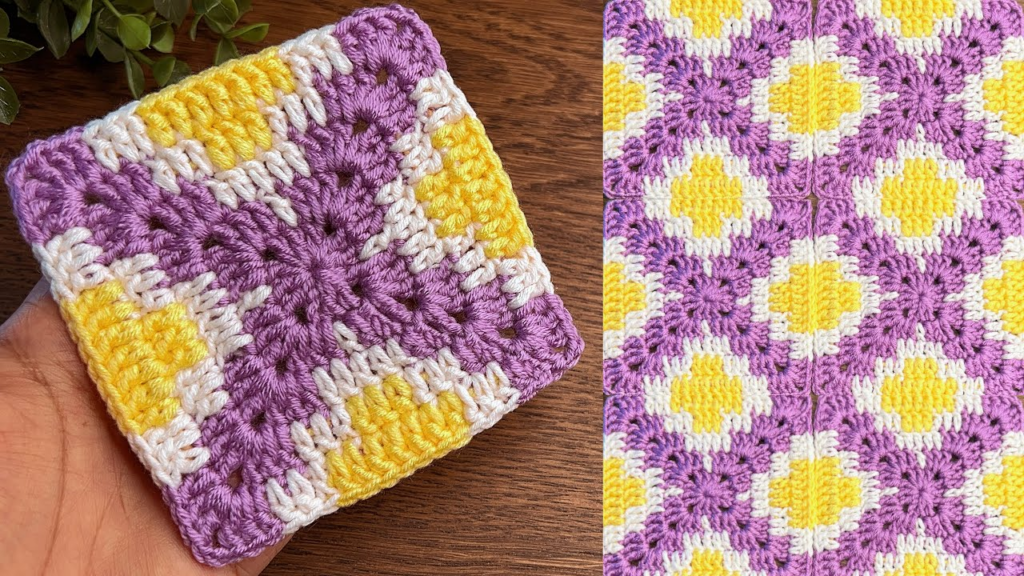
Round 3: The Frame
- Travel:
sl stinto the nearest corner space. - First Corner:
ch 3,2 dc,ch 2,3 dc(all in the same space). - The Side:
ch 1. Work a cluster of 3 dc into the side space (the gap created by thech 1from the previous round).ch 1. - The Corner: Work
(3 dc, ch 2, 3 dc)in the next corner space. - Repeat: Follow this rhythm around:
(3 dc, ch 2, 3 dc)in every corner, and3 dcin every side space, withch 1between each cluster. - Join:
sl stto the top of the initialch 3.

📐 3 Pro-Tips for Perfect Squares
- The “Turning” Secret: To keep your square from twisting or spiraling, turn your work over after every round. This keeps the stitches perfectly vertical and ensures the corners remain sharp.
- Weave as You Go: If you are changing colors, do not leave your yarn ends for the end. Use a tapestry needle to weave your tail under the base of the stitches as you finish each round. This keeps your square tidy from the start.
- The Magic of Blocking: Beginners often worry that their squares look “lumpy.” Blocking is the solution. Pin your finished square to a clean towel or foam board, stretching it into a perfect, sharp-cornered square. Spritz it with water and let it dry. This “sets” the fibers and makes the square perfectly flat.
💡 Troubleshooting
- Curling (Bowl Shape): Your corners are too tight. Try adding an extra chain (
ch 3instead ofch 2) in the corners. - Ruffling (Wavy Edges): You are adding too many stitches on the sides. Ensure you are only
ch 1between side clusters.
Would you like me to suggest a specific, easy first project to build with these squares—like a coaster or a small pouch?